
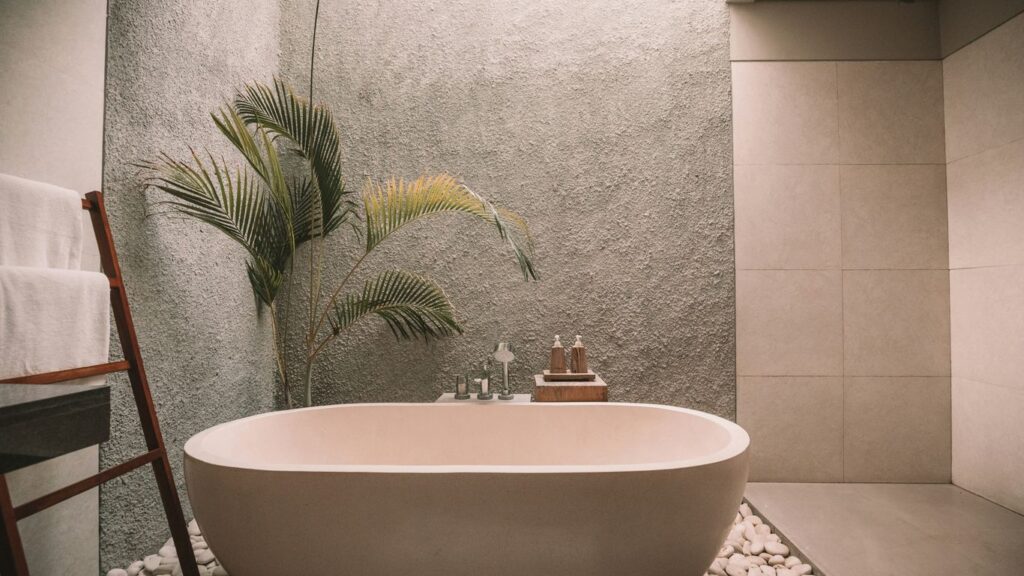
Key Takeaways
A freestanding stone basin can give a bathroom the presence of a piece of sculpture, but its success depends on careful decisions beneath the surface.
- Choose stone, finish and dimensions together rather than in isolation.
- Allow for the basin’s weight, pipework and route into the room.
- Treat natural variation as part of the character of the material.
- Confirm cleaning, sealing and installation requirements before ordering.
- Use lighting and surrounding finishes to support the basin without competing with it.
Understanding freestanding stone basins
A freestanding stone basin is both a practical fitting and a substantial architectural element. Unlike a small hand basin fitted into a unit, it can establish the visual centre of a room. The right design feels calm and intentional, while the wrong scale can make even a generous bathroom feel crowded.
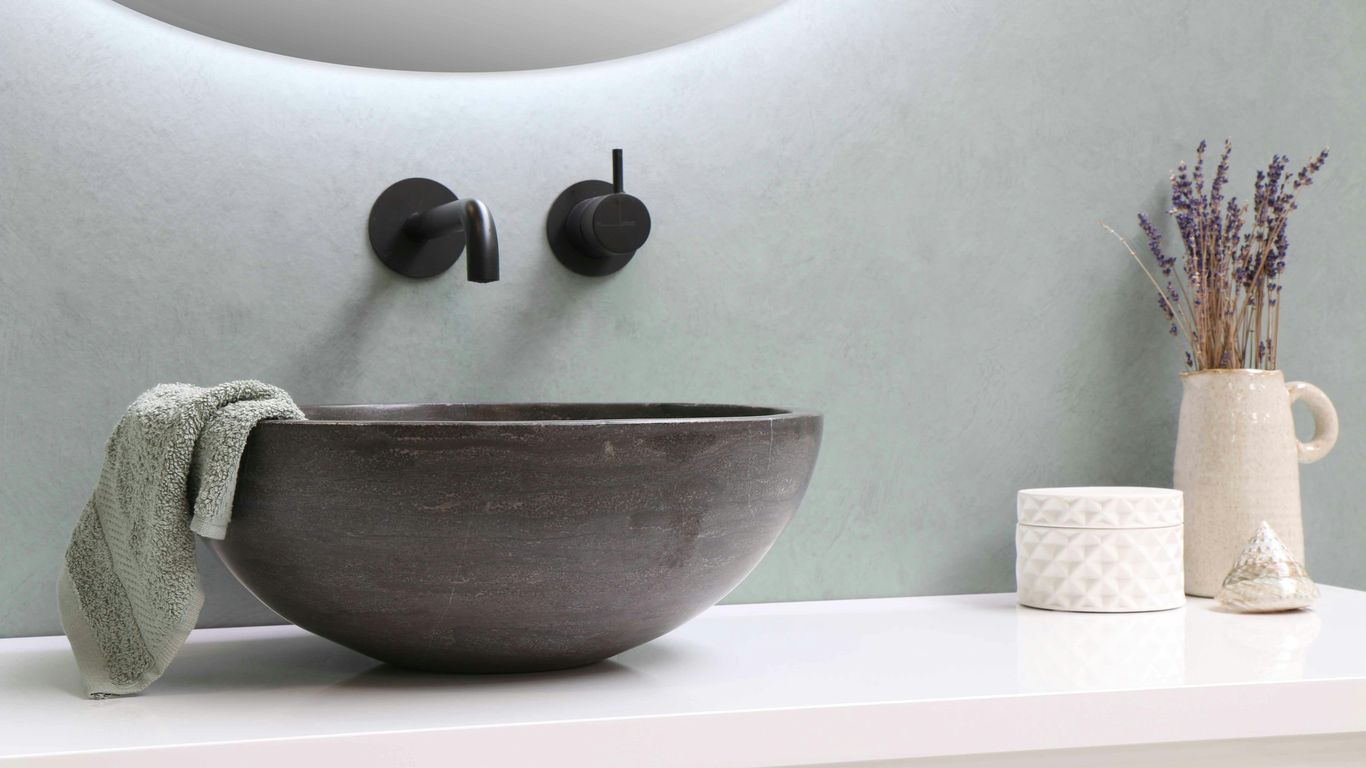
What makes a basin freestanding
A freestanding basin is designed to stand independently rather than rely on a vanity top or wall brackets for its visible form. It may be carved as a monolithic column, formed with a concealed support, or shaped as a pedestal with the bowl integrated above it. The waste and supply connections still need careful coordination, even when the plumbing is largely hidden.
The floor therefore becomes part of the design. It must be level, strong and properly protected, with enough room around the basin for cleaning and comfortable use.
How freestanding basins differ from pedestal and countertop designs
The terms are sometimes used loosely. A pedestal basin usually has a recognisable supporting column beneath a separate or integrated bowl, while a countertop basin sits on a surface that carries much of the visual and practical infrastructure. A freestanding model reads more like one complete object, with fewer horizontal lines interrupting its silhouette.
That distinction affects the rest of the bathroom. Wall finishes, tap height, mirror placement and the treatment of the floor are all more visible when there is no generous vanity to absorb them.
The sculptural appeal of natural stone
Natural stone has depth that manufactured finishes often struggle to imitate: subtle shifts in tone, mineral marks, pores and veining appear across the surface and around the edges. A carefully selected block can make the basin feel rooted in the room rather than simply installed in it. The material sets the mood before accessories or colour are added.
This is why a freestanding stone basin suits restrained interiors particularly well. Its shape can remain simple while the stone supplies movement and tactility.
Where a freestanding stone basin works best
A freestanding basin can work in a main bathroom, a generously sized ensuite or a powder room where a single object can carry the scheme. It is also suitable for hospitality and commercial washrooms when the design team has allowed for robust detailing, access and maintenance.
For further guidance on proportions, materials and bathroom compatibility, this natural stone basin guide is a useful companion. The key test is not simply whether the basin fits on plan, but whether people can approach, use and clean it without awkwardness.
Choosing the right stone and finish
Stone selection should begin with the intended atmosphere and the practical demands of the room. Marble can bring luminous veining, limestone a quieter, softer appearance, and travertine a naturally open, textured character. None should be treated as a perfectly uniform surface, because quarry variation is part of the finished result.
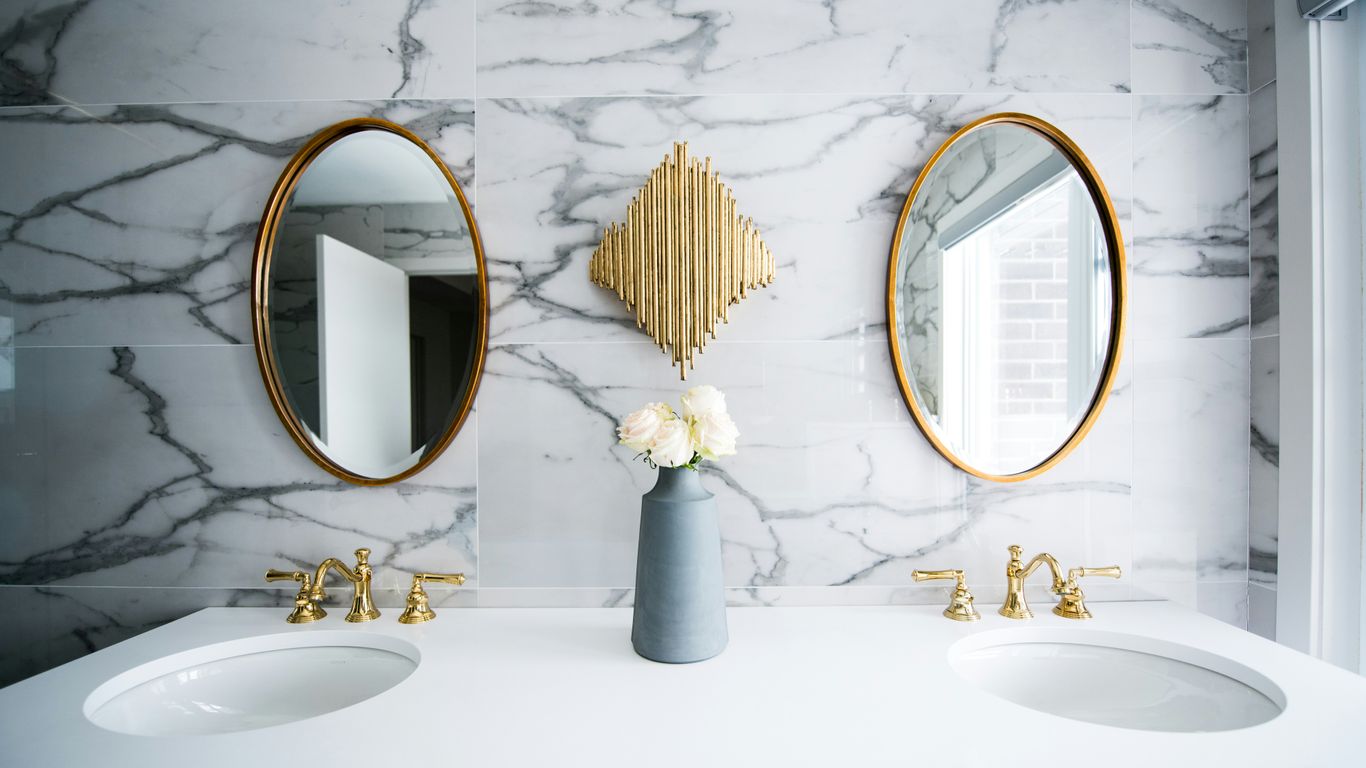
Natural stone options, including marble, limestone and travertine
Marble is often chosen for its movement and refined surface, although its porosity and sensitivity to acids require sensible care. Limestone tends to produce a more muted, powdery palette, while travertine can introduce holes, layered texture and warm earth tones. The same named stone may still vary considerably from one block or slab to another.
Samples are helpful, but they are indicative rather than a guarantee of the final basin. A larger piece may reveal a different balance of colour and mineral pattern from a small sample.
Solid stone versus composite and engineered materials
Solid stone gives the basin genuine geological character and considerable visual mass. Composite and engineered materials can offer more consistent colour, lighter construction or different maintenance properties, so they may be sensible where access or repetition is a priority.
The choice should be made alongside the design brief, not after the shape has been fixed. Consider the required thickness, edge detail, waste arrangement, weight and the visual relationship with nearby stone surfaces.
Honed, polished and textured surface finishes
A honed finish is low-sheen and tactile, making it well suited to quiet, contemporary bathrooms. Polishing brings out colour and veining but also creates a more reflective appearance. Textured or lightly worked surfaces can emphasise the stone’s natural character, though their cleaning needs should be understood before specification.
The finish may be different inside the bowl, on the exterior and around the rim. Those transitions need to be shown clearly in the drawing so that the finished object is not left to assumption.
Colour, veining and visual variation
Colour should be judged alongside the room’s daylight, artificial lighting and surrounding tile. A strongly veined basin may be the focal point in a simple setting, whereas a quieter limestone or travertine can support busier walls and fittings.
When selecting natural stone, ask to review the proposed material and discuss acceptable variation. The aim is not to remove character but to understand how tone, figuring, porosity and mineral marks will appear across the complete piece.
Planning the basin for your bathroom
Good planning brings the sculptural idea back to the body. The basin must be comfortable for adults of different heights, leave enough room for elbows and cleaning cloths, and sit naturally within the proportions of the room. A drawing should show the basin, tap, mirror, floor area and surrounding clearances together.
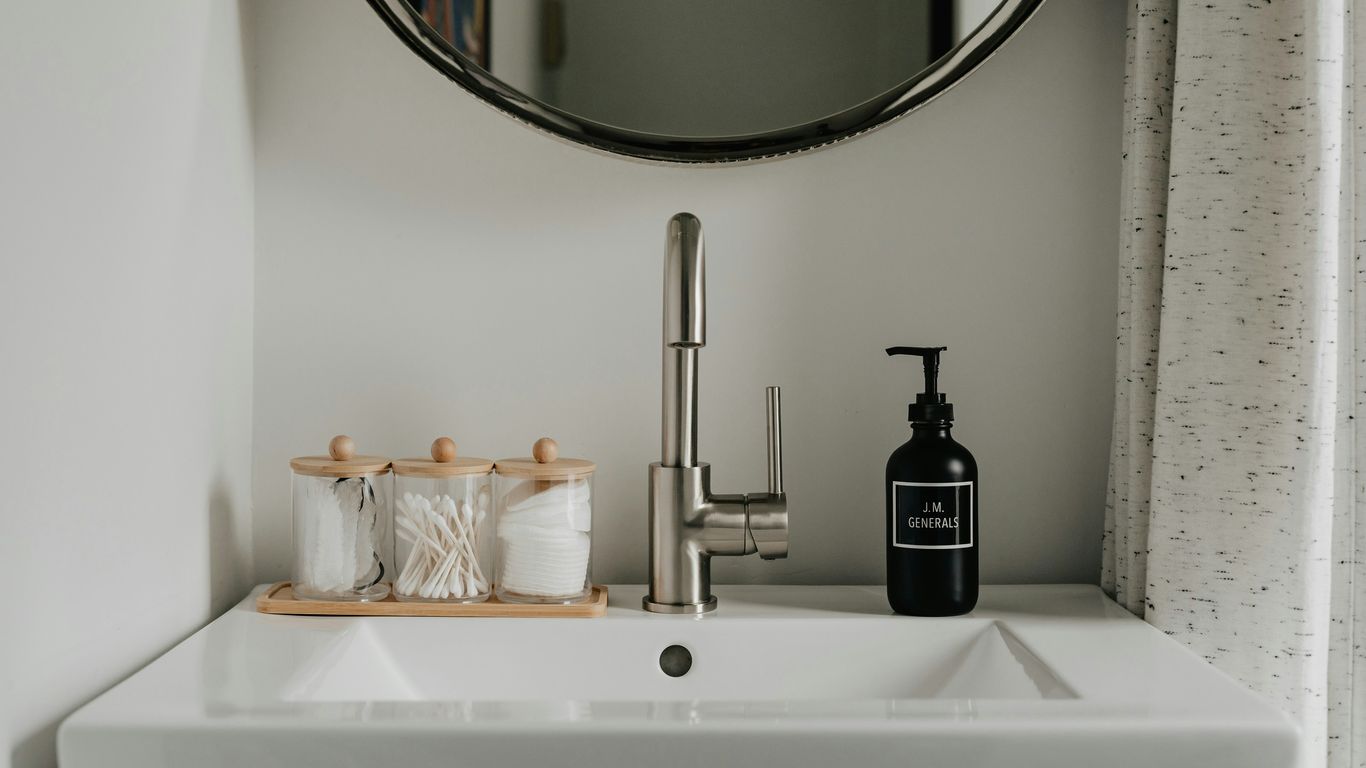
Selecting the correct height, width and depth
Height affects posture and the apparent weight of the basin, while width determines how strongly it occupies the room. Depth needs to contain splashes without projecting so far that circulation suffers. Final dimensions should account for the tap arrangement, rim profile, bowl geometry and the reach to the waste.
For a marble-specific discussion of dimensions, styles and compatibility, see this guide to marble bathroom basins. A made-to-measure approach can be useful where the room has an unusual wall, a tight passage or a carefully aligned architectural grid.
Allowing space for comfortable use and cleaning
Leave enough clearance around the basin for hands to move freely and for the floor to be wiped without contortions. The rear edge should not force users against a wall, and adjacent doors or shower screens should not collide with the basin or tap.
Cleaning access is easy to overlook in a first sketch. A beautiful object that leaves a narrow, unreachable strip behind it will become frustrating very quickly.
Matching the basin to the room’s proportions
A tall, narrow basin may suit a compact powder room, while a broader form can anchor a large bathroom with high ceilings. The visual weight should relate to the door openings, window proportions, mirror and other vertical elements rather than being judged in isolation.
Use elevations and, where useful, a simple three-dimensional view to check the silhouette. Natural stone can appear heavier than a ceramic fitting of the same dimensions, so the drawing should allow for that presence.
Coordinating taps, mirrors and other fixtures
Tap position is governed by the rim, bowl depth, splash behaviour and available wall space. A wall-mounted tap can preserve the clean outline of a freestanding basin, while a deck-mounted fitting may be appropriate when the rim has been designed for drilling. The mirror should echo the basin’s width or deliberately contrast with it.
A small schedule can prevent late changes from affecting the stone. Confirm the tap model, hole diameter, waste type, overflow arrangement and mirror height before production begins.
Designing the plumbing and installation
Installation is part of the basin design, not a final trade afterthought. A freestanding form may conceal much of the plumbing, but the floor penetration, waste route and water supplies still have to align precisely. Early coordination reduces the risk of visible pipework or intrusive alterations after the stone arrives.

Floor-mounted versus wall-mounted waste connections
A floor-mounted waste can suit a monolithic basin with a concealed vertical route, provided the floor construction and pipe position are known. A wall-mounted connection may simplify certain renovations, but it can require a carefully planned rear void or a visible trap. The basin’s base and the waste outlet must be considered together.
Do not assume that a standard waste will suit every sculptural form. Confirm the outlet location, access for maintenance and whether the finished floor level changes the connection height.
Positioning the water supply and waste pipes
Pipework should be set out from an approved drawing rather than estimated from a photograph. Small discrepancies become obvious when a rigid stone object is placed over them. The installer should also check the thickness of the floor finish, waterproofing build-up and any underfloor services.
Where a project crosses borders, the quotation and installation plan should distinguish the manufactured basin from destination-specific delivery, duties, taxes and site work. That clarity is especially valuable for hotel and development projects with several teams involved.
Preparing the floor and supporting the basin safely
The floor must carry the basin safely without relying on fragile finishes or unverified substrates. Check the structural capacity, level tolerances and the method of fixing or bedding before delivery. Protective packing should remain in place until the room is ready for installation.
The installer should protect both the stone and the finished floor while positioning the piece. Lifting equipment, access doors and turning space may be necessary for heavier basins.
When to use a specialist installer
A specialist is sensible when the basin is heavy, highly tailored or connected to concealed pipework. This is particularly true when the room is on an upper floor, access is restricted, or the design includes unusual drilling and drainage details.
The installation team should work from the approved production drawing and report any site discrepancy before cutting or adapting the stone. For made-to-order work, factory-to-order stone pieces are produced for a specific project, so site information has a direct bearing on the final result.
Creating a cohesive sculptural scheme
The basin should be the focus, but it should not feel stranded. Surrounding materials can soften its mass, repeat a colour from the stone or provide a controlled contrast. A restrained palette usually gives natural variation enough room to be seen.
Pairing stone with timber, metal and tile
Timber introduces warmth beside cool marble or pale limestone, while aged brass and bronze can deepen warmer travertine tones. Stainless steel and chrome create a sharper, more precise counterpoint. Tile can either recede into a quiet background or frame the basin with a deliberate change in scale.
The combination works best when one material leads and the others support it. Too many competing textures can make the basin’s surface appear busy rather than richly varied.
Choosing wall finishes that complement the basin
A honed basin often sits comfortably against a softly textured wall, while a polished stone may benefit from a quieter, matte backdrop. Large-format tiles reduce grout lines and help preserve the sense of a continuous composition. Painted plaster can be effective too, provided splash zones are properly protected.
Look at the wall finish in both daylight and evening light. A colour that appears neutral at noon may pick up warm or green undertones after dark.
Using lighting to highlight natural texture
Side lighting can reveal the relief of a textured exterior, while soft frontal light is more forgiving around the bowl. Avoid placing a harsh spotlight directly above a polished rim, where glare can distract from the form. Mirror lighting should support faces without flattening the basin’s surface.
A layered scheme is usually more successful than a single bright fitting. The basin should remain legible when the room is used quietly, not only when it is photographed.
Balancing statement design with everyday practicality
A sculptural basin still needs a usable tap, accessible waste and a surface that can be cleaned without specialist treatment every day. Keep towels, soap and toiletries within reach without covering the stone’s strongest lines. Practical storage may sit elsewhere in the room so the basin can remain visually clear.
The best statement pieces are not precious in use. They are designed with the habits of the household, guests or hotel operation in mind.
Caring for a freestanding stone basin
Stone care is straightforward when the material and finish are understood from the start. Porous stones need appropriate protection, and all natural stone benefits from prompt attention to spills and standing water. Care instructions should be passed to everyone who uses or cleans the bathroom.
Sealing porous stone before and after installation
Sealing can reduce the speed at which moisture and staining agents enter porous stone, but it does not make the surface completely impervious. The correct product depends on the stone, finish and intended use. Seal after fabrication and installation stages as recommended, allowing the surface to dry properly before application.
A sealer should never be treated as a substitute for sound detailing. Water must still drain away, and joints, edges and penetrations need to be properly finished.
Safe cleaning products and daily maintenance
Use a soft cloth, clean water and a pH-neutral stone cleaner for routine care. Drying the rim and bowl after use can reduce water marks, particularly in hard-water areas. Avoid abrasive pads, bleach-heavy products and general bathroom cleaners unless their suitability for the specific stone has been confirmed.
Simple habits usually protect the finish better than occasional aggressive cleaning. Keep gritty materials away from the basin and rinse away toothpaste, cosmetics and soap residue promptly.
Preventing staining, etching and limescale
Acidic substances can etch calcium-based stones, leaving a dull patch rather than a removable stain. Cosmetics, hair dye and coloured liquids should not be left on the surface. Limescale is best managed with regular drying and a stone-safe cleaning method, not with undiluted vinegar or acidic descaler.
If a spill occurs, blot rather than rub. The longer a staining liquid remains in contact with porous stone, the more difficult the remedy may become.
Repairing chips, scratches and surface wear
Minor wear may be reduced by a stone professional who understands the original finish. A polished surface and a honed surface will not be repaired in the same way, and a filled chip may remain faintly visible under certain light. Larger damage should be assessed before the basin is used again.
Keep the original stone information, finish specification and installation records. They can help a future specialist match the repair approach more accurately.
Evaluating cost, durability and long-term value
The price of a freestanding stone basin reflects more than the visible bowl. Stone type, block selection, dimensions, finish, drilling, packing, transport and site access all influence the quotation. A transparent brief makes it easier to compare proposals without reducing the decision to a simple price per kilogram.
What affects the price of a freestanding stone basin
A larger or deeper basin consumes more material and may require more complex lifting and packing. Curved interiors, thick walls, unusual edges, multiple finishes and precise drillings add fabrication time. Rare or highly figured stone can also involve more selective material allocation.
Ask whether the quotation identifies delivery, duties, taxes and installation separately. These items vary by destination and project conditions, so they should not be assumed to be included.
Comparing bespoke and ready-made designs
Ready-made designs can offer speed and a known set of dimensions, while bespoke work allows the basin to respond to the room, the selected stone and the required plumbing. The trade-off is that a made-to-order piece needs a clearer approval process and more time for drawings, fabrication, inspection and packing.
A bespoke stone furniture maker such as Geoscenic Stone can be relevant when the basin needs to coordinate with other custom stone elements. The value lies in resolving the whole piece accurately, not simply adding decoration to a standard fitting.
Checking weight, delivery and access requirements
Before approval, measure doors, lifts, stairs, corridors and turning points. Confirm the finished weight, packing dimensions, unloading arrangements and whether lifting equipment is needed. A basin that fits the bathroom may still be impossible to bring through the building without a planned route.
These checks are especially important for solid stone. Delivery damage, rushed handling or an improvised lift can affect both the basin and the surrounding finishes.
Assessing durability, replacement and resale considerations
Natural stone can remain serviceable for many years when its installation and maintenance are appropriate. Its visual character may also make the bathroom feel more distinctive, although resale value should never be promised as a guaranteed return. Replacement is rarely a simple like-for-like matter because the original stone, dimensions and plumbing may no longer be available.
For a project with several stone elements, coordinated drawings and records can make future repairs or alterations less uncertain. A made-to-order piece should be judged by its fit, material integrity and suitability for use, as well as its immediate visual impact.
Make the basin part of the plan
If you are considering a made-to-order basin, discuss the room dimensions, preferred stone, finish, access route and plumbing requirements before fixing the design. You can also request a quotation for a project-specific assessment and a clear outline of the information needed to proceed.
Conclusion
A freestanding stone basin brings unusual presence to a bathroom because it combines utility, material character and architectural form. Choose the stone with its maintenance needs in mind, develop dimensions around real movement, and resolve plumbing and access before fabrication. With those foundations in place, the basin can become a lasting focal point rather than a difficult object to live with.
Frequently Asked Questions
Is a freestanding stone basin suitable for a small bathroom?
It can be, provided the width, depth and surrounding clearances are carefully measured. A compact, vertically proportioned design may work well, while an overly deep or heavy form can obstruct circulation.
Does natural stone need to be sealed?
Many porous stones benefit from sealing, although the correct treatment depends on the material and finish. Sealing reduces absorption but does not remove the need for prompt cleaning and sensible bathroom detailing.
Which stone is best for a bathroom basin?
There is no single best stone for every room. Marble, limestone and travertine offer different colours, textures, porosity and maintenance requirements, so the choice should reflect both the design and the expected use.
Are freestanding stone basins difficult to install?
They can require more planning than lighter, standard fittings because of their weight and concealed connections. A specialist installer should check the floor, access route, pipework and lifting method before delivery.
Can the tap be mounted on the basin?
Some designs can accommodate deck-mounted taps if the rim and drilling are planned in advance. Others are better paired with wall-mounted fittings, particularly when preserving a clean monolithic outline is important.
How should limescale be removed from natural stone?
Use a stone-safe, non-acidic method and follow the cleaner manufacturer’s instructions. Regular drying and prompt removal of water deposits are safer than applying vinegar or an aggressive bathroom descaler.
Can chips or scratches in a stone basin be repaired?
Minor damage can often be assessed and treated by a stone repair professional, though the result depends on the depth, location and original finish. Some repairs remain slightly visible, especially across strongly veined or polished stone.