
Key Takeaways
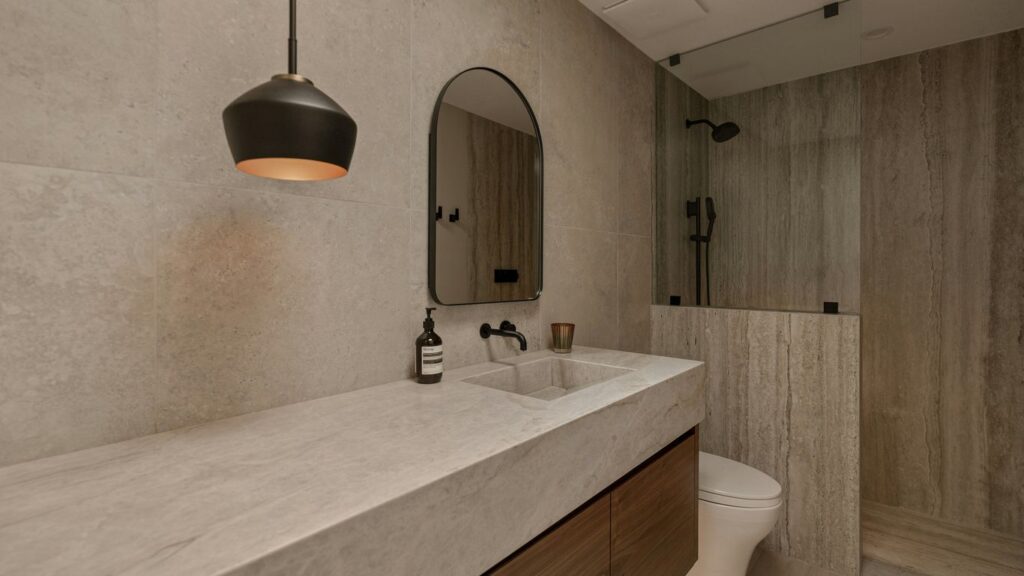
A natural stone wash basin can become the defining element of a bathroom, but its beauty needs to be matched by careful planning and sensible care.
- Choose the stone, dimensions and basin style together rather than separately.
- Allow for the basin’s weight, the supporting structure and the plumbing route.
- Confirm the production drawing, finish, drillings and tolerances before fabrication.
- Seal porous stone where appropriate and clean it with non-acidic products.
- Treat veining, tone and mineral marks as individual features of natural stone.
Understanding natural stone wash basins
Natural stone basins bring texture, depth and variation that manufactured surfaces rarely reproduce convincingly. Marble, travertine, limestone, granite and onyx each respond differently to water, cleaning and finishing. The right choice therefore depends on more than colour: use, installation conditions and maintenance expectations matter just as much. A useful starting point is this guide to natural stone basins, which considers material, proportion and compatibility with bathroom furniture.
How stone basins are made and finished
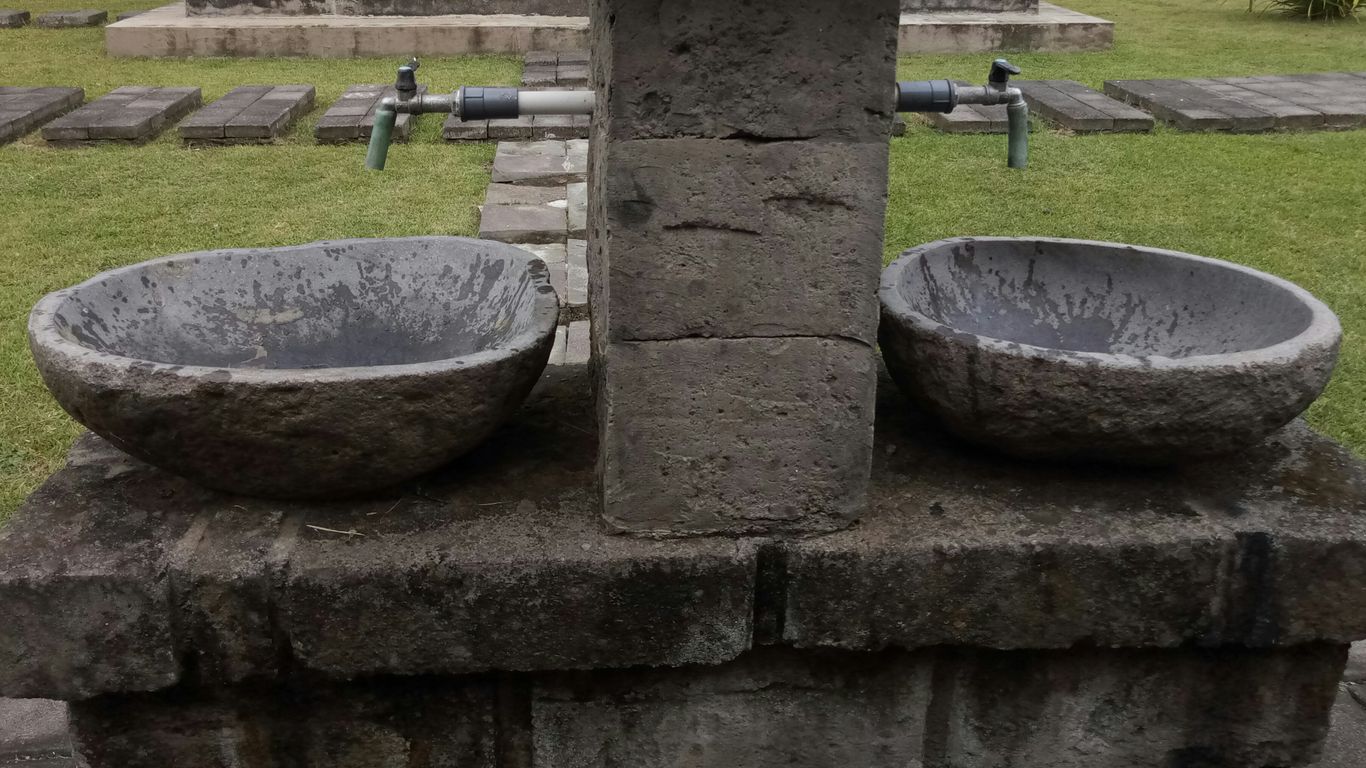
A basin may be carved from a solid block, formed from cut pieces, or produced as a composite, depending on the design and material. The surface can be polished, honed, brushed or left with a more textured character, while the rim and internal bowl profile affect both appearance and cleaning. Fabrication normally includes cutting, shaping, finishing, inspection and careful packing. For a commissioned piece, dimensions, edge details, finish and tap or waste drillings should be settled in an approved production drawing before work begins.
Popular stone types and their characteristics
Marble is prized for expressive veining and a wide range of backgrounds, although it can be sensitive to acids and may need thoughtful sealing. Travertine offers a softer, naturally porous texture, while limestone tends to bring a quiet, matt appearance. Granite is generally harder and visually more granular; onyx can be especially translucent and decorative, but requires careful handling. These are broad tendencies rather than guarantees, so the selected slab or block should always be assessed for its own markings and condition.
Vessel, inset and wall-mounted basin styles
A vessel basin sits above a counter and makes the rim and outer profile highly visible. An inset basin is set into the worktop, giving a quieter transition and often making the surrounding surface easier to use. Wall-mounted forms can keep the floor visually open, but they transfer considerable load to the wall and its fixing system. The choice should follow the room’s proportions, the desired tap arrangement and the structure available behind the finish.
How natural variation affects appearance and performance
No two pieces of natural stone are interchangeable. Veining, tone, mineral marks, small fissures and porosity can change from one part of a block to another, and a photograph cannot establish the exact appearance of a future basin. Variation is part of the material’s character, but it also makes sample approval and clear expectations essential. A professional quotation should distinguish the agreed design from the natural features that cannot be controlled completely.
Choosing the right stone wash basin for your bathroom
Selecting a stone wash basin is a spatial decision as much as a decorative one. The basin must leave enough room for comfortable hand washing, tap operation, cleaning and nearby storage. Check the room at full scale, including doors, drawers, mirrors and splash zones. A carefully proportioned basin usually feels more luxurious than an oversized one forced into a restricted vanity.
Matching basin dimensions to the available space
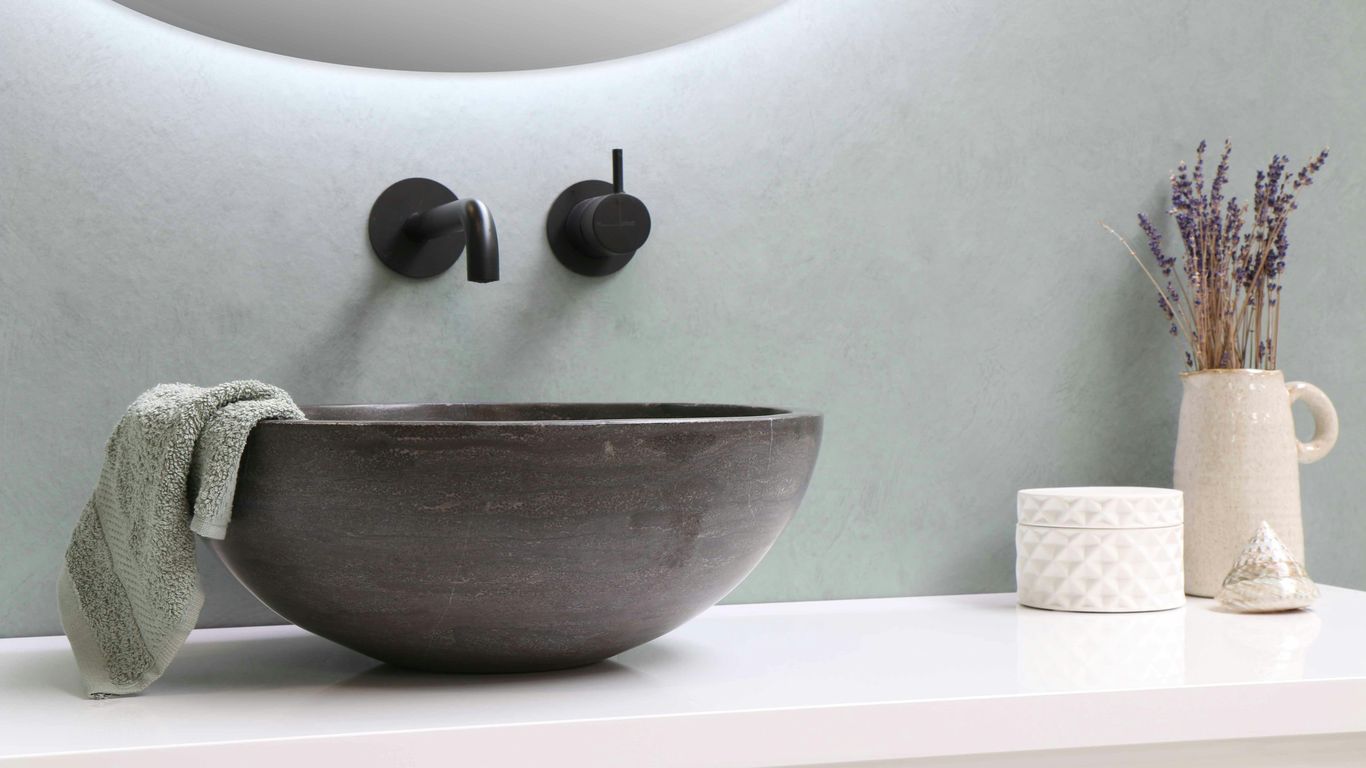
Measure the available width, depth and height before browsing shapes. Record the clear space beside the basin, the distance to walls and the opening needed for cabinet doors or drawers. Depth affects splash control and user comfort, while height affects both the basin rim and the tap position. If the piece is made to order, these dimensions can be developed around the room rather than adapted from an unsuitable standard size.
Selecting a shape, profile and colour palette
Round and oval basins soften a room with strong architectural lines, while rectangular forms often suit a disciplined, linear vanity. A thin rim can look light and contemporary; a thicker edge gives the stone more visual weight. Colour should be considered with grout, timber, metalwork and daylight, not just against a small sample. Polished stone reflects more light, whereas honed or textured finishes tend to make veining appear quieter.
Checking weight, thickness and countertop compatibility
Stone is heavy, and the finished weight depends on the material, wall thickness, dimensions and cut-outs. Confirm that the vanity, countertop, brackets and wall construction can support the basin without flexing. The counter must also suit the selected waste fitting and provide a stable, accurately prepared opening. Before fabrication, review a drawing showing overall dimensions, thickness, edge treatment and every drilling position.
Balancing aesthetics, practicality and budget
Cost is influenced by the stone selected, the amount of material used, fabrication complexity, finish, packing, destination and site conditions. A simple profile in a readily available stone may be more economical than a highly sculpted form with demanding handling requirements. When comparing quotations, make sure the same assumptions are being compared, particularly around delivery, access and installation. For a made-to-order project, custom stone furniture offers a useful way to think about stone, scale and fabrication as one coordinated decision.
Designing a bathroom around a stone basin
A basin can anchor the visual language of the whole bathroom. Its stone should relate to the worktop, wall finish and sanitaryware without making every surface identical. Consider how the room will look when wet, under artificial light and when viewed from the doorway. The most successful schemes usually combine repetition with a little contrast.
Coordinating stone with worktops, tiles and sanitaryware
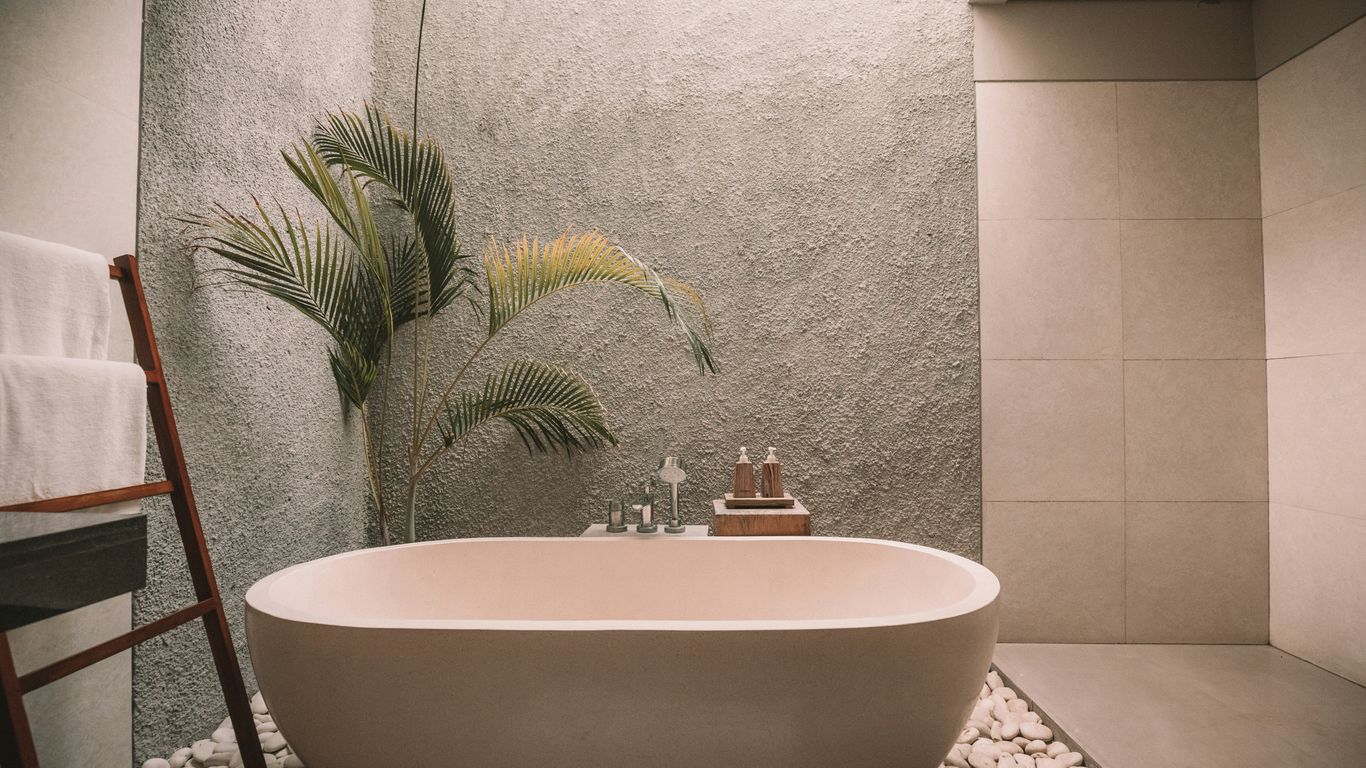
Matching the basin exactly to another stone is not always necessary, and can even make natural variation look awkward. Instead, repeat one quality such as warmth, veining direction or surface texture. Pale marble may sit comfortably with warm timber and brushed metal, while darker stone can provide definition against light tiles. Keep the sanitaryware relatively quiet if the basin has strong movement or pronounced mineral patterning.
Choosing taps and waste fittings that suit the basin
Tap height, spout reach and water angle should be tested against the bowl before drilling. A tall vessel basin may need a wall-mounted or raised tap, whereas an inset form can work with a shorter deck-mounted fitting. Confirm the waste type, visible finish and required hole diameter with the plumber and fabricator. Small inaccuracies are difficult to disguise once a hard stone surface has been drilled.
Creating contrast or continuity with natural materials
A restrained palette can make the basin feel integrated, while a contrasting stone can turn it into a focal point. Timber introduces warmth; metal adds a crisp edge; textured tile can echo the natural surface without copying its pattern. The choice should also suit the scale of the room. In a compact bathroom, one carefully selected stone feature may have more impact than several competing materials.
Planning storage, splash control and usable surface space
Leave practical landing space for soap, toiletries and a towel, especially where the basin is used daily. A raised vessel needs a considered splashback and enough clearance from the mirror or wall shelf. Drawers may require a reduced depth or a cut-out around the waste, so coordinate cabinetry early. The vanity should look calm when clear but still work when the room is in ordinary use.
Preparing for stone wash basin installation
Installation begins well before the basin reaches the bathroom. The fabricator, designer, cabinetmaker, plumber and installer should work from the same dimensions and revision of the drawing. Confirm access through doorways, lifts and staircases, as the finished piece may be awkward even where its dimensions appear modest. Planning these details reduces the risk of damage, delay or an expensive alteration on site.
Confirming structural support and load-bearing requirements
Establish the finished weight, including fittings and any supporting counter, then identify how that load reaches the floor or wall. Wall-mounted basins need suitable anchors and a wall structure capable of carrying them; vanity-mounted basins need a rigid carcass and properly supported countertop. Flexible brackets or weak cabinetry can create stress at the rim and around cut-outs. A structural professional should advise where the existing construction is uncertain.
Measuring the countertop, cabinet or wall accurately
Take measurements after walls and finishes are sufficiently established, allowing for tile thickness, skirting and uneven surfaces. Check the centreline, finished height, rear clearance and the relationship between tap holes and the waste. Record site dimensions rather than relying on an earlier plan, and note tolerances that the installer must accommodate. This is also the point to confirm the final orientation of visible veining where the design depends on it.
Planning water supply, waste and overflow connections
The basin specification should state whether an overflow is included and which waste fitting is compatible. Plumbing routes must leave enough room for traps, isolation valves and future access without bearing against the stone. Dry-fit the arrangement before applying adhesive or sealant, and check that pipework does not force the basin out of level. A small amount of adjustment is easier before the piece is fixed permanently.
Protecting the stone during delivery and preparation
Natural stone should travel in suitable protective packaging and be handled with its weight fully supported. Do not lift a basin by a thin rim, tap hole or projecting edge. Keep it away from abrasive debris, unprotected tools and standing water during the works. Factory-to-order production can include inspection and packing for the destination, but site teams still need a clean, controlled area for unpacking and installation.
Installing a natural stone wash basin correctly
The installation should be treated as a coordinated fitting operation, not simply a plumbing task. Dry positioning comes first, followed by checks for level, clearances, support and access. Avoid rushing the final fixing because a basin that looks aligned from above may still place stress on the counter or pipework below. Where the piece is valuable or unusually heavy, use an experienced stone installer alongside the plumber.
Positioning and securing vessel or inset basins
For a vessel basin, confirm the centreline and contact points before applying the specified fixing material. For an inset basin, the opening must match the approved dimensions and support the underside continuously where required. Check the rim for level in both directions, and avoid forcing a basin into an opening that is too tight. Any adjustment to stone should be carried out with suitable equipment by a qualified fabricator.
Connecting taps, wastes and pipework without stressing the stone
Fittings should be tightened enough to seal, but not so aggressively that they compress or crack the stone around a drilling. Use the correct washers and follow the fitting manufacturer’s instructions. Pipework should align naturally and remain independently supported rather than pulling against the waste or basin. Once connected, inspect the underside for contact points that could transfer movement into the stone.
Using suitable sealants, adhesives and fixing materials
The fixing system must be compatible with the stone, counter, wall finish and wet-room conditions. Avoid relying on a random household adhesive or an incompatible sealant simply because it is readily available. The installer should follow the fabricator’s specification and allow curing time before the basin is used. Keep excess material off visible faces, since cured residue can be difficult to remove without changing the finish.
Checking drainage, stability and water flow after installation
Run clean water through the basin and observe the flow, waste connection and surrounding joints. Check that water does not collect in a corner because of an incorrect fall or an out-of-level rim. Test the taps for splash, confirm that the basin does not move and inspect the cabinet or wall after the first use. Record any issue immediately, before sealant cures fully or access panels are closed.
Sealing and protecting a stone wash basin
Sealing does not make natural stone maintenance-free, nor does it prevent every mark. It can reduce the rate at which some liquids enter a porous surface, giving the user more time to wipe spills. The correct treatment depends on the stone, finish and manufacturer’s instructions. Always test an inconspicuous area first, because a product can subtly deepen colour or alter sheen.
When different stone types need sealing
Porous stones such as some marbles, limestones and travertines commonly benefit from an appropriate penetrating treatment, although the exact requirement varies by material and finish. Dense stones may need less frequent treatment, while a textured surface can hold residue differently from a polished one. Ask the fabricator or stone-care specialist to identify the material’s porosity rather than assuming all natural stone needs the same product.
Choosing a penetrating sealer for bathroom use
A penetrating sealer is designed to enter the stone rather than leave a thick film on the surface. Choose one specifically suitable for the stone and bathroom exposure, and check its instructions for curing time and future cleaning. Film-forming products can change the tactile quality of a honed or textured basin and may wear unevenly. The treatment should support the intended finish, not conceal it.
Applying sealer without creating streaks or residue
The surface must be clean, dry and free from old residue before application. Apply a controlled amount, allow the stated dwell time and remove all excess before it dries on the face. Work in manageable areas and use clean cloths so that sealer is not redistributed across the basin. Once cured, inspect the surface in raking light; streaks or tackiness usually indicate that excess product was not removed.
Recognising signs that the protective treatment needs renewing
Renewal may be worth considering when water absorbs quickly, darker patches appear after splashing, or the surface becomes harder to wipe clean. These signs are not a precise timetable, since frequency depends on use, stone and the previous treatment. Clean and dry the basin before assessing it, and avoid layering a new product over an uncertain residue. If the finish has changed substantially, obtain specialist advice first.
Maintaining and repairing a stone wash basin
Routine care is deliberately simple. Wipe away water and soap after use, use a soft cloth and avoid leaving cosmetics or metal containers on the surface for long periods. Good ventilation also helps the basin dry between uses, particularly in a humid bathroom. A consistent light-touch routine is safer than occasional aggressive cleaning.
Establishing a safe daily cleaning routine
Use warm water and a pH-neutral stone cleaner, then dry the surface to reduce deposits. A soft microfibre cloth is usually sufficient for everyday wiping, while a soft brush can help around a waste without scratching the finish. Do not allow gritty dust to remain on the basin before wiping. The aim is to remove residue without abrading or chemically attacking the stone.
Removing limescale, soap deposits and water marks
Limescale should be addressed cautiously because many conventional descalers contain acids that can etch marble, limestone and other calcareous stones. Start with a stone-safe cleaner and gentle repeated applications rather than one harsh treatment. Thick deposits may need a specialist product or technician, especially on a textured surface. Rinse thoroughly and dry the basin after cleaning so dissolved residue is not left behind.
Avoiding acids, abrasives and unsuitable household cleaners
Vinegar, lemon-based products, scouring powders, wire pads and bleach mixtures can damage the stone or its finish. Even a cleaner that is safe for ceramic may be unsuitable for a natural stone wash basin. Keep products labelled for stone care and follow their dilution instructions. Gentle, regular care is usually more effective than trying to restore a neglected surface with force.
Dealing with stains, chips, scratches and surface dullness
The correct remedy depends on whether the mark is on the surface, inside the stone or caused by etching. A fresh spill should be blotted rather than rubbed, while a chip at a rim or drilling needs prompt attention to prevent further damage. Scratches on a honed surface may be less noticeable than on a polished one, but polishing a local patch can create an uneven sheen. Do not attempt aggressive sanding without understanding the original finish.
Knowing when to consult a stone restoration professional
Seek specialist help for deep stains, cracks, loose fragments, damaged drillings, extensive etching or a finish that has become visibly uneven. A restorer can assess the stone, test a treatment and explain what level of colour or sheen recovery is realistic. This is particularly worthwhile for basins with rare material, sculpted edges or difficult access. Keep records of the stone type, finish and previous sealers if they are available.
Commission A Carefully Detailed Piece
If your bathroom calls for a basin made around its actual dimensions, discuss the stone, finish, edge, drillings and installation requirements with Geoscenic Stone. The team works factory-to-order from approved drawings, with material selection, production, inspection and packing considered for the individual project; you can also request a quotation for the specific brief.
Conclusion
A natural stone wash basin rewards careful decisions from the first measurement to the final clean. Select a material whose character suits the room, confirm support and plumbing before fabrication, and protect the finished surface with appropriate sealing and gentle maintenance. With realistic expectations about natural variation and a properly coordinated installation, the basin can remain both a practical fitting and a distinctive architectural detail for years.
Frequently Asked Questions
Is a natural stone wash basin suitable for everyday use?
Yes, provided the stone, finish and installation are appropriate for the room and the basin is maintained with suitable products. Porosity, sealing and exposure to cosmetics or hard water should be considered before selection.
Which natural stone is best for a bathroom basin?
There is no single best stone for every bathroom. Marble, travertine, limestone, granite and onyx offer different combinations of appearance, porosity, hardness, texture and maintenance requirements.
Does a stone wash basin need to be sealed?
Some stones benefit from a penetrating sealer, while denser materials or particular finishes may need less treatment. The decision should follow the stone supplier’s or specialist’s advice rather than a universal schedule.
Can limescale be removed from natural stone?
It can often be reduced with a stone-safe, non-acidic cleaner and careful repeated cleaning. Standard acidic descalers may etch susceptible stones, so stubborn deposits are best assessed by a stone-care professional.
How much support does a stone basin require?
Support depends on the basin’s weight, dimensions, style and fixing method. Vessel, inset and wall-mounted designs transfer loads differently, so the vanity, countertop, brackets or wall should be checked before installation.
Can a chipped stone basin be repaired?
Small chips and some scratches can often be repaired, but the result depends on the stone, location, colour and finish. Deep cracks or damage around a drilling require prompt assessment by a qualified fabricator or restorer.
How should natural variation be approved before manufacture?
Review representative samples or the proposed material where available, and confirm which features are inherent to the stone. The approved drawing should clearly define dimensions, finish and drillings while recognising that veining, tone and mineral marks will vary.