
Key Takeaways
A custom marble basin combines a natural material with a highly specific piece of bathroom architecture. Good results depend on resolving proportions, drainage, stone selection and production details before fabrication begins.
- Define the basin type, users, vanity relationship and installation limits first.
- Confirm dimensions, wall thickness, tap clearances and access before approving drawings.
- Select marble for both its appearance and its practical performance.
- Design the waste route and internal fall so water drains cleanly.
- Treat sealing, cleaning and regular maintenance as part of the design brief.
Defining the requirements for a custom marble basin
A custom marble basin should begin with the room rather than with a photograph of a basin. The vanity, wall construction, plumbing position and intended users all influence what can be made successfully. Establishing these requirements early prevents attractive ideas from becoming awkward or expensive to install. A useful starting point is this guide to marble basins, which brings together questions around shape, finish, drainage and maintenance.
Choosing between vessel, undermount and integrated designs
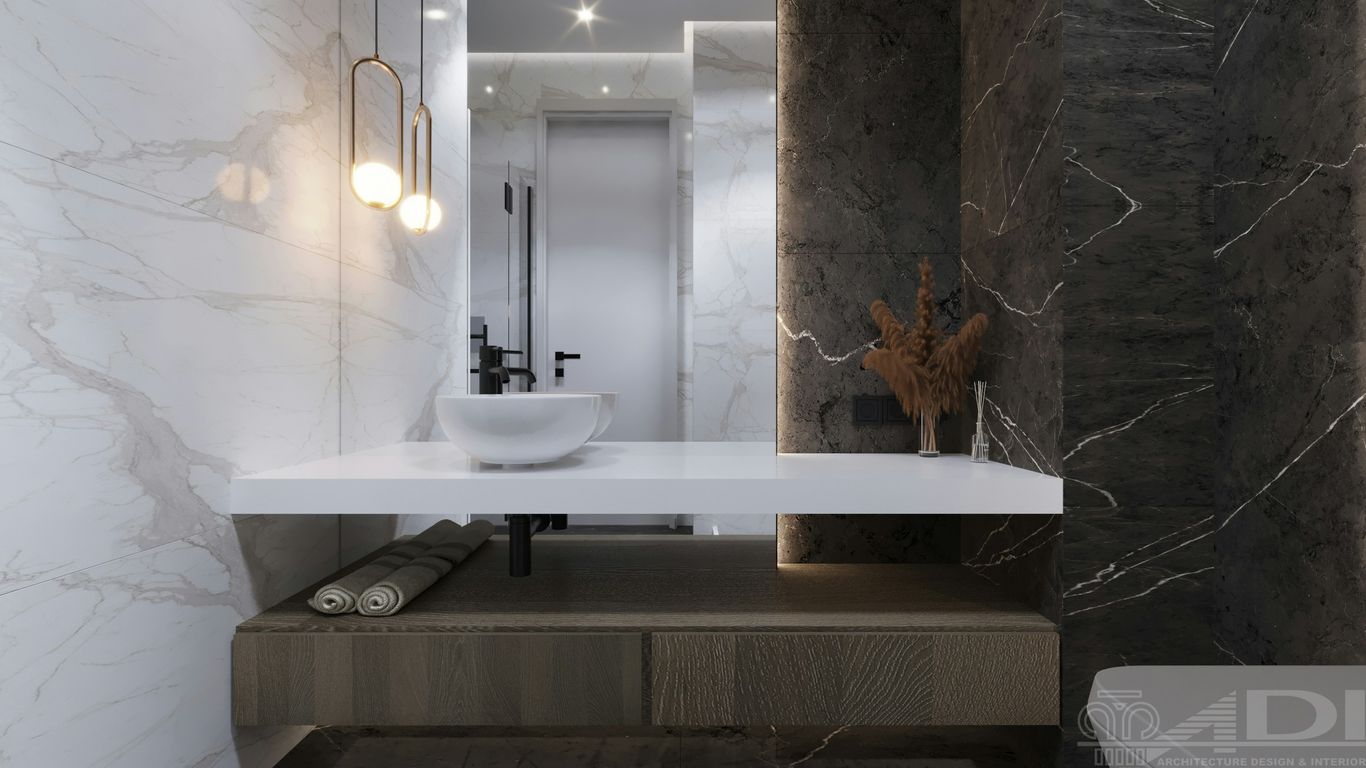
A vessel basin sits above the vanity and makes the stone visible from several angles, but it raises the finished rim height and affects tap selection. An undermount design places the basin below the worktop, creating a quieter edge and a simpler visual line. An integrated basin is formed as part of the stone top or vanity, which can produce a continuous appearance but requires close coordination between the basin, support structure and drainage.
The choice should reflect how the basin will be used, cleaned and reached. A high vessel may suit a guest bathroom with a sculptural focus, while an integrated arrangement can be more comfortable in a busy family or hospitality setting.
Matching the basin to the vanity and bathroom layout
Measure the vanity, wall returns, door swings and circulation route together. A basin that fits the worktop may still leave too little space for towels, taps or comfortable standing. Consider the visual weight of the marble as well: a thick, deeply carved form can dominate a compact room, while a lighter profile may sit more naturally within a narrow layout.
The relationship with mirrors, wall lights and splashbacks matters too. Leave enough vertical and horizontal room for these elements without forcing the basin towards the front edge of the vanity.
Planning single, double and bespoke basin configurations
Single basins offer the greatest freedom in smaller rooms, while double basins need careful spacing between bowls, taps and the central vanity structure. Two basins should not simply be divided evenly across a top if that leaves the users too close to the edges or places the wastes over awkward cabinetry. Bespoke configurations may also include offset bowls, a long trough form or different depths for separate users.
Draw the basin and vanity together at full width. This makes the usable counter space, tap centres and storage interruptions easier to judge than a basin sketch viewed in isolation.
Confirming user needs, style preferences and installation constraints
Ask who will use the bathroom, how frequently it will be cleaned and whether accessibility or reduced reach is a consideration. Confirm the preferred finish, edge character and level of visible veining, while allowing for the fact that natural stone cannot be made visually uniform. Installation constraints should include the route into the property, the finished floor level, support requirements and the sequence in which the vanity and plumbing will be assembled.
For a made-to-order project, a short written brief is valuable. It gives the designer and fabricator a shared reference before dimensions are refined and avoids relying on assumptions hidden in a mood board.
Selecting practical dimensions and proportions
Dimensions should be developed around comfortable use, available room and the physical behaviour of stone. There is no single ideal size for every custom marble basin, because a hotel vanity, a compact cloakroom and a residential family bathroom place different demands on the piece. Begin with the external envelope, then work inwards to the rim, cavity, waste and support. The drawing should show finished dimensions, not just approximate proportions.
Setting the basin length, width and depth
Length and width determine how much water the basin can receive and how much surrounding counter remains available. Depth affects splash control, comfort and the amount of marble left below the cavity. A shallow basin can look elegant but needs a carefully shaped fall and sensible tap flow; a deep basin needs adequate support and may alter the vanity height.
Use the actual tap, waste and user requirements to test the proportions. A scale drawing or temporary full-size template often reveals whether the front edge feels comfortable before any stone is cut.
Allowing for rim width, wall thickness and internal capacity
The external dimensions do not describe the whole basin. The rim, side walls, base and transitions consume space, and they must remain substantial enough for the chosen stone and proposed form. Internal capacity should be considered alongside the outlet position, because a broad cavity with a poorly placed waste can still drain badly.
Keep the rim consistent where possible, but do not force uniformity around an irregular or sculptural form. Changes in thickness should be intentional, drawn clearly and checked against the loads created during handling and installation.
Coordinating tap positions and countertop clearances
Tap centres should be set in relation to the bowl, rear rim, splashback and the wall behind the vanity. Check the spout reach and water trajectory rather than locating holes by eye. Countertop clearances also need to allow for handles, soap, mirrors and cleaning around the fittings.
A production drawing should identify every drilling centre and diameter. This is one of the details that is difficult to correct once the marble has been machined, particularly when the tap, waste and basin are supplied by different parties.
Accounting for splashback, access and cleaning space
A splashback can protect the wall, but its thickness and height affect the rear clearance of the basin and tap. Leave enough space to wipe behind the fittings and enough access below the vanity for the trap, isolation valves and future servicing. If the basin is heavy, the route from delivery point to final support should be reviewed before the design is signed off.
The most successful proportions usually balance three kinds of space: water-holding space inside the bowl, working space around it and service space beneath it. Treating all three as part of the basin design produces a more practical result.
Adapting dimensions for compact and accessible bathrooms
In a compact bathroom, a narrower projection may improve circulation more than reducing the basin length. Rounded front corners, an offset bowl or a wall-mounted arrangement can help preserve usable floor space. For accessible use, consider reach range, knee clearance where relevant, tap operation and the height of the finished rim rather than simply specifying a smaller basin.
These decisions should be tested against the room plan and local requirements. A carefully proportioned basin can feel generous even when its overall footprint is modest.
Choosing marble for appearance and performance
Marble is selected for both its visual character and its suitability for the proposed form. Veining, tone and mineral marks vary from slab to slab, so the approved material should be treated as part of the design rather than as a late substitution. Porosity, density and finish also influence cleaning and long-term appearance. Natural variation is not a manufacturing error, but it should be discussed clearly before approval.

Comparing veining, colour and surface character
Review the whole slab where possible, not only a small sample. The direction and scale of veining can change how a long trough, compact bowl or thick rim is perceived. A quiet stone may support a highly sculptural shape, while stronger movement can make a simple rectangular basin the visual centre of the room.
For a custom piece, mark the intended basin position on slab imagery before cutting. This helps the team discuss which areas will appear on the rim, front face and interior, while recognising that the final stone will still contain natural variation.
Evaluating stone density, porosity and durability
Marble is a durable natural stone, but it is not immune to staining, etching or scratching. Denser material may be easier to live with in a heavily used bathroom, while more porous or open material may need greater care and more frequent attention to sealing. The choice should reflect the household or project routine, not just the colour palette.
Water, toiletries and cleaning products are likely to contact the basin repeatedly. A realistic maintenance plan is therefore part of material selection, especially in hotels, restaurants and other settings with high turnover.
Understanding the differences between marble types and finishes
A polished finish reflects more light and can emphasise colour and veining, but marks may be more visible. Honed surfaces are softer in appearance and often more forgiving of small changes, while brushed or textured treatments create a tactile character that may need more careful cleaning. The finish also changes how edges, corners and internal transitions read.
Compare finish samples under the bathroom’s intended lighting. A sample viewed in a bright showroom may not resemble the same stone beside warm wall lights or in a naturally shaded room.
Checking slabs for cracks, voids and colour variation
Inspect the selected slab for fissures, open voids, repairs and areas of marked variation before confirming the cutting plan. The fabricator should also consider how the basin cavity removes material and where the remaining stone will carry the load. A visually appealing area may not be the safest place for a thin rim or drilled opening.
Photographs, slab references and annotated drawings create a useful record. They also make it easier to explain which variation has been accepted and which condition requires a revised material or design.
Balancing premium stone selection with project budget
The cost of a custom basin reflects more than the stone itself. Slab rarity, thickness, material yield, machining time, hand finishing, packing, delivery and installation conditions can all affect the quotation. A less expensive stone may require a simpler form, while a premium slab may justify a quieter design that allows its character to carry the piece.
Discuss alternatives early rather than changing marble after the drawing has been approved. The natural stone selection guide offers a useful wider comparison of stone character, finishes and practical limitations.
Designing effective drainage and water management
Drainage is a functional part of the form and should be resolved alongside the bowl geometry. Water needs a continuous route towards the waste without collecting in corners, around texture or behind a raised feature. The outlet, fall, trap and pipe alignment should be shown in section as well as plan. Good drainage also makes the basin easier to clean each day.
Positioning the waste outlet and fall to the drain
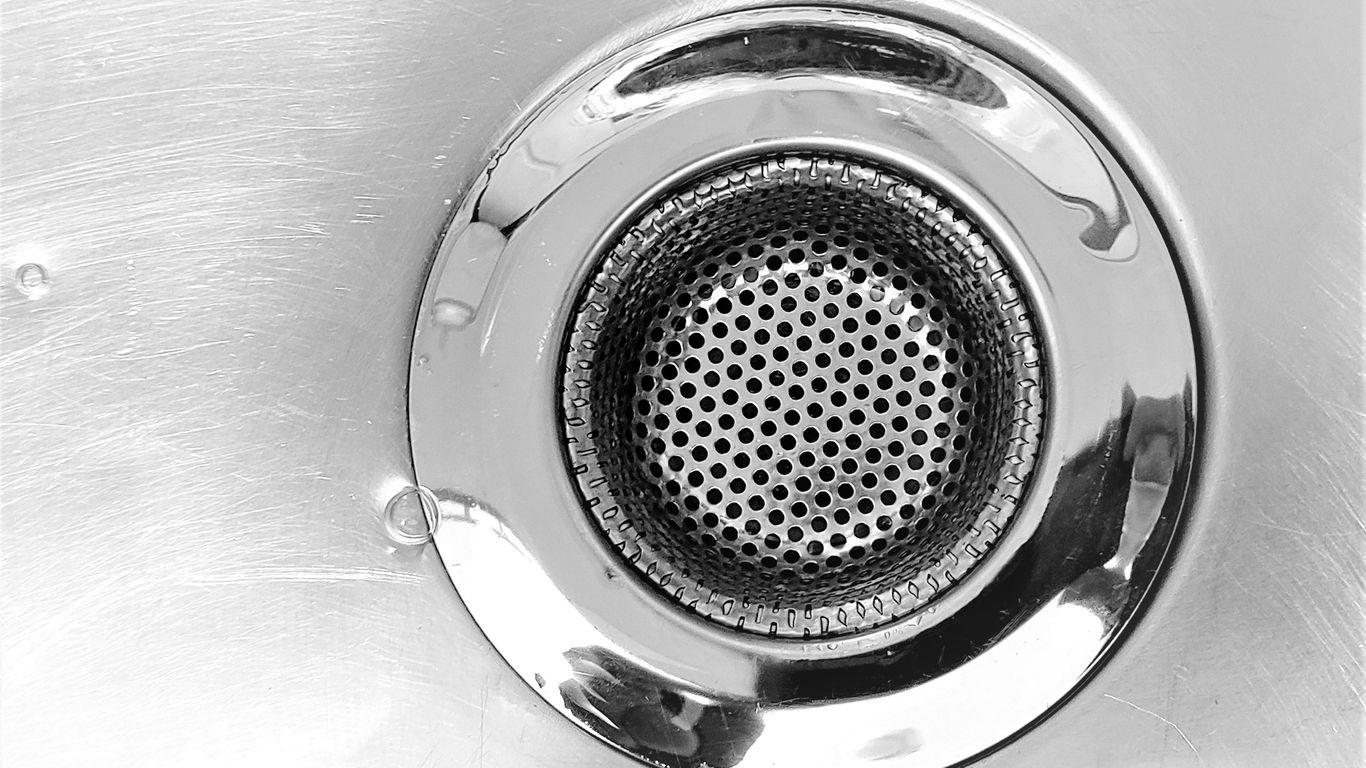
Place the waste where it supports the shape of the basin rather than treating it as an afterthought. The internal base should guide water naturally towards the outlet, with enough fall to prevent a shallow film from remaining across a broad surface. The external waste position must then align with the trap and the pipework below.
A section drawing is especially useful for a shallow basin. It reveals whether the apparent slope is real, whether the outlet sits below the lowest point and whether the underside leaves adequate room for the connection.
Selecting compatible wastes, traps and overflow solutions
Confirm the waste type, flange dimensions, trap size and connection standard with the plumber. An overflow may be built into the basin, formed through a separate opening or omitted where the specification permits, but each option changes the internal and external detailing. The fitting finish should also be checked against the marble and tapware.
Do not assume that a visually suitable waste will fit the available stone thickness. The rim, outlet and sealing surfaces need to be coordinated before drilling or machining begins.
Managing drainage in shallow, sculptural and irregular basins
Sculptural forms often contain changes of direction that look beautiful but can interrupt water movement. Keep transitions smooth where water passes, avoid abrupt ledges and test the proposed fall through sections and templates. In a shallow basin, even a small change in level can affect whether water reaches the outlet.
Irregular shapes may also need a custom waste position or a concealed channel. The drainage solution should remain accessible for maintenance rather than being hidden so completely that a future repair requires dismantling the vanity.
Preventing standing water and improving everyday cleaning
Standing water is usually connected to a combination of insufficient fall, an obstructed outlet or a surface texture that holds droplets. Keep internal corners generous enough to wipe, and avoid decorative recesses that cannot be reached with ordinary cleaning tools. The basin should be evaluated as a surface that will be touched and cleaned, not only as a sculptural object.
The following checks are helpful before approval:
- Is the lowest internal point clearly identified?
- Does the waste align with the trap and existing pipe route?
- Can the outlet and sealing surfaces be reached for maintenance?
- Are internal transitions smooth enough for routine wiping?
These questions do not replace a plumber’s review, but they bring practical drainage concerns into the design conversation before fabrication.
Coordinating basin drainage with existing plumbing
Survey the existing pipe position, wall depth and floor build-up before fixing the waste location. Renovation projects often have less tolerance than new-build bathrooms, and a beautiful basin can become difficult to install if the outlet conflicts with a drawer, support rail or structural member.
Where the plumbing cannot move, adapt the bowl or vanity deliberately. A clear compromise shown in the drawing is safer than an unrecorded adjustment made on site.
Developing the design and production drawings
The production drawing is the bridge between an idea and a finished stone object. It should describe the piece sufficiently for the workshop and the site team to understand the same geometry. Plans, elevations and sections should identify finished sizes, openings, edge profiles, material, finish and support assumptions. At Geoscenic Stone, made-to-order pieces are produced after an approved detailed production drawing, which makes this stage a genuine approval point rather than a formality.
Translating the concept into accurate technical drawings
Start with the room dimensions and fixed points, then develop the basin envelope and internal cavity. Show the relationship between the marble, vanity, wall, taps and plumbing. A perspective image can communicate mood, but it cannot replace dimensions, sections and clearly labelled drillings.
Include the overall length, width and height, as well as the positions of all openings. If the design relies on a particular vein direction or slab layout, record that intention alongside the drawing rather than leaving it to interpretation.
Specifying edge profiles, corners and internal transitions
Edges may be square, softened, bevelled, bullnosed or formed as part of a continuous sculptural profile. Each choice changes how the basin feels to the hand and how vulnerable the stone may be at exposed points. Internal corners also need a deliberate radius or transition so they can be machined, polished and cleaned consistently.
Keep the edge language consistent with the vanity and adjacent stonework. Small differences in radius can be noticeable when two pieces meet, especially under direct lighting.
Detailing tap holes, overflow openings and service access
Every tap hole, overflow, waste and access opening should be dimensioned from fixed reference points. State whether the hole is drilled through a rim, rear deck or separate countertop, and confirm the fitting manufacturer’s requirements before final approval. Service access beneath the basin should be shown with the intended trap and support arrangement.
This level of detail protects both the stone and the installation sequence. It also helps distinguish a confirmed requirement from a provisional idea that still needs a site decision.
Approving templates, samples and full-scale proportions
A full-size template can test the basin footprint, tap reach and user position in the actual room. Material samples help compare tone and finish, while annotated slab images can show how significant veining is expected to sit across the piece. These approvals are especially valuable when the basin is long, asymmetrical or closely integrated with a vanity.
Geoscenic Stone’s factory-to-order approach allows material selection and project-specific dimensions to be considered before cutting. The useful principle is simple: approve what will be made, rather than assuming a reference photograph represents the final stone.
Identifying tolerances before fabrication begins
Natural stone, plumbing and site construction all have tolerances. Set out which dimensions are critical, which edges may vary slightly and where the installer can make an adjustment without damaging the basin. Check the support, lifting points, access route and finished levels as part of the same review.
A tolerance discussion is not an admission that the design is uncertain. It is a way of making small, expected differences visible before they become disputes during installation.
Understanding how a custom marble basin is produced
Production begins once the stone, geometry, finish and drawings are confirmed. The workshop then turns a selected slab or block into a piece that must remain accurate, stable and safe to handle. Different designs call for different combinations of machining and hand work. The final quality depends on the relationship between those stages, not on any single tool.
Cutting the stone from a selected slab or block
The cutting plan should account for the basin’s external shape, cavity, rim, drilling and the direction of important veining. Material yield matters because a large amount of stone may be removed from the inside while the remaining walls still need to retain their strength. For a solid-block form, the block is selected and prepared before the cavity is developed.
The approved slab or block should be identifiable throughout production. This maintains a clear link between the material review, the drawing and the piece that reaches the site.
CNC machining, hand carving and combined techniques
CNC machining can establish repeatable contours, openings and rough geometry, while hand carving and hand finishing refine the details that give a basin its character. Some pieces will use a predominantly machined process; others benefit from a measured combination of digital accuracy and craft work. The method should suit the form, stone and required finish.
A hand-finished surface is not necessarily irregular in a careless sense. Its quality comes from controlled transitions, consistent touch and careful inspection against the intended drawing.
Grinding, polishing and refining the basin surface
After shaping, the marble is ground through progressively finer stages to remove tool marks and refine the edges and cavity. The chosen finish is then developed across the visible surfaces, including areas that are easy to overlook such as the underside of a rim or the transition near the waste.
The finish should be checked under light similar to the installation environment. Reflections can reveal subtle ripples, while a honed surface may show changes in texture that are less apparent in a workshop photograph.
Inspecting dimensions, drainage and structural integrity
Inspection should cover the external dimensions, wall thickness, rim consistency, drilled openings and internal fall. Check the basin against the approved drawing and examine it for cracks, chips, weak corners or unexpected voids. A dry fit of the waste and a controlled water test can help identify drainage issues before packing.
Geoscenic Stone describes its process as including cutting, forming, finishing, inspection, packing and delivery for project-specific pieces. Keeping these stages connected gives the project team a clearer basis for sign-off.
Protecting the finished basin for transport and installation
A marble basin should be supported at appropriate points and protected from impact, movement and moisture during transit. Its weight, centre of gravity, crate dimensions and site access all affect the packing plan. Export packing is not simply a matter of wrapping the visible surfaces; the piece needs restraint that does not place stress on delicate rims or corners.
The installation team should receive handling guidance and confirm lifting equipment, access and support before delivery. A careful route plan protects the finished work and reduces rushed decisions at the doorway.
Finishing, sealing and maintaining the basin
The finish and care routine should be agreed before the basin is installed. Marble will develop marks according to its environment, cleaning products and frequency of use, and a sealer reduces some risks without making the surface immune to them. A practical maintenance plan is therefore more useful than a promise of unchanged appearance. It should cover daily cleaning, periodic inspection and what to do when a mark appears.
Choosing honed, polished, brushed and other surface finishes
Polished marble has a reflective surface that can make colour and veining feel deeper. Honed marble has a lower sheen and a softer visual quality, while brushed or other textured finishes introduce a more tactile surface. The best choice depends on the room’s lighting, the desired character and how readily the surface can be wiped.
Keep the interior, rim and exterior finish consistent unless a deliberate contrast has been drawn and approved. Different textures may age differently and can make routine cleaning more complicated.
Applying sealer and understanding its limitations
Sealer can reduce the speed at which moisture and staining agents enter the stone, but it does not prevent etching caused by acidic substances or remove the need for prompt cleaning. The product should be suitable for the marble and applied according to the manufacturer’s instructions. Record when it was applied so future maintenance is based on a known interval rather than guesswork.
A sealed basin can still show changes in tone, mineral marks and use-related patina. That is part of living with natural stone, not evidence that the material has become defective.
Cleaning marble without etching or dulling the surface
Use a soft cloth or non-abrasive sponge with a cleaner confirmed as suitable for natural marble. Remove toothpaste, cosmetics, soap and standing water rather than allowing them to dry repeatedly on the surface. Avoid acidic household products, abrasive powders and aggressive pads, since these can alter the finish.
Rinse away residue and dry the basin after cleaning where practical. A simple, consistent routine is generally kinder to the stone than occasional heavy treatment.
Handling stains, limescale and minor surface damage
Different marks require different responses. A surface stain may respond to a suitable poultice, while limescale or an etched patch may need specialist treatment rather than an acidic descaler. Scratches and dull areas can sometimes be refinished, but the correct method depends on the finish, depth and extent of the damage.
Test any treatment in an inconspicuous area and seek professional advice for broad, deep or recurring problems. Rubbing harder is rarely a reliable solution for marble.
Establishing a maintenance routine for long-term use
Set out who will clean the basin, which products are permitted and when the sealer or surface should be reviewed. In a hospitality or commercial bathroom, the routine may need to be written into the cleaning schedule. In a private home, a short care note near the maintenance records can prevent unsuitable products being used later.
The aim is not to keep the marble frozen in its original state. It is to allow its colour, veining and surface character to mature while avoiding preventable damage.
Conclusion
A custom marble basin works best when its appearance and practical performance are developed together. Careful dimensions, a coordinated drainage route, an honestly selected stone and an approved production drawing give the workshop a sound foundation, while sensible sealing and cleaning help the finished piece remain useful and beautiful over time.
Frequently Asked Questions
What is the best depth for a custom marble basin?
The suitable depth depends on the vanity height, tap arrangement, available plumbing and desired capacity. A shallower basin can work well when its fall and waste are carefully designed, while a deeper basin may offer more water-holding capacity but require more support and space.
Is marble suitable for a bathroom basin?
Marble can be suitable for a bathroom basin when its porosity, finish, drainage and maintenance requirements are understood. It can stain, etch or scratch, so the choice should match the cleaning routine and level of use.
Should a marble basin have an overflow?
An overflow may be appropriate depending on the basin design, waste arrangement, fittings and applicable installation requirements. Its opening and internal route should be resolved in the technical drawing rather than added after fabrication.
Which marble finish is easiest to maintain?
There is no universal answer, but honed finishes are often chosen for a softer, lower-sheen appearance, while polished finishes can make marks more noticeable. All finishes need suitable cleaning and protection from acidic or abrasive products.
How can standing water be avoided?
The internal base should fall continuously towards a correctly positioned waste, with smooth transitions and no unnecessary ledges. The waste, trap and existing pipework must also align so water can leave the basin efficiently.
How much variation should be expected in natural marble?
Variation in veining, tone, figuring, porosity and mineral marks is inherent to natural marble. Reviewing the selected slab and approving the intended cutting layout helps set realistic expectations, although the completed piece will still be unique.
What should be approved before marble fabrication starts?
Approve the dimensions, sections, basin cavity, rim and edge profiles, tap and waste openings, overflow details, finish, stone selection, slab layout, support assumptions and installation constraints. Recording these items in a production drawing reduces ambiguity later.
Plan Your Bespoke Basin
If you are commissioning a basin or another made-to-order stone piece, request a quotation with your dimensions, drawings, preferred material and project location. Geoscenic Stone can then review the requirements and develop the next steps around the specific piece.