
Key Takeaways
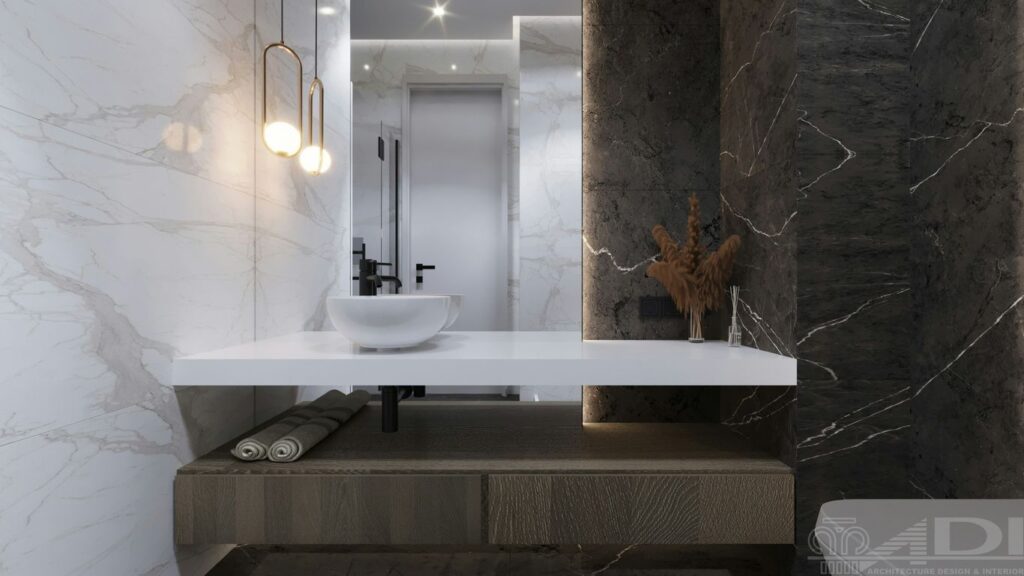
A marble basin can be a quiet architectural feature or the main visual statement in a bathroom. Its success depends on choosing the right stone, proportions, finish and care routine from the outset.
- Natural marble varies in colour, veining, mineral marks and porosity.
- Basin shape and dimensions should be planned with the vanity, tap and waste.
- Polished, honed and textured finishes create different practical demands.
- Sealing helps reduce staining but does not make marble maintenance-free.
- Careful inspection, support and installation help protect the basin for years.
Understanding marble as a basin material
Marble brings depth that manufactured surfaces rarely reproduce exactly. It is formed by geological heat and pressure, so every piece carries its own combination of colour, crystal structure and veining. That individuality is part of the material’s appeal, but it also means a photographed basin should be treated as a reference rather than a guarantee of identical appearance.
How marble forms and why each basin is unique
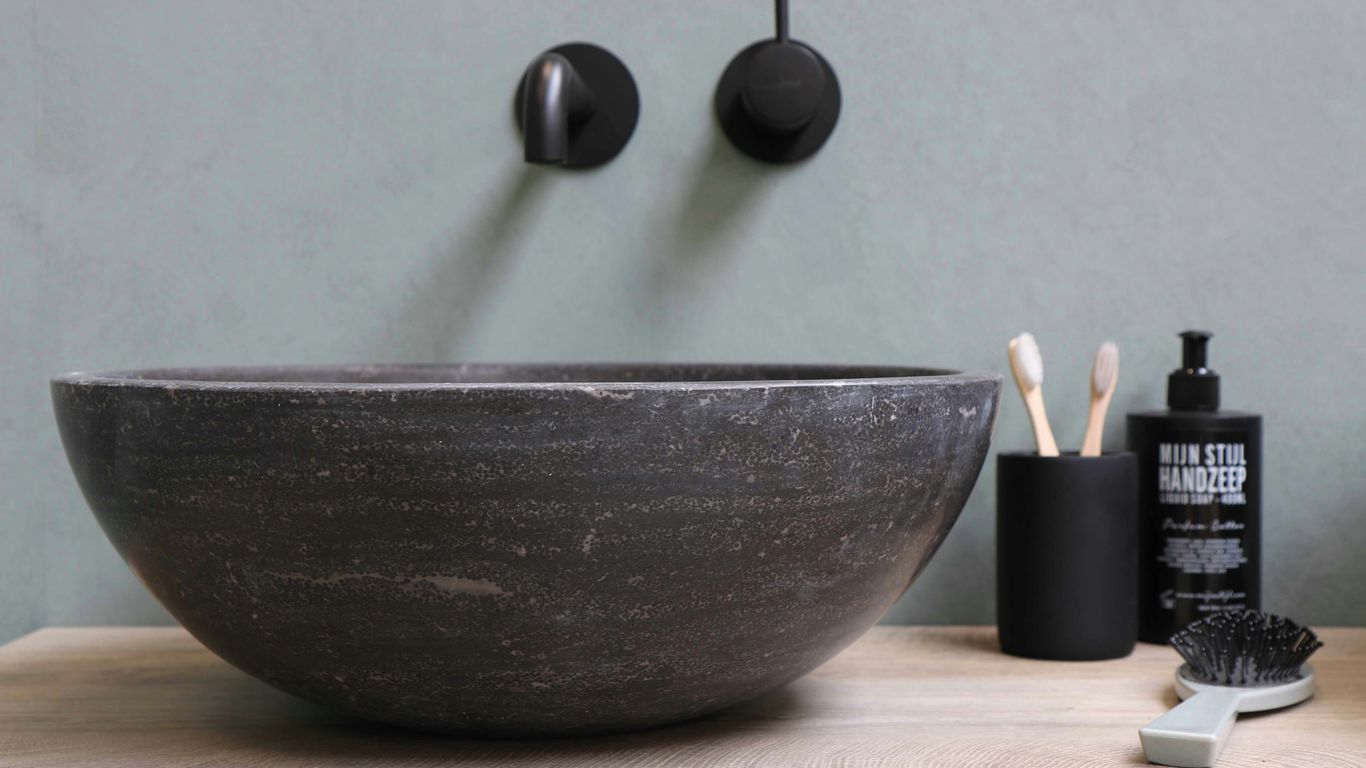
Marble begins as carbonate rock that has been altered over time by heat, pressure and mineral movement. When the stone is cut and shaped, veining that travelled through the original rock becomes visible across the basin’s walls and rim. Two basins made from the same general variety may therefore differ noticeably in tone, pattern and small mineral inclusions.
For a made-to-order project, the useful question is not whether the stone can be made perfectly uniform. It is whether the selected material suits the intended composition and whether the expected variation has been understood before production. A slab or block review, where available, can help align expectations.
Common marble varieties and their visual differences
Carrara-type marbles are often associated with pale backgrounds and softer grey veining, while Calacatta-type stones may show stronger, more graphic veins. Darker marbles can create a denser, more dramatic effect, and green, brown or warm-toned stones bring a different atmosphere altogether. Names alone are not enough: origin, grade, block and finish all influence the final appearance.
The same stone can also read differently under daylight, warm artificial lighting and a wet surface. Samples are useful for narrowing the choice, but a sample cannot represent every section of a larger block. For broader material guidance, a marble furniture guide offers a useful way to think about colour, porosity and hardness together.
Natural variation, veining and colour consistency
Veining may run across the bowl, gather near the waste or disappear at a cut edge. This is not necessarily a quality issue. What matters is whether the placement looks intentional and whether prominent marks, open areas or filled features have been discussed before fabrication.
If a bathroom scheme needs close visual consistency between several basins, ask how the pieces will be selected and whether they can come from a related section of stone. A calm, pale basin may suit a restrained interior, while stronger movement can make a simple vanity feel more sculptural.
Porosity, hardness and resistance to bathroom conditions
Marble is a relatively hard natural stone, but hardness does not mean immunity from staining, scratching or chemical etching. Water, soap, cosmetics and acidic products can all affect the surface over time, particularly where moisture is left to sit. Porosity varies by stone, so one marble basin may absorb marks more readily than another.
A suitable sealer and sensible daily cleaning reduce risk, but neither changes marble into a non-porous material. In a busy bathroom, allow ventilation and make it easy to wipe the rim and bowl dry. Geoscenic Stone produces made-to-order stone pieces from material selected for each order, with the dimensions and finish confirmed in an approved production drawing.
Choosing the right marble basin design
The basin needs to work as a piece of stone and as plumbing equipment. A beautiful shape can become awkward if the tap lands too close to the rim, the vanity lacks support or the waste position has not been resolved. Begin with the room, the user and the installation method rather than choosing a silhouette in isolation.
Vessel, countertop and undermount basin styles
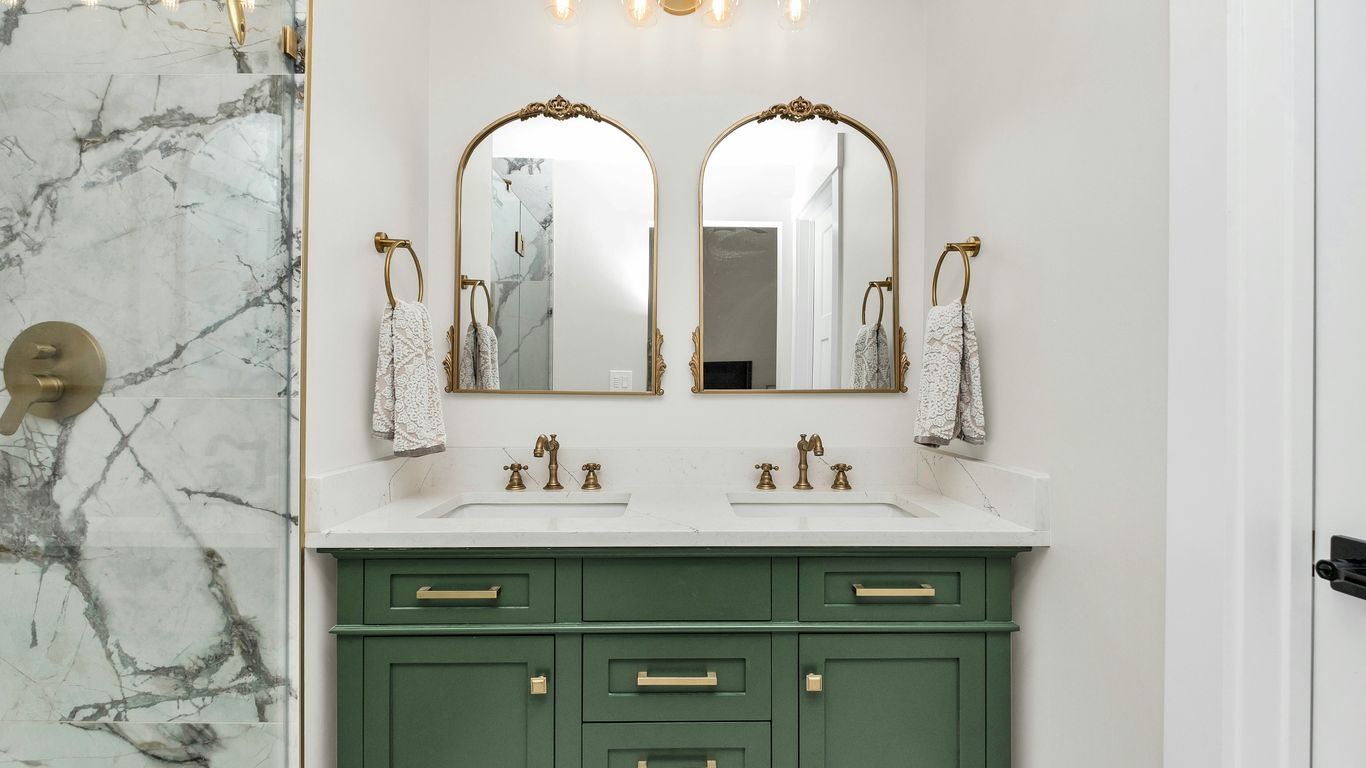
A vessel basin sits above the worktop and makes the stone highly visible, including its outer walls. It can be effective where the vanity top is a quiet supporting surface, although the raised height needs to be considered when positioning the tap. A countertop basin sits into or onto the vanity arrangement, while an undermount design gives a more integrated, low-profile appearance.
The installation style affects cleaning, access and the way the basin’s thickness is perceived. It also affects the detailing required at the cut-out. A clear drawing showing the rim, support, waste and tap relationship is more useful than a product image alone.
Round, oval, rectangular and sculptural shapes
Round and oval basins soften a rectilinear vanity and can leave useful space around the bowl. Rectangular forms often suit wall-to-wall furniture and double-basin layouts, while sculptural or carved shapes work best when the surrounding scheme leaves them room to be seen.
Shape also influences how water moves towards the waste and how easily the corners can be wiped. Deeply shaped or narrow bowls may look striking but should be checked for comfortable hand washing and practical access.
Matching basin dimensions to the vanity and bathroom
Measure the available width, depth and height, then check clearances to walls, mirrors, drawers, lighting and shower screens. The basin should leave enough useful counter space without making the vanity feel crowded. In a compact room, a small change in projection can affect door swings and circulation.
For larger residential or hospitality projects, repeatability matters as much as appearance. Geoscenic Stone can produce made-to-order furniture and architectural pieces to an approved drawing, so dimensions should be settled before cutting rather than adjusted around an assumed stock size.
Planning tap, waste and splashback compatibility
Confirm whether the tap is wall-mounted, deck-mounted or integrated, and identify the required hole positions before production. Check the waste type, trap clearance and access for maintenance. A splashback or upstand may change the usable depth behind the basin, while a mirror can affect the ideal tap height.
The custom sink process is a useful reference for the kind of information that should be agreed early: dimensions, finish, configuration and approval points. The principle applies whether a basin is commissioned for a home, hotel or commercial washroom.
Comparing marble finishes and surface textures
Finish changes more than shine. It influences how colour is read, how prominent the veining appears and how easily water marks show. It also changes the tactile quality of the basin, so the best option is the one that suits both the visual brief and the expected routine.
Polished marble for a reflective luxury look
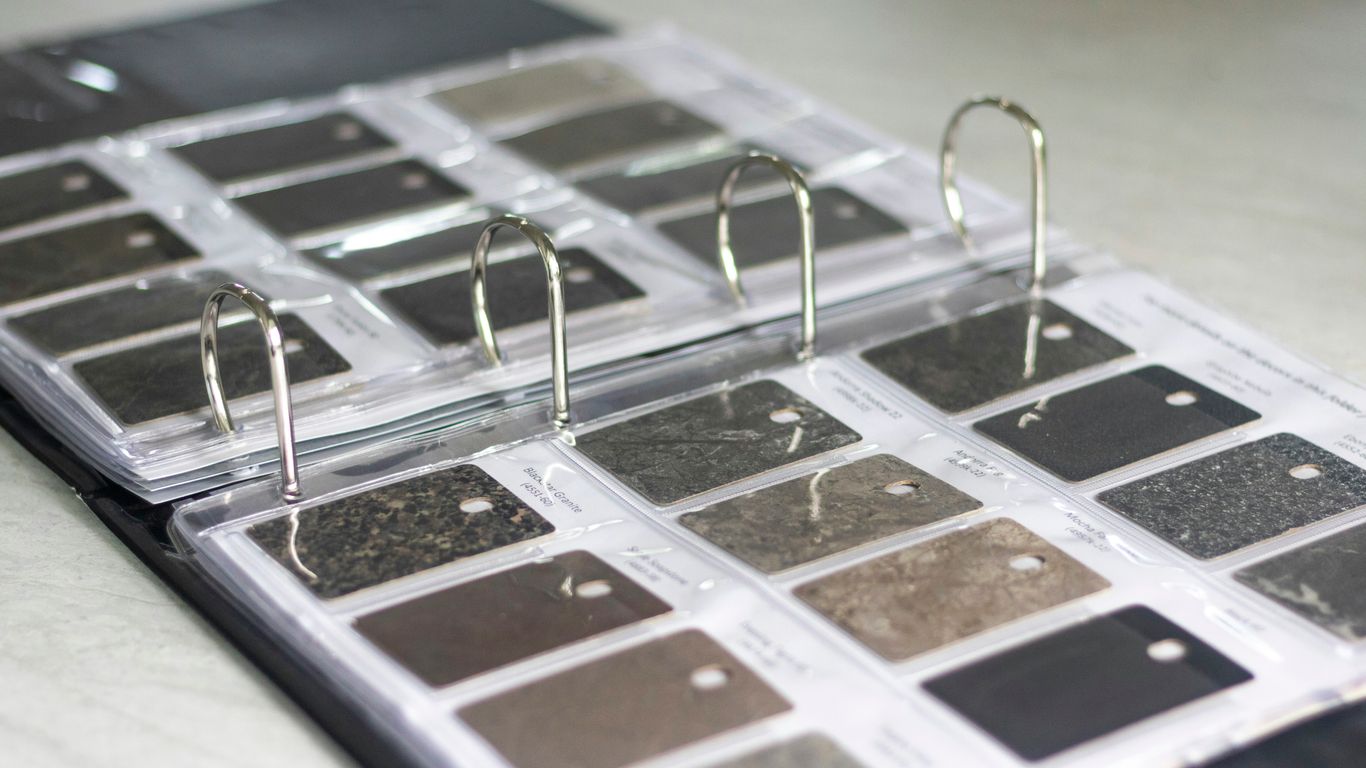
A polished surface has been mechanically refined to create a higher sheen. It can make pale marble appear brighter and bring contrast to veining, giving a basin a formal, reflective character. The smooth surface is generally straightforward to wipe, though splashes and deposits may be more visible under strong lighting.
Polish does not make marble resistant to acids. Toiletries, cleaners and hard-water deposits still need prompt attention, and the rim should not be treated as a place to leave metal containers or abrasive objects.
Honed marble for a softer, matt appearance
Honing removes the strong reflection and leaves a softer, matt or low-sheen surface. It can make a basin feel quieter and more tactile, and minor marks may be less visually prominent than on a highly reflective finish. On the other hand, a honed surface may show darkening where water or oily products are absorbed.
Honed marble is often a good fit for understated interiors, but it still benefits from sealing and drying. A finish sample viewed under the bathroom’s intended lighting can prevent surprises after installation.
Brushed, fluted and carved surfaces
Brushed or textured finishes introduce fine variation, while fluting and carving create repeated shadow lines. These details can give a simple basin stronger architectural presence, but they add more surface area and more edges where residue may collect. The depth and spacing of the texture should be discussed, not left as a purely visual decision.
Where several pieces are required, confirm how the pattern will align at corners or across adjacent elements. A small shift in a fluted rhythm can be noticeable, particularly in a symmetrical bathroom.
How texture affects cleaning and everyday use
Smooth surfaces are usually the simplest to wipe, while grooves and carved recesses need a softer brush or folded cloth. The cleaning method should not remove the finish or round over crisp detailing. This is one reason a basin intended for a busy guest bathroom may need a different finish from one used occasionally in a private ensuite.
A practical routine is easier to maintain when the texture is accessible and the surrounding counter can be dried quickly. Finish, basin depth and tap reach should be considered together rather than selected as separate design features.
Assessing quality before you buy
Quality is visible in the stone, but also in the accuracy of the shaping and the clarity of the specification. Ask for the finished dimensions, material description, edge details, drillings and support requirements in writing. A well-presented basin should have a clear route from selection to inspection, packing and installation.
Checking thickness, weight and structural integrity
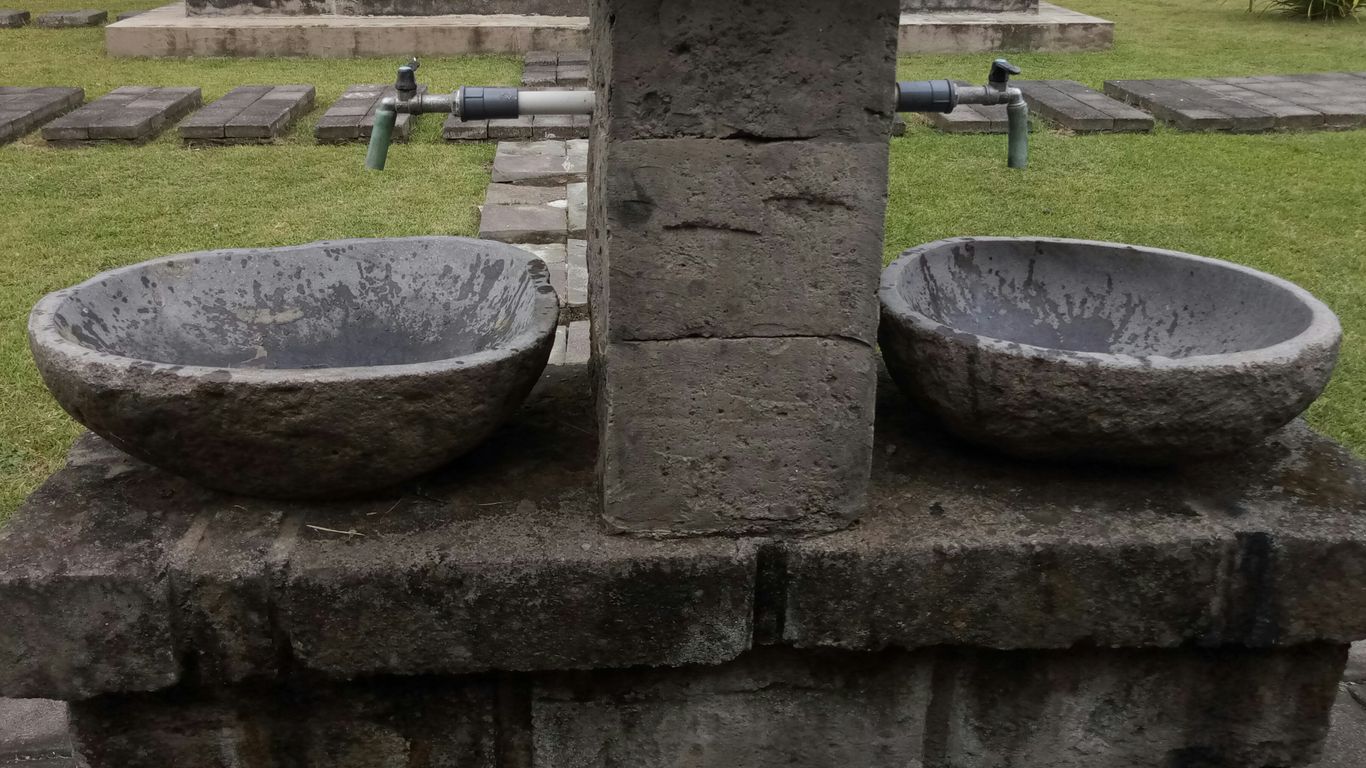
A basin made from substantial stone will be heavy, and that weight affects delivery, lifting and the vanity structure. Look for an even wall thickness where the design calls for it, with no sudden thinning around the rim or waste opening. The underside should be considered as carefully as the visible bowl.
Do not judge strength by thickness alone. Stone type, geometry, unsupported spans and cut-outs all matter. The installer and fabricator should agree how the basin will be lifted and supported before it reaches site.
Looking for filled holes, cracks and uneven edges
Natural stone may contain small pits or mineral features, and some can be filled during fabrication. Filling is not automatically a defect, but the location, colour and finish of the repair should be acceptable for the intended use. Hairline cracks, unstable edges or poorly finished drillings deserve closer investigation.
Run a clean hand over the rim and inspect it in directional light. Unevenness may be part of a carved design, or it may indicate inconsistent finishing. Ask which is intended before accepting the piece.
Comparing handmade and machine-cut basins
Hand finishing can give a basin subtle irregularity and a visibly crafted character. Machine cutting may provide tighter repeatability for a project with several identical units. Neither approach is automatically superior; the appropriate choice depends on the design, tolerances and the importance of matching pieces.
The useful comparison is between the agreed drawing and the inspected result. Geoscenic Stone’s factory-to-order approach covers cutting, forming, finishing, inspection and packing for a specific project, rather than treating a photographed piece as interchangeable stock.
Confirming dimensions, tolerances and included fittings
Before purchase, confirm overall length, width and height, internal bowl dimensions, rim thickness, waste location and tap drillings. Also establish whether the waste, fixing hardware, template and overflow components are included. Plumbing standards and site conditions may require details that are not visible in a listing photograph.
A simple schedule can prevent confusion between nominal and finished dimensions. These checks are especially valuable when a basin must meet a stone vanity, tiled wall or pre-installed service connection.
| Detail to confirm | Why it matters | Who should verify it |
|---|---|---|
| Overall dimensions | Confirms fit within the vanity and room | Designer and installer |
| Rim and wall thickness | Helps assess appearance and support | Fabricator and installer |
| Tap and waste positions | Prevents plumbing conflicts | Plumber and fabricator |
| Finish and edge profile | Sets the visual and tactile result | Client and designer |
| Packing and access route | Reduces delivery and lifting risk | Project team |
The table is a starting point, not a substitute for a production drawing. Record the agreed details before fabrication so that visual expectations and site requirements are working from the same information.
Sealing a marble basin correctly
Sealing is a protective step, not a permanent barrier. It can reduce the rate at which water and staining substances enter the stone, but it cannot prevent etching from acidic products or compensate for standing moisture. The stone must be clean, dry and suitable for treatment before any sealer is applied.
Why marble needs protection from water and stains
A basin is repeatedly exposed to water, soap, toothpaste, cosmetics and occasionally hair or cleaning products. If these remain on a porous area, they may darken the stone or leave a visible mark. Sealing gives the household more time to wipe spills before they penetrate deeply.
Protection is particularly useful around the bowl, tap base and waste, where moisture tends to linger. It should be paired with ventilation and routine drying rather than used as a reason to ignore either.
Choosing a suitable sealer for bathroom use
Use a sealer intended for natural marble and compatible with the finish. Some products are penetrating sealers, while others can alter the appearance or leave a surface film. Follow the manufacturer’s technical instructions and check whether the product is appropriate for food-contact areas only if the basin has an unusual secondary use.
When in doubt, ask the stone supplier or a stone-care professional to confirm compatibility on a discreet test area. Avoid choosing a product solely because it promises a wet look; a change in colour or sheen may not suit the approved design.
Preparing the surface before applying sealer
Remove construction dust, soap film and any previous product, then allow the marble to dry fully. Mask adjacent materials and ensure the room is ventilated. Apply a small test area first, observing both absorption and the final appearance after the recommended curing period.
Do not seal over a stain that needs treatment or over moisture trapped in the stone. The result may be uneven and the underlying issue can become harder to address. Clean tools and careful coverage matter around edges and drilled openings.
How often to reseal based on use and stone type
There is no universal calendar for resealing. Frequency depends on the marble’s porosity, the sealer, bathroom traffic and the way the basin is cleaned. A simple water-bead test can provide an indication, although it is not a complete technical assessment.
If water darkens the stone quickly or no longer beads in an area that was previously protected, seek product-specific advice. High-use hospitality basins may need more regular review than a lightly used ensuite.
Cleaning and maintaining a marble basin
Good marble care is mostly gentle and regular. Wipe away toothpaste, soap and cosmetics rather than allowing them to dry, then rinse and dry the surface with a soft cloth. The aim is to remove residue without abrading the finish or exposing the stone to unnecessary chemicals.
Safe daily cleaning methods
Use warm water and a soft microfibre cloth for everyday wiping. For a more thorough clean, choose a pH-neutral cleaner labelled as suitable for natural stone, dilute it as directed and rinse away any residue. Drying the rim and bowl after use helps reduce mineral deposits and water marks.
Keep separate cloths for the basin and harsher bathroom tasks. A cloth that has picked up grit can scratch a polished surface even when the cleaner itself is mild.
Products and ingredients to avoid
Avoid acidic substances such as vinegar, lemon-based cleaners and descaling products unless a stone professional has specifically approved them. Bleach, abrasive powders, scouring pads and strong alkaline cleaners can also affect the surface or any filled areas. Do not use rough sponges simply because the basin appears durable.
A useful household rule is to check the label before bringing a bathroom product near the marble. If the instructions are unclear, use water and a soft cloth until the product’s compatibility is known.
Removing soap residue, limescale and light stains
Fresh soap residue can usually be lifted with a pH-neutral stone cleaner and a soft cloth. Limescale is more difficult because common acid-based removers can etch marble; repeated gentle cleaning is safer than an aggressive single treatment. Light organic or cosmetic stains may need a poultice, but the method should be matched to the stain and stone.
Never scrape deposits with a blade or metal tool. For a persistent mark, photograph it, note what caused it if known, and ask a stone-care specialist before applying a stronger treatment.
Preventing water marks and cosmetic discolouration
Water marks are less likely when the basin is dried after use and containers are lifted rather than left in damp rings. Use trays beneath bottles if they are likely to leak, and avoid storing metal objects directly on wet marble. Check the area around the tap regularly, since a small leak can create a persistent dark patch.
For a broader perspective on natural stone care in humid interiors, stone care guidance can help when planning the relationship between material, ventilation and everyday use. The same principle applies here: small habits are easier than restoring a neglected surface.
- Wipe splashes and toiletries promptly.
- Use only soft, clean cloths on the surface.
- Keep acidic and abrasive products away from the basin.
- Review the sealer when water begins to absorb quickly.
These steps do not make marble maintenance onerous; they make it predictable. A consistent routine also helps distinguish normal variation from a new stain, leak or finish change.
Handling damage, installation and long-term care
Most serious basin problems occur during transport, lifting or fitting rather than ordinary hand washing. Stone is strong in use but vulnerable at unsupported edges and around cut-outs. Plan the route, support and installation sequence before the basin arrives on site.
Avoiding chips and cracks during delivery and fitting
Keep the basin in its protective packaging until the installation area is ready. Do not drag it across a floor or lift it by a thin rim, tap edge or waste opening. Inspect the crate and basin promptly, recording any damage before installation proceeds.
A delivery route should account for door widths, stairs, lifts and turning spaces. Geoscenic Stone coordinates packing and delivery details for project-specific pieces, while the site team remains responsible for confirming access and safe handling conditions at the destination.
Supporting the basin and protecting surrounding surfaces
The vanity, brackets or substrate must support the basin across the areas intended by the design. Silicone may help seal a joint, but it should not be treated as the sole structural support for a heavy stone piece. Protect adjacent tile, timber and metal from impact during positioning.
Before final fixing, dry-fit the basin and check the tap, waste and wall clearances. This is the point to resolve a conflict, not after adhesive or sealant has cured.
What to do about etching, stains and minor scratches
Etching appears as a dull or lighter patch caused by a chemical reaction with the marble surface; it is not the same as a deposit sitting on top. Minor scratches may sometimes be reduced by professional honing or polishing, while stains may require a poultice and time to draw out.
Do not attempt a forceful repair with household abrasives. First identify whether the issue is residue, absorbed staining, etching or physical damage. The correct treatment depends on the finish and the depth of the problem.
When professional stone restoration is necessary
Call a stone-restoration professional for cracks, unstable chips, deep scratches, widespread etching or stains that do not respond to a suitable gentle treatment. They can assess the stone in person and explain whether local repair, refinishing or replacement is sensible.
For a commissioned piece, keep the approved drawing, stone details and care instructions with the project records. If a repair is needed later, that information gives the specialist a clearer starting point.
Conclusion
A marble basin rewards careful selection and realistic expectations: natural variation gives it character, while thoughtful dimensions, finish, sealing and handling make it practical. Review the details with your fabricator and installer, and request a quotation when you are ready to discuss a made-to-measure stone piece; Geoscenic Stone can then assess the material, drawing, weight, packing and destination requirements for the individual project.
Frequently Asked Questions
Is marble suitable for a bathroom basin?
Yes, marble can be suitable when it is correctly fabricated, supported, sealed and maintained. It remains vulnerable to staining, scratching and acidic etching, so the material should be chosen with the bathroom’s level of use in mind.
Does every marble basin look different?
Natural marble varies in tone, veining, mineral marks and porosity. Even basins made from the same broad variety may not have identical patterns, particularly when they are cut from different areas of a block.
Is polished marble easier to clean than honed marble?
Both can be cleaned with gentle, stone-safe products. Polished marble is smooth and reflective, while honed marble has a softer appearance; the more significant difference in daily care is often how visible water marks and absorbed products become.
How often should a marble basin be resealed?
Resealing depends on the stone, sealer, usage and cleaning routine. Check how readily water absorbs into the surface and follow the sealer manufacturer’s guidance rather than relying on a fixed annual schedule.
Can vinegar be used to remove limescale from marble?
Vinegar is acidic and can etch marble, so it should not be used as a general limescale remover. Use a cleaner specifically approved for natural stone or ask a professional about a suitable treatment.
What should I check before installing a marble basin?
Confirm the finished dimensions, weight, support method, tap and waste positions, access route and compatibility with the vanity. Inspect the basin for damage before fitting and resolve any discrepancy with the approved specification.
Can a scratched or etched marble basin be repaired?
Minor surface issues may be improved through professional honing, polishing or stain treatment. Deep cracks, chips or extensive damage need an assessment from a qualified stone-restoration specialist before any repair is attempted.