
Key Takeaways
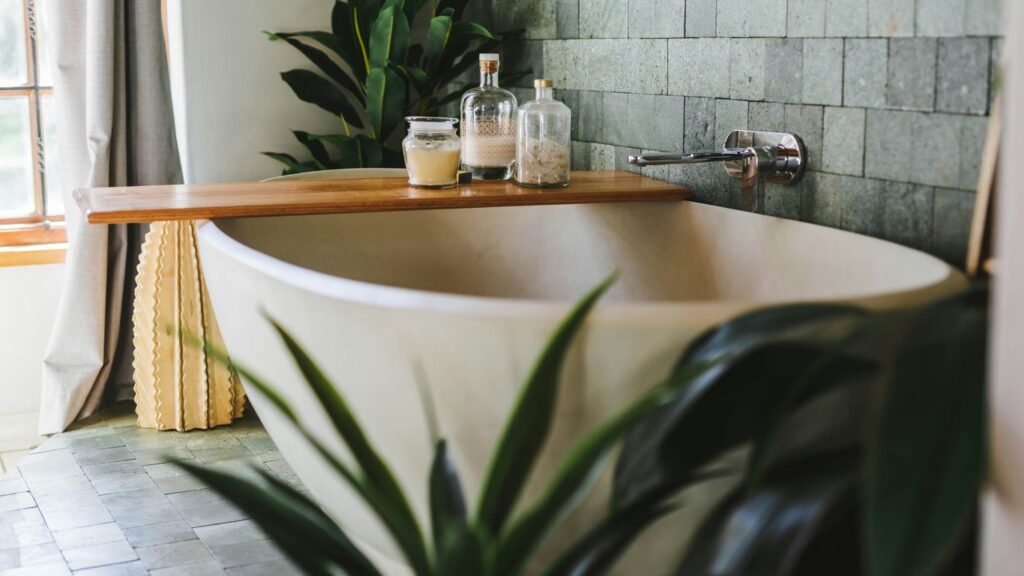
A custom stone bathtub is planned as a complete architectural object, not simply carved to an attractive outline. Its success depends on the relationship between stone selection, ergonomics, plumbing, fabrication, finishing and installation.
- The design brief establishes dimensions, comfort, capacity and connection points before cutting begins.
- Stone is inspected and oriented carefully so its natural character supports the finished form.
- Sawing removes the bulk of the material, while carving and grinding establish the bathing surface.
- Finishing, sealing and testing protect both appearance and day-to-day performance.
- Delivery and floor loading need to be resolved before the finished bath leaves the factory.
Defining the design and technical brief
The making of a custom stone bathtub begins with questions rather than machinery. The client, designer and fabricator need a shared understanding of how the bath will look, how it will be used and how it will connect to the room. A clear brief reduces expensive changes once a large, heavy block has been cut.
Translating the client’s requirements into a bathtub design
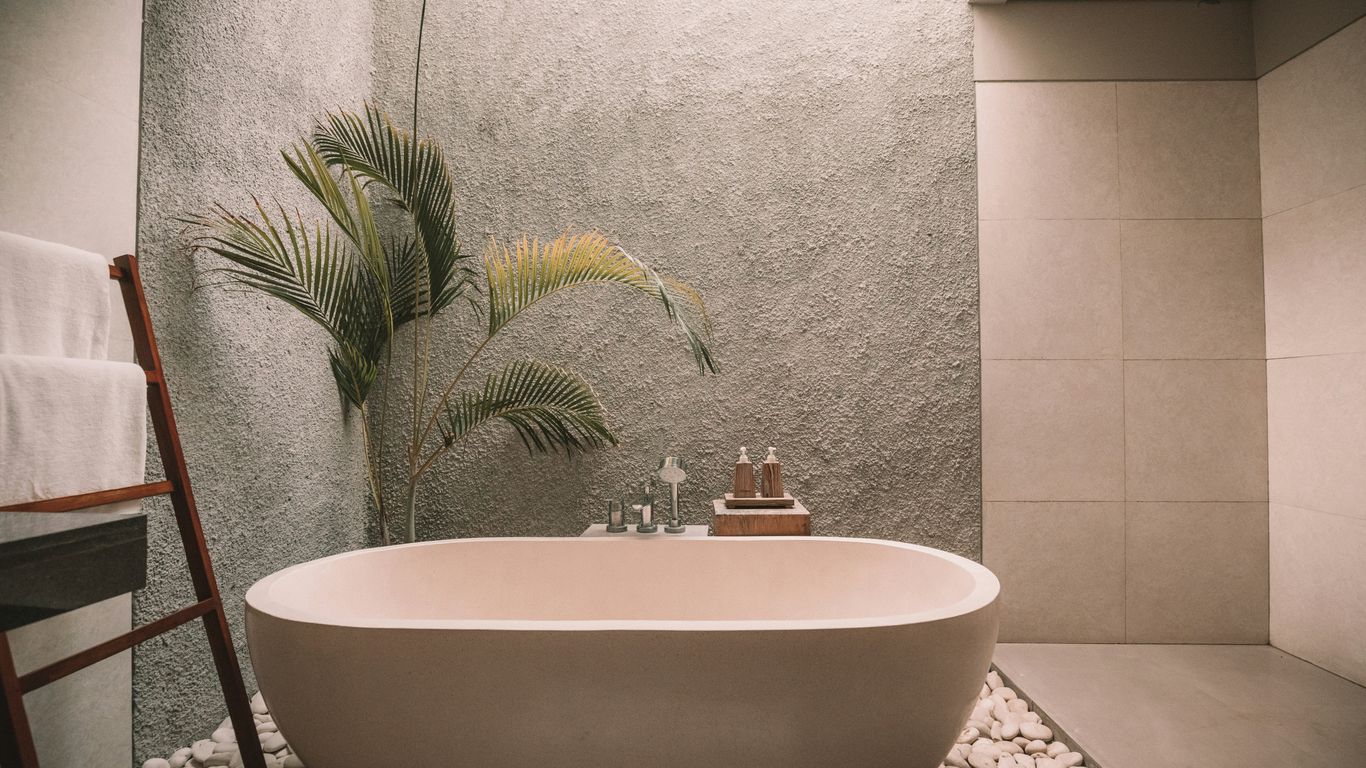
The first conversation covers the intended setting, number of users, preferred bathing position and visual character. A hotel project may call for repeatable dimensions across several rooms, while a private residence may prioritise a particular view, a generous shoulder line or a sculptural exterior. The bath is designed around those requirements, with natural variation retained as part of the material rather than hidden.
For wider context, this is similar to the discipline described in a natural stone bathtub guide: appearance, weight, access and aftercare all need to be considered together. The result should be a workable object, not an attractive sketch that cannot reach the room.
Setting dimensions, ergonomics and water capacity
External length and width determine the footprint, but internal dimensions determine whether the bath feels comfortable. The team considers back angle, bathing depth, rim height, legroom and the amount of water required to reach the intended level. Allowances for the thickness of the stone and the user’s movement are resolved before a final volume is stated.
A generous bath can weigh considerably more when filled, so the design team should distinguish the empty stone weight, water load and occupants’ load. Those figures belong in the project conversation from the outset, particularly where the bath is planned for an upper floor.
Coordinating the waste, overflow and plumbing connections
Waste position, overflow height and tap locations are set out in relation to the room’s finished surfaces. Drainage must have a practical route, with enough fall and access for maintenance. The fabricator also needs the fitting specifications, because a beautifully shaped opening is of little use if it does not suit the selected waste or overflow assembly.
This is where a basin design resource such as custom marble basin planning can offer a useful parallel: plumbing details should be treated as part of the stone design, not added after the visible form is complete. Any uncertainty is recorded on the drawing rather than left to the installation stage.
Creating drawings, templates and CAD models
Approved drawings normally show plan, elevation and section views, together with internal radii, rim details, wall thicknesses and drilling locations. Templates can help transfer the profile to the block, while a CAD model allows the team to check clearances and estimate the material to be removed.
The production drawing becomes the reference for fabrication, inspection and approval. It should identify the selected stone, finish and tolerances clearly, because natural material will vary in colour, veining, porosity and mineral marks.
Selecting and preparing the stone block
The block determines much of the finished bath’s visual and structural character. Marble, granite, limestone and other stones each respond differently to cutting, grinding, moisture and finishing. Selection is therefore both an aesthetic decision and a fabrication decision.
Comparing marble, granite, limestone and other stone types
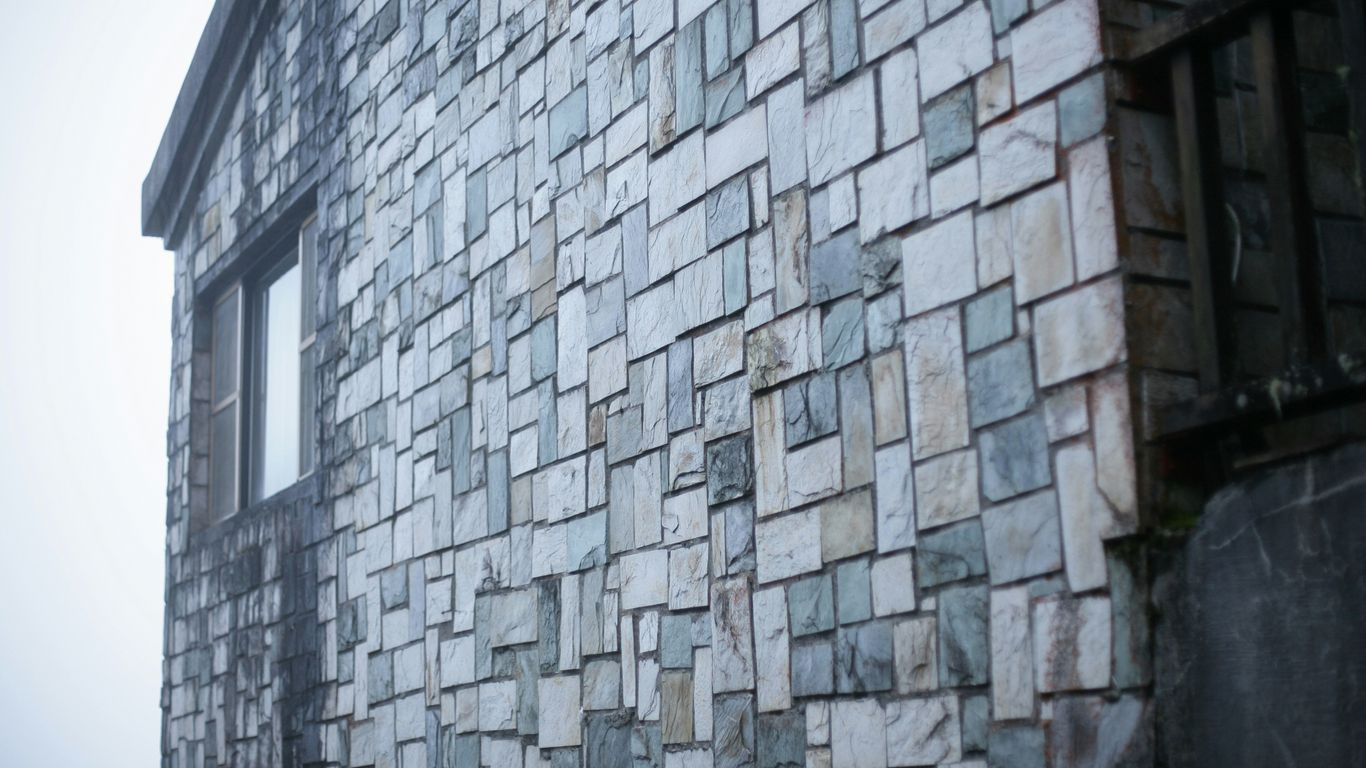
Marble is often selected for its veining and ability to take a refined finish. Granite can bring a denser, more granular appearance, while limestone tends towards a softer, quieter surface. Travertine and onyx introduce their own porosity, colour and pattern considerations. No category removes the need to inspect the actual block.
The finish changes the reading of every material. A honed surface softens reflection, a polished surface emphasises depth and colour, and a textured treatment can make the exterior feel more architectural. The choice should suit both the stone and the level of maintenance the room can support.
Inspecting the block for cracks, veining and structural weaknesses
Before fabrication, the block is examined for visible fissures, open veins, mineral concentrations and areas that may affect the wall or rim. Its dimensions are checked against the approved model, with enough allowance for saw cuts and subsequent grinding. Natural marks are not automatically flaws; their location and relationship to the finished form are what matter.
A careful inspection also considers how the block will look after material is removed. A vein visible on the outside may disappear inside the cavity, or it may become a strong feature across the rim. That outcome should be discussed before production begins.
Planning the cut to suit the stone’s grain and natural pattern
The block is oriented so the most important surfaces receive the most considered pattern. The plan may place a long vein along the exterior, centre a quieter area on the bathing well or reserve a particularly clear section for the rim. This is one reason a photographed example cannot promise an identical final appearance.
The cutting plan also balances visual goals against usable material. Excessive ambition in one direction can leave weak areas at corners or create unnecessary waste, so the approved orientation needs to be practical as well as beautiful.
Moving and securing the block safely for fabrication
A stone block must be lifted with equipment suited to its size, shape and weight. It is placed on stable supports and restrained so vibration does not create avoidable movement during cutting. The work area is kept clear, with a defined route for handling the block and later moving the finished bath.
The factory-to-order approach used by Geoscenic Stone places material selection, production drawings, finishing, inspection, packing and delivery within one project sequence. That sequence matters here: safe handling is not separate from design, because every kilogram affects the fabrication and delivery plan.
Cutting the rough bathtub shape
Once the stone has been selected and marked, fabrication begins by removing the material that does not belong to the final outline. This stage is deliberately broad and controlled. It creates the mass from which the refined form will emerge while protecting the areas that will become the rim, walls and base.
Marking out the external profile on the stone
Reference lines are transferred from the drawing to the block, including the centreline, ends, rim height and principal curves. The marking is checked from more than one face so the profile remains aligned through the depth of the stone. Small errors at this stage can become much more visible once the surface has been polished.
The marks also show where material must be retained. A generous allowance is left for grinding, particularly around curved transitions and edges that will later be softened by hand.
Removing excess material with saws and cutting equipment
Large saws and other cutting equipment remove the bulk in a planned sequence. Straight cuts can reduce the amount of grinding required, but they must stop short of the final profile. Dust, water and slurry are managed throughout the operation, and the block is checked regularly rather than treated as a single uninterrupted cut.
A useful fabrication schedule usually separates the work into rough cutting, cavity removal, shaping and finishing. That separation makes it easier to inspect the stone between stages and respond to a newly exposed vein or weakness.
Establishing the rough internal cavity
The cavity is opened gradually from the marked interior, leaving a controlled layer of stone for later shaping. The rough well need not yet have its final radius or drainage fall; its purpose is to remove weight and establish enough space for the machining tools.
The opening is kept within the approved dimensions. If the cavity is taken too far too early, there may not be enough material left to correct the rim or achieve an even wall thickness.
Managing wall thickness, weight and structural stability
Wall thickness is monitored around the entire bath, with particular attention to corners, the rim and the area around drilled openings. A thinner section may reduce weight, but it can also limit the freedom to refine the profile. The finished object needs a sensible balance between mass, strength and the lifting capacity available on site.
The practical implications are familiar from single-block stone bathtubs, where the appeal of a monolithic form must be considered alongside handling and structural demands. The bath is not finished when it first resembles a tub; stability remains a question at every later stage.
Carving the interior and refining the form
With the rough mass established, the work becomes more exact. The interior is shaped for the body, water and drainage, while the exterior is brought closer to its final curves. This is where the drawing starts to become a tactile object, and where small changes in radius can alter the way the bath feels.
Shaping the bathing well for comfort and drainage
The bathing well is carved to support the back and legs without creating awkward shelves or abrupt changes in direction. Its lowest area is coordinated with the waste so water can leave efficiently. The transition from the side wall to the base is softened where possible, making the surface easier to clean and more comfortable to touch.
The exact geometry depends on the chosen design and stone block. What matters is that comfort and drainage are developed together rather than competing at the last stage.
Forming the rim, curves and transition areas
The rim is refined to a consistent width and height, then blended into the exterior curves. Rounded profiles can make a substantial bath feel quieter, while a crisp edge gives it a more architectural presence. Either approach requires careful control where planes meet curves.
Hand tools are often used after machine work to resolve these transitions. Their value is not decorative alone; they allow the fabricator to feel and correct subtle changes that may not be obvious in a digital model.
Machining the drain and overflow openings
Drain and overflow holes are machined to the confirmed fitting dimensions and positions. The surrounding stone is kept sound, and the openings are checked for clean edges and adequate seating for the plumbing components. Drilling is performed only after the layout has been verified against the latest drawing.
A small shift can affect access beneath the bath or the alignment of visible fittings, so these openings receive the same attention as the main silhouette. They are functional details, but they remain part of the finished composition.
Checking symmetry, proportions and alignment
The bath is measured against the drawing as the form develops. Centre lines, rim heights, end profiles and internal dimensions are compared, while the piece is viewed from normal standing and bathing positions. A symmetrical design does not require every natural vein to mirror itself; it requires the geometry to be deliberate.
At this stage, the team can still make measured corrections. Once the final finish is applied, changes become slower, more visible and more costly.
Smoothing and finishing the stone surfaces
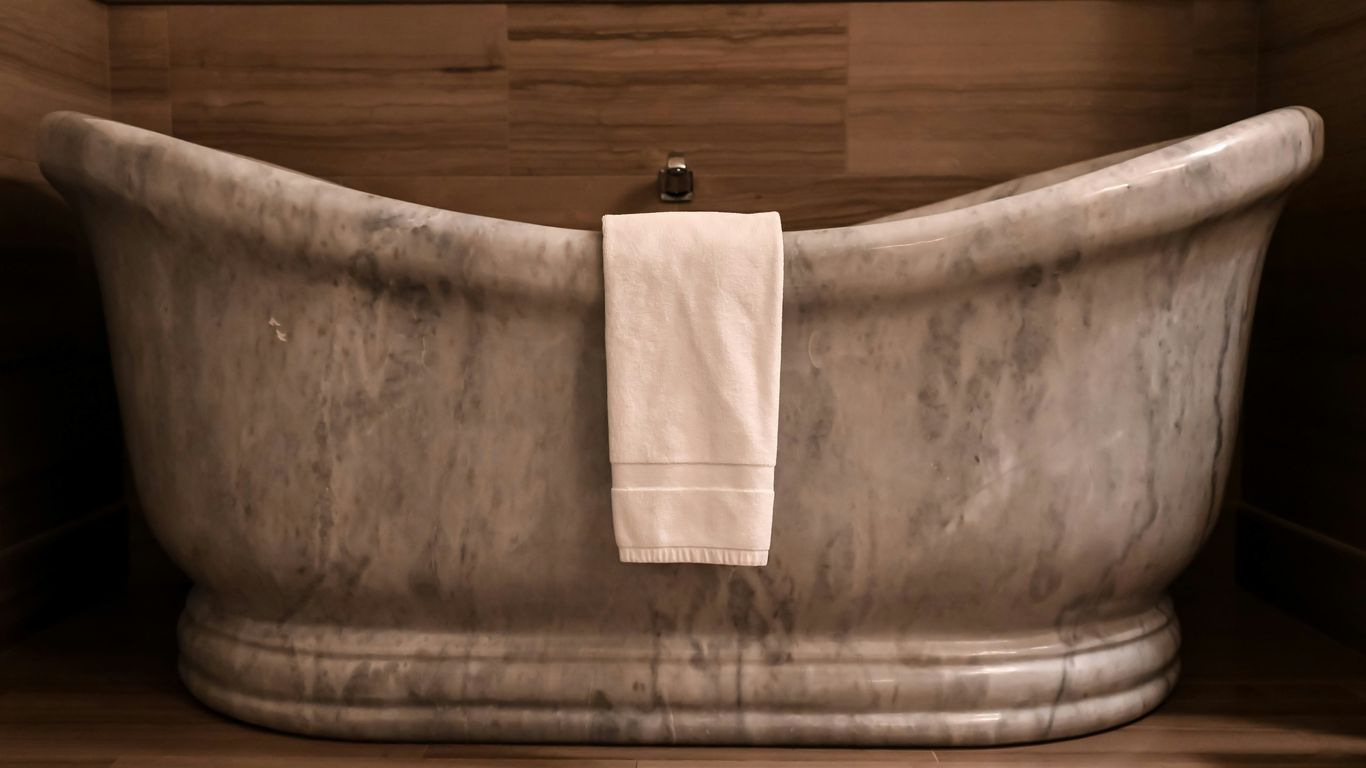
Grinding removes the marks left by cutting and establishes the final tactile quality. The process is progressive: coarse abrasives flatten and shape, while finer grades reduce scratches and bring the surface towards its specified appearance. Different areas may require different levels of attention depending on whether they are seen, touched or exposed to water.
Progressing from coarse grinding to fine abrasives
The first grinding passes even out the carved surfaces without erasing the intended geometry. The fabricator works through increasingly fine abrasives, cleaning the stone between stages so remaining scratches can be identified. Curves, rims and internal corners are checked repeatedly because they can hold marks that are less visible on broad flat areas.
The surface is not judged only under workshop lighting. Reflections and colour can change when the bath is viewed in the bathroom, so inspection is carried out from several angles before the final treatment is approved.
Choosing between a honed, polished or textured finish
A honed finish has a low sheen and a soft, natural presence. Polishing increases reflection and can deepen the apparent colour, while a textured finish introduces more visible touch and variation. The right choice depends on the stone, the design language and how much visual contrast is wanted between the exterior and bathing well.
A finish sample is useful because descriptions alone can be misleading. The same stone may look calmer when honed and more dramatic when polished, especially where veining or crystalline detail is present.
Refining edges, corners and visible details by hand
Edges are softened or sharpened according to the drawing, then checked by touch. Hand refinement is especially valuable around the rim, drain surround and places where the user’s arm or back will rest. The aim is a consistent surface without making the bath feel mechanically uniform.
This is also the stage for removing tiny chips left by machining. Small details shape comfort more than a distant photograph suggests, particularly on an object used at close range.
Matching the finish to the stone’s colour and veining
The finish should support the stone’s natural pattern rather than obscure it. A quiet limestone may benefit from a restrained honed surface, while strongly veined marble can carry a more reflective treatment if the room can accommodate it. Mineral marks and shifts in tone remain part of the material’s identity.
The final appearance is approved as a natural-stone result, not as a promise of uniformity. That distinction helps clients and project teams make realistic decisions about samples, drawings and photography.
Sealing, testing and preparing the finished bath
Finishing is followed by a careful period of inspection and preparation. Sealing, where appropriate for the selected stone and finish, helps manage exposure to bathroom use but does not make the material maintenance-free. The bath is also checked as a functional object before it is wrapped for transport.
Applying a suitable sealant for bathroom use
The sealant is selected for the stone, surface treatment and intended bathroom conditions. The surface must be clean and dry before application, and the product needs to be used according to its technical instructions. Coverage is checked around the rim, bathing well and drilled openings without allowing residue to alter the finish.
Sealing is a maintenance measure rather than a substitute for sensible cleaning. Porous stones may need a different care schedule from denser materials, so the handover information should state what has been applied and when future resealing may be considered.
Testing the bath for leaks and drainage performance
The waste and overflow connections are assembled or checked in accordance with the project arrangement, then the bath is tested for holding and releasing water. The team watches the drain, fittings and surrounding stone for signs of leakage or slow flow. The test also confirms that the fall within the bathing well behaves as intended.
Any issue is addressed before packing. It is far easier to adjust a connection or refine a small area in the factory than after a heavy bath has been carried into a finished room.
Inspecting the surface for chips, marks and uneven areas
A final inspection looks for machining marks, chips, stains, uneven sheen and inconsistencies at the rim. The bath is viewed under suitable light and from close range, with measurements compared against the approved drawing. Natural variation is recorded as material character, while damage or workmanship issues are identified for correction.
The inspection should be documented with the same clarity as the original brief. This gives the client a practical record of what was made, what was approved and how the piece should be cared for.
Preparing protective packaging and lifting points
Packaging protects corners, rims and finished faces from impact and abrasion. The bath is supported so its weight is distributed safely, and lifting points or handling instructions are communicated to the delivery and installation team. The route, equipment and access conditions should already have been reviewed before dispatch.
A heavy stone object cannot be treated like a boxed bathroom fitting. Proper packing is part of the fabrication responsibility because the finished surface is most vulnerable while it is being moved.
Installing and caring for a custom stone bathtub
Installation is the final part of the design process, not an afterthought. Access, floor structure, plumbing and finished surfaces must be ready before delivery. A careful handover protects the work carried out in the factory and gives the stone a sensible life in use.
Planning delivery, access and floor-load requirements
The project team confirms door widths, lift dimensions, turning spaces and the route from unloading point to bathroom. Floor loading is reviewed using the bath’s empty weight, water capacity and likely occupancy. Where the room is elevated or access is restricted, structural and lifting advice should be obtained early.
Quotations should distinguish the individual piece, packing, destination, access and installation requirements rather than assuming these are identical for every project. This is one of the practical differences between made-to-order work and warehouse stock.
Positioning and connecting the bath on site
The bath is placed on its prepared support or floor, levelled as specified and connected to the waste and overflow. The installation team protects finished stone and surrounding surfaces while making final adjustments. Connections are checked before the bath is filled or put into regular use.
The position should be confirmed against the room’s tile lines, taps, screens and access panels. A small shift can affect several adjacent finishes, so the installation drawing remains useful on site.
Sealing around the waste, overflow and surrounding surfaces
The waste and overflow interfaces are sealed with compatible materials, and the perimeter is treated according to the junction detail. Sealant should not be used to conceal movement, poor support or an incorrectly aligned fitting. It is there to manage the intended joint and help keep water away from vulnerable areas.
The finished junction is inspected after curing. Clean lines matter visually, but the more important test is whether the connection remains accessible and performs as planned.
Cleaning, resealing and maintaining the stone over time
Routine care normally begins with prompt removal of soap residue and standing water using a suitable, non-abrasive cleaner. Harsh acids, rough pads and untested chemicals can alter a natural-stone surface. The owner should follow the care guidance supplied for the particular stone and finish.
A maintenance plan can include periodic inspection, attention to open pores or staining, and resealing when the surface or technical guidance indicates it is needed. With realistic care, the variation that made the stone appealing remains part of the bath rather than becoming a source of surprise.
Conclusion
A custom stone bathtub is made through a chain of decisions: a measured brief, a suitable block, controlled cutting, careful carving, progressive finishing and a well-planned installation. The strongest result is not merely dramatic in photographs; it is comfortable, serviceable, safely delivered and honest about the natural variation of stone.
Frequently Asked Questions
How long does it take to make a custom stone bathtub?
The time varies with the design, stone availability, approval process, fabrication complexity, finish and delivery route. A reliable programme should include drawing approval, material inspection, production, finishing, testing, packing and installation planning.
Which stone is best for a bathtub?
There is no single best stone for every project. Marble, granite, limestone, travertine and onyx offer different appearances, densities, porosities, finishes and maintenance requirements, so the choice should match the design and intended use.
How heavy is a stone bathtub?
Weight depends on the stone, dimensions, wall thickness and design. The filled weight is substantially higher than the empty weight, so floor loading, lifting equipment and access need to be reviewed before fabrication.
Can the size and shape be changed?
A made-to-order bath can often be developed around a project’s dimensions and ergonomic requirements, subject to the selected block, structural considerations, plumbing details and fabrication limits. Changes should be resolved before the production drawing is approved.
Does natural stone need to be sealed?
Many natural stones benefit from a suitable sealant, but the correct treatment depends on the stone and finish. Sealing does not prevent all staining or remove the need for appropriate cleaning and periodic maintenance.
How should a stone bathtub be cleaned?
Use a cleaner recommended for the particular stone and avoid abrasive pads, strong acids and untested chemicals. Rinse away residues and avoid leaving standing water or harsh products on the surface.
What should be checked before delivery?
Confirm the access route, door and lift dimensions, floor capacity, lifting method, prepared plumbing, finished floor levels and installation responsibilities. These checks help prevent a heavy, finished bath from arriving before the room is ready.
Request a Bespoke Brief
If you are planning a made-to-order stone bath or another architectural piece, contact Geoscenic Stone with the intended dimensions, material preferences, finish and project location. The team can then develop the quotation and drawing around the practical requirements of your space.
For an early discussion, you can also request project details before the design is finalised.