
Key Takeaways
A well-specified dining table begins with the room, not a standard size chart. Measure circulation, seating, table height and the chosen base together, then confirm every detail in a clear production drawing.
- Measure the usable dining area and all access routes.
- Allow space for chairs, knees, serving dishes and walkways.
- Choose the shape according to circulation and conversation.
- Treat the base, height and extension system as part of the dimensions.
- Record the finished specification before production begins.
Start with the room and available floor space
The first step in working out custom dining table dimensions is to understand the space the table will actually occupy. A room may be large, but a doorway, kitchen run or projecting wall can make the usable dining area much smaller. Draw the room as it functions day to day, including the furniture that will remain in place. This gives you a more honest starting point than measuring an empty room.
Measure the dining area rather than the whole room
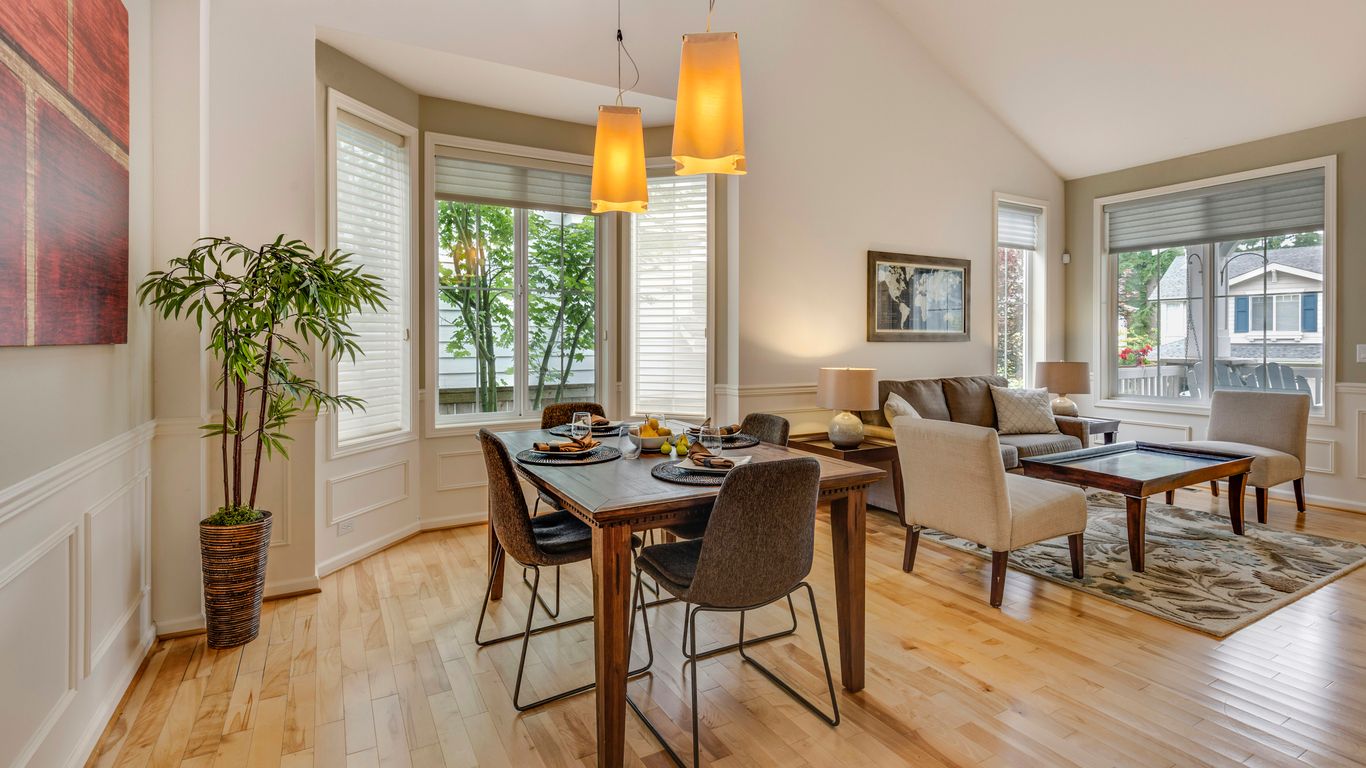
Measure the clear area available for the table and chairs, rather than relying on the room’s total length and width. Note permanent furniture, changes in floor level and any areas that need to remain open. If the dining space is open-plan, define its practical boundary by considering where people walk between the kitchen, living area and doors.
Allow clearance for chairs and walkways
The tabletop is only part of the footprint. Chairs need room to pull out, and someone should be able to pass behind a seated diner without twisting sideways. As a working guide, allow roughly 90 cm from the table edge to a wall or obstruction where chairs will be used, increasing this where it forms a main route through the room.
Account for doors, radiators and other fixed features
Mark door swings, radiator projections, sockets, vents and built-in cabinetry on your plan. A table can fit dimensionally and still be awkward if a chair blocks a door or sits directly in front of a radiator. Check the route from the entrance to the table as carefully as the final position itself.
Use masking tape or a paper template to test the footprint
Masking tape on the floor is a quick way to test length, width and orientation. For a stone top, a full-size paper or cardboard template is even more useful because it shows the visual weight of the piece as well as its edge. Walk around it with chairs in place, and test the route used to bring it into the room.
Calculate the right table length and width
Once the available footprint is clear, size the tabletop around the people who will use it. Seating capacity depends on more than the number of chairs: place settings, elbows, serving dishes and the table base all take space. A narrow table may seat the stated number, yet feel crowded at a longer meal. These custom dining table dimensions guidelines can help you compare typical layouts while keeping the room’s actual constraints in view.
Match dimensions to the number of diners
For a rectangular table, allow space along each long side and consider whether diners will also sit at the ends. A four-seater may work well at around 120–140 cm long, while six diners often need approximately 160–200 cm, depending on chair width and serving needs. These are starting points, not rules; wide chairs and substantial bases may require more length.
Allow comfortable personal space at each place setting
Around 60 cm of table edge per diner is a useful minimum for ordinary dining, with more room preferred for generous place settings or armchairs. Width matters too. Around 90 cm can support place settings opposite each other, while 100–110 cm gives more space for shared dishes and a centre arrangement. Comfort should guide capacity, rather than the maximum number of chairs that can technically fit.
Decide how much surface area serving dishes require
Think about how meals are served in the home. If platters, bowls and bottles are placed in the middle, a table that is only wide enough for two rows of place settings may feel constrained. Consider whether food is served from a sideboard, whether the table is used for work between meals, and whether a central runner or decoration needs a permanent position.
Compare everyday capacity with occasional maximum capacity
Designing only for Christmas or large dinner parties can make an everyday table feel oversized. Conversely, sizing tightly around weekday use may leave no practical way to host guests. Write down the usual number of diners, the regular maximum and the occasional maximum, then decide whether an extension is a better solution than a permanently larger top.
Choose a table shape that suits the space
Shape changes how a table occupies a room, how people move around it and how easily diners speak across it. Rectangular tops are often efficient against long walls, while round and oval forms can soften circulation in tighter or more central settings. A square top can be very sociable, but its proportions need care. For further context, this six-seater table guide shows why seating capacity cannot be separated from width, base design and room clearance.
When a rectangular table works best
A rectangle is usually the most straightforward choice for a long room or a table positioned beneath a linear pendant. It offers clear seating positions and can make efficient use of a narrow dining zone. The corners do need room, however, especially where a chair is expected at each end or where a walkway passes diagonally across the room.
How round and oval tables affect circulation
Round tables remove corners from the circulation path, which can make movement feel easier in a compact room. An oval retains some of the length and seating efficiency of a rectangle while presenting softer ends. Measure the overall diameter or length and width, not just the central usable area; chairs still occupy a broad perimeter.
Where square tables are practical
Square tables work well when the dining area is close to square and diners are likely to sit evenly on all four sides. They suit smaller groups particularly well, but a large square can create a wide conversational gap across the centre. Check that the corners do not interfere with door swings or the natural walking line through the room.
Consider corners, sightlines and conversation
Ask how people will see one another from every position. A strong corner or thick edge can affect sightlines, while a large central feature may make conversation across a wide table less natural. The best shape is the one that supports the room’s movement and the way the household actually eats, rather than the one that simply looks good on a plan.
Specify the correct dining table height
Table height is often treated as a standard detail, but it should be checked against the chairs and the underside construction. A few centimetres can change how comfortably someone rests their arms or crosses their legs. Height also affects the visual relationship between the top, base and surrounding furniture. If a stone surface is being commissioned, its thickness and support structure should be included in the finished measurement.
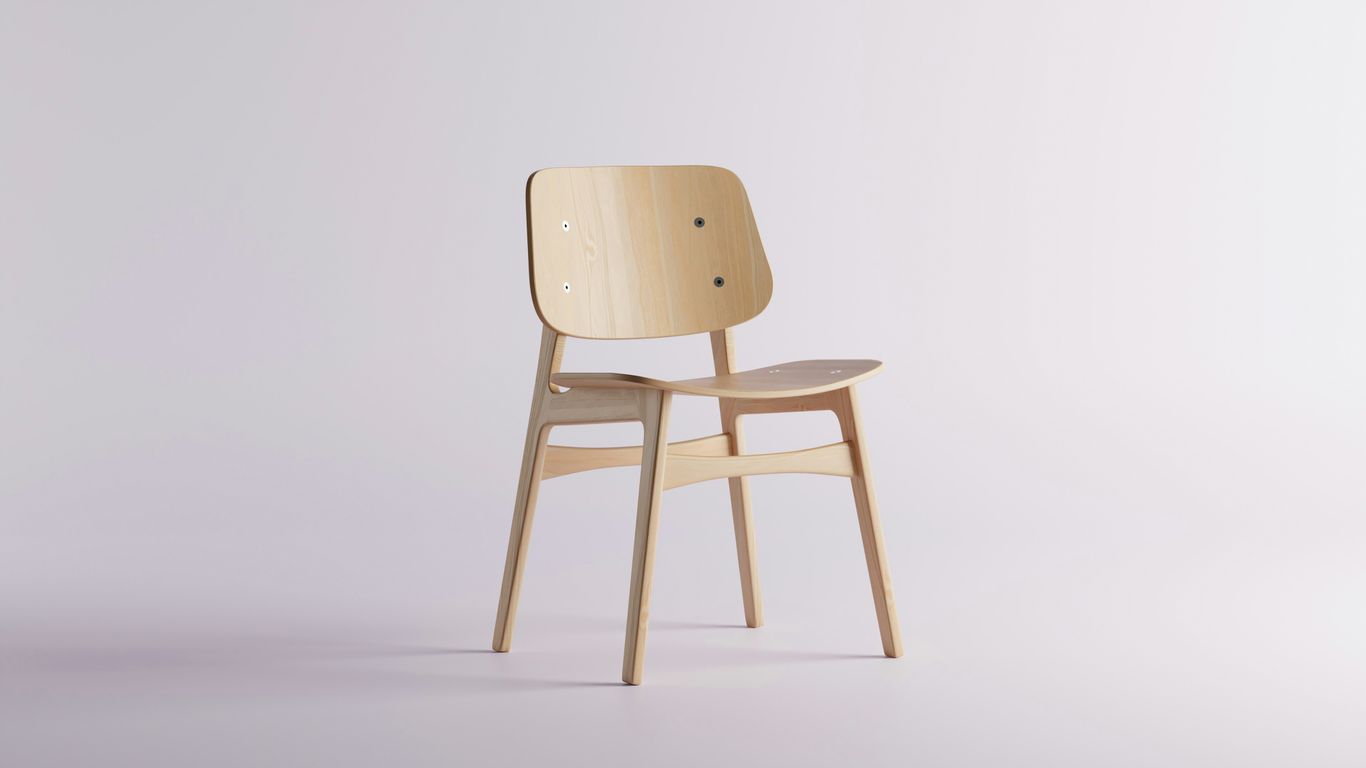
Standard dining table height in the UK
Most UK dining tables are approximately 74–76 cm high from finished floor to finished tabletop. This range suits many standard dining chairs, but it is not automatically right for every setting. Confirm the intended finished height, including the tabletop and any applied edge, rather than specifying the base height alone.
Check chair seat height and available legroom
Measure the chair’s finished seat height and the distance from the floor to the underside of the table apron or support. Allow enough vertical clearance for knees and enough horizontal clearance for a comfortable seated posture. Armchairs may need extra room beneath the top, particularly where their arms cannot slide under the apron.
Account for aprons, pedestal bases and supports
A thick apron can reduce usable knee space even when the tabletop height is correct. Pedestal bases often free the corners but may occupy a central area that affects foot placement. Confirm where supports sit in relation to each seating position, and show these dimensions on the drawing rather than leaving them as an assumption.
Coordinate the table with benches or mixed seating
Benches can be tucked away more easily than individual chairs, but their depth and height still need to work with the top. If one side uses a bench and the other uses chairs, check that the seat heights and clearances feel balanced. Mixed seating also changes how many people can comfortably occupy the ends.
Plan seating positions and base design
The base is part of the seating plan, not merely a visual decision made after the top has been sized. Legs, trestles and pedestals distribute weight differently and create different zones for feet and chairs. Marking likely seating positions early helps avoid a beautiful table that is awkward to use. This is especially relevant for heavy stone tops, where the support and installation approach must be considered together.
Understand the effect of table legs on usable seating
Corner legs can interfere with chairs placed near the ends, while inset legs may improve access but reduce stability margins depending on the design. A leg layout that looks symmetrical from above may not be comfortable for six diners. Draw chairs around the plan and mark the points where knees, chair arms and supports could meet.
Choose between four legs, trestles and pedestal bases
Four legs give a familiar, clearly defined structure and can suit smaller rectangular tables. Trestles create a different rhythm beneath a longer top, while a pedestal can make movement around the perimeter easier. The choice should follow the table’s dimensions, material weight, desired seating positions and the room’s visual proportions.
Prevent clashes between chairs, knees and supports
Use the actual chair dimensions where possible, including arm width and front-leg position. Check the clearance at both the tabletop and floor level, because a chair may pass beneath an apron but still collide with a low stretcher or broad pedestal. A simple plan drawing with chair rectangles is often enough to expose a problem before fabrication.
Decide whether end seating is practical
End seating can add capacity, but it is not always comfortable when the table has corner legs, a narrow end or a prominent support. Decide whether end places are everyday positions or occasional ones. If they are essential, reserve the required knee and chair space from the beginning rather than adding it after the main seating count is set.
Design for extensions and changing needs
An extending table should be measured in both its closed and open states. The extension method affects the appearance of the top, the location of supports and the amount of room needed when guests arrive. It also introduces practical questions about storing leaves and keeping the expanded table balanced. A clear comparison prevents occasional capacity from dictating every day’s proportions.
Compare fixed, drop-leaf and extendable tables
A fixed table is usually the simplest to specify and can have a continuous top with a consistent edge. Drop-leaf designs suit compact rooms but change the usable shape when opened. Removable or built-in extension leaves provide greater flexibility, though the mechanism, alignment and storage arrangement need to be confirmed as part of the design.
Position extension leaves for balanced seating
Consider where diners will sit when the table is extended. A central leaf can preserve more even overhangs, while an end extension may alter the position of legs or supports. The open plan should show the table, chairs and circulation, not only the added tabletop length.
Check storage requirements for removable leaves
A removable leaf needs a dry, accessible storage location where it will not be leaned against a damp wall or placed beneath heavy items. Record its finished size and weight, and check whether it can be carried through the same route as the table. Storage is easy to overlook because it is not visible when the table is in daily use.
Confirm the extended dimensions and room clearance
Measure from the table’s outermost edge in its extended position to the nearest wall, furniture and doorway. The expanded layout may work for a dinner but block the main route to the kitchen. A practical specification records closed length, extended length, width, height and the minimum clearance required around both arrangements.
Turn measurements into a clear custom specification
The final specification should remove uncertainty for everyone involved: client, designer, fabricator, delivery team and installer. For factory-to-order work, dimensions, stone, finish, edges and drillings are confirmed in an approved production drawing. Geoscenic Stone describes its process as producing made-to-order furniture and architectural pieces through material selection, cutting, finishing, inspection, packing and delivery for a specific project.
Record finished length, width and height
Write dimensions as finished measurements and state the unit, normally millimetres for production. Include the closed and extended lengths where relevant, the overall height from floor to top and the intended top thickness. This marble table size guide is useful when checking compact layouts, but a bespoke order still needs its own project-specific dimensions.
Specify edge profiles, overhangs and corner details
Describe whether the edge is square, eased, bullnosed, bevelled or another agreed profile, and state the overhang beyond the base. Note corner radii or softened corners rather than relying on a reference image. These details affect both the appearance and the usable clearance around the table.
Confirm materials, construction and finish
Name the selected material, finish and support construction, while allowing for natural variation in stone veining, tone, figuring, porosity and mineral marks. Geoscenic Stone selects material for each order, so the approved drawing and material confirmation should be read together. If the specification includes a stone top, also record any seams, drillings, fixings or protective treatment that have been agreed.
Review a dimensioned drawing before production
A dimensioned drawing should show plan, elevation and relevant sections, including seating positions, base geometry and finished heights. Review it against the taped footprint and the delivery route. For broader material and design checks, you can also compare stone options, while keeping the final decision tied to the actual project and approved drawing.
The drawing is the point at which small uncertainties should be resolved. Ask where the table will be joined, how it will be packed, whether installation is required and which dimensions are critical on site.
Build in tolerances for floors, walls and installation
No room is perfectly square, and finished floors may have small variations in level. Record any required levelling method, floor protection or installation tolerance, and confirm access through doors, lifts and corridors. Geoscenic Stone accounts for the individual piece, weight, packing, destination, site access and any installation requirements in the quotation, so these details should be raised before approval rather than after fabrication.
For a useful project checklist, keep the following information together:
- Finished tabletop length, width, thickness and height.
- Closed and extended dimensions, if applicable.
- Chair sizes, seating positions and required clearances.
- Base location, edge profile, corner details and finish.
- Access, packing, delivery and installation constraints.
This gives the production team a concise brief while preserving the practical decisions made during room planning. It also makes revisions easier to track if the room, seating or material changes.
Request a Bespoke Quotation
If your table needs to be made to a particular room, material and delivery route, share the measured requirements and request a quotation from Geoscenic Stone. The team can then assess the individual piece, approved details and project logistics rather than estimating from a generic stock size.
Conclusion
The best custom dining table dimensions balance people, furniture, circulation and construction. Measure the room in use, test the footprint, choose the shape and base together, and put the finished details into an approved drawing before production. That process creates a table that fits not only on paper, but into the way the room is lived in.
Frequently Asked Questions
What is the standard dining table height in the UK?
Most UK dining tables are approximately 74–76 cm high from the finished floor to the tabletop, although the correct height depends on the chairs, apron and intended seating posture.
How much space should be allowed around a dining table?
Allow around 90 cm from the table edge to a wall or obstruction where chairs will be pulled out, with more space where the route is also used as a main walkway.
How much table length is needed per person?
Around 60 cm of table edge per diner is a useful minimum. More may be needed for wide chairs, armchairs, generous place settings or shared serving dishes.
Is a round table better for a small dining room?
A round table can improve circulation by removing corners, but its diameter still needs to allow for chairs and movement. The best choice depends on the room’s shape and access routes.
How wide should a dining table be?
A width of around 90 cm can accommodate place settings opposite one another, while 100–110 cm gives more room for serving dishes and a central arrangement.
Should the table be sized for everyday use or entertaining?
Usually, size the table for the everyday number of diners and use an extension for occasional guests. This keeps the room more comfortable during ordinary meals.
What should a custom table drawing include?
It should show finished length, width, thickness and height, plus the base, edge profile, corner details, extension arrangement, seating positions, materials, finish and any access or installation requirements.