
Key Takeaways
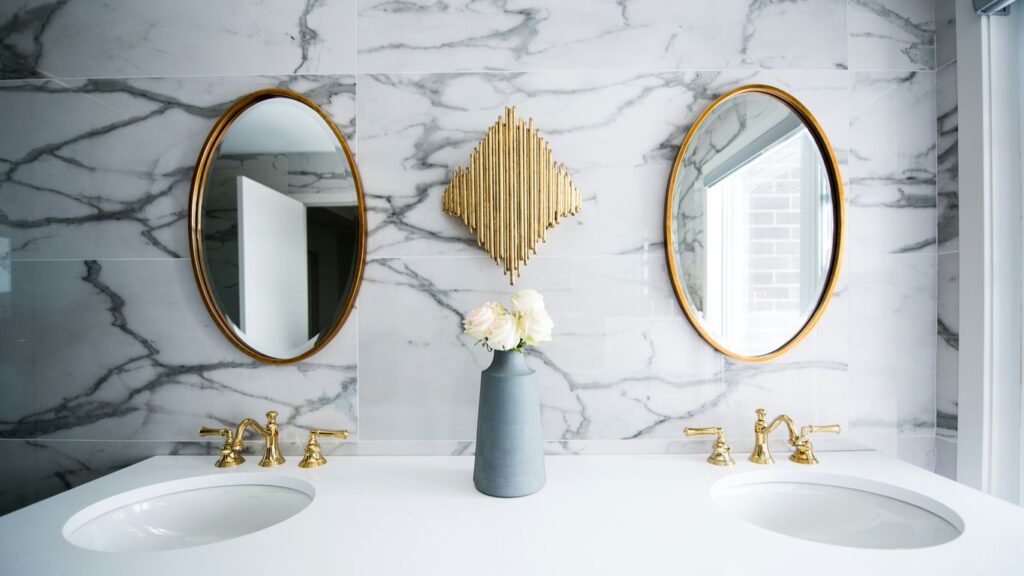
A marble bathroom in Singapore can feel calm and architectural, but its success depends on practical planning as much as stone selection.
- Measure circulation, clearances and wet-area boundaries before choosing fixtures.
- Match marble finish, format and colour to the room’s size and maintenance routine.
- Give the basin and bath careful attention because both combine stone, plumbing and weight.
- Specify drawings, fabrication details, access and installation responsibilities in writing.
- Protect the stone with suitable sealing, gentle cleaning and prompt repairs.
Plan the layout around Singapore bathroom conditions
A bathroom in Singapore needs to work hard in warm, humid conditions, often within a compact footprint. Marble adds visual depth, but it also brings weight, porosity and fabrication constraints into the plan. Start with the room rather than a favourite slab, then develop the material palette around what the space can realistically support.
Assess the room size and wet-area configuration
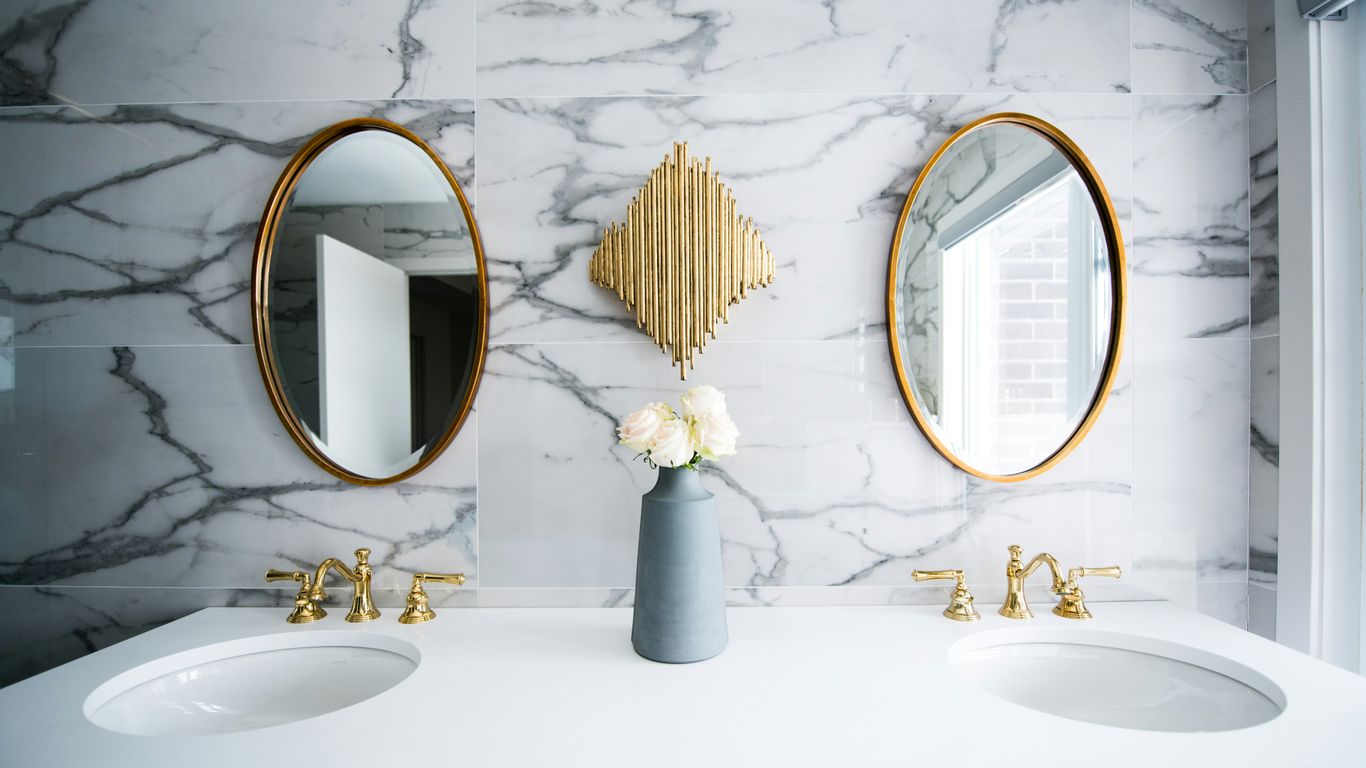
Measure the room in several places, noting columns, ledges, windows, door swings and existing service points. A small difference in wall alignment can affect a vanity depth or leave too little room beside a bath. Separate dry and wet zones where possible, while remembering that splash and condensation will still travel beyond the shower enclosure.
Draw the basin, shower and bath at their actual outside dimensions, not just the nominal product sizes. Include wall finishes, stone overhangs and access panels in the drawing. This is the point at which a beautiful idea becomes a workable room—or is sensibly reduced before fabrication begins.
Position the basin, bath and shower for comfortable circulation
Circulation should feel effortless when the room is occupied by two people, towels are being collected or a shower door is open. Keep the basin usable without blocking the route to the shower, and avoid placing a bath where its rim narrows the passage to a vanity. Door handing and the opening direction of cabinets deserve the same attention as the fixtures themselves.
A clear plan also helps coordinate plumbing and stone joints. For a made-to-order piece, the approved drawing should show finished dimensions, cut-outs, edges and drillings rather than leaving those decisions to the installation day.
Account for ventilation, humidity and drying time
Good extraction, a working window where available and a door strategy that allows air movement all help the room dry between uses. Marble will not solve a ventilation problem; persistent moisture can affect grout, sealers, cabinetry and concealed joints. Allow enough time for substrates, adhesives and sealants to cure according to the installer’s specification.
Keep towels and bath mats from sitting against stone edges for long periods. A considered layout gives water somewhere to fall and makes the floor easier to squeegee, which is a small daily benefit that matters more than a dramatic visual gesture.
Check waterproofing, drainage and building requirements
Waterproofing should be designed as a complete system beneath the finishes, with falls directed towards properly positioned drains. Confirm thresholds, pipe routes and access for future maintenance before marble is ordered. In apartments, check building management requirements for working hours, delivery routes, lift protection and any approval needed for plumbing or structural changes.
A stone bath or thick slab may also affect loading and access. Ask the relevant professionals to verify the structure and installation method rather than assuming that a visually light room is physically light.
Choose marble for the right bathroom surfaces
Natural marble is compelling because each slab has its own tone, veining, figuring and mineral marks. It is not uniform tile stock, so the final appearance depends on the selected material and how it is cut. Porcelain and other engineered options may offer a more predictable surface, while marble brings a tactile variation that suits a quieter, more individual scheme.
Compare natural marble with porcelain and engineered alternatives
Compare samples in the actual bathroom light, then ask how each material behaves at edges, corners, joints and penetrations. Porcelain can provide consistency and may be simpler for certain wet applications, while engineered materials can offer their own balance of appearance and care. Natural marble remains a considered choice when the variation itself is part of the design intention.
The comparison should include fabrication, not just the square-metre price. A basin cut-out, book-matched wall, shaped edge or carefully aligned vein can alter the programme and quotation substantially.
Select colours and veining to suit the room’s proportions
Light marble can make a narrow bathroom feel more open, but a very pale, highly reflective scheme may show water marks quickly. Strong veining creates a focal point and can make a generous wall feel deliberate; in a small room, it may be better limited to one plane or the vanity. Samples should be viewed vertically as well as horizontally because lighting changes the reading of the pattern.
For planning inspiration, a collection of marble interior ideas can help you compare how colour and veining behave in local spaces. Use those images as references, not promises of an identical slab appearance.
Match marble formats, slab sizes and grout lines
Large slabs reduce visual interruption, but they also require careful handling, storage and access. Tiles can be easier to move and replace, although more grout lines may make a wall feel busier. Decide early where joints will fall around niches, taps, corners and the bath rim.
The format should follow the room’s geometry. A narrow wall may suit a vertical layout, while a broad wall can accommodate a larger composition with fewer cuts. Confirm the usable slab area after trimming rather than designing from the headline slab dimensions alone.
Balance visual impact with maintenance requirements
A bathroom is not a showroom: it is wiped, splashed and used every day. Polished marble can heighten colour and reflection, while honed stone may feel softer and disguise small marks differently. Neither removes the need for sensible cleaning and care.
A clear maintenance brief should be part of the selection process. The best material is the one whose appearance, tolerance for change and upkeep match the people using the room.
Select durable marble for floors and walls
Floors and walls have different demands. The floor must offer confident footing and tolerate repeated moisture, while the wall can carry more decorative drama if its joints and edges are properly detailed. Natural variation should be reviewed before cutting so the finished composition feels intentional rather than accidentally patchy.
Understand the differences between polished, honed and brushed finishes
Polished marble has a reflective surface that can deepen colour and sharpen veining, but glare and water marks may be more visible. Honed marble has a softer, low-sheen appearance that often sits comfortably in a bathroom. Brushed or textured finishes add tactile character, though their surface profile can require more careful cleaning.
Request finish samples and inspect them under the planned lighting. A finish that looks subtle in a showroom may read more strongly across a full wall or beside a glossy fitting.
Choose slip-resistant flooring for wet areas
Do not select floor marble on appearance alone. Consider the finish, tile size, grout arrangement, falls and the likelihood of bare feet encountering water. A textured surface may improve confidence underfoot, but deep texture can hold residue and make cleaning more involved.
A Singapore marble flooring guide offers a useful starting point for comparing material character, cost considerations and care. Final suitability still depends on the exact product, finish and installation detail selected for the room.
Use feature slabs without overwhelming a compact bathroom
A single expressive slab behind the vanity or bath can establish the room’s identity without turning every surface into a competing statement. Continue a quieter stone or painted surface elsewhere, and let grout lines support the composition. Book-matching can be striking, but it increases material selection and fabrication precision.
The visual weight of a feature wall is affected by mirrors, lighting and sanitaryware. Leave enough quiet space for the eye to rest, especially where the room has a low ceiling or limited natural light.
Inspect slabs for cracks, resin fills and inconsistent veining
Inspect the actual slab where possible, looking for fissures, filled areas, open texture and changes in tone. Some variation is inherent to natural stone; the question is whether it is acceptable for the intended location and finish. Mark the preferred cutting zones on an approved layout so the most prominent areas are not decided later by guesswork.
Photographs cannot show every tactile or tonal difference. Samples, slab inspection and a clear drawing are more reliable tools for agreeing what will be made.
Design a marble bathroom basin area
The basin is where stone, water, cabinetry and daily contact meet. Its proportions affect the entire vanity wall, while its cut-outs and drainage determine whether the final result feels clean or improvised. Bespoke work is most successful when the user’s habits are translated into dimensions before the stone is cut.
Choose between countertop, under-mounted and vessel basins
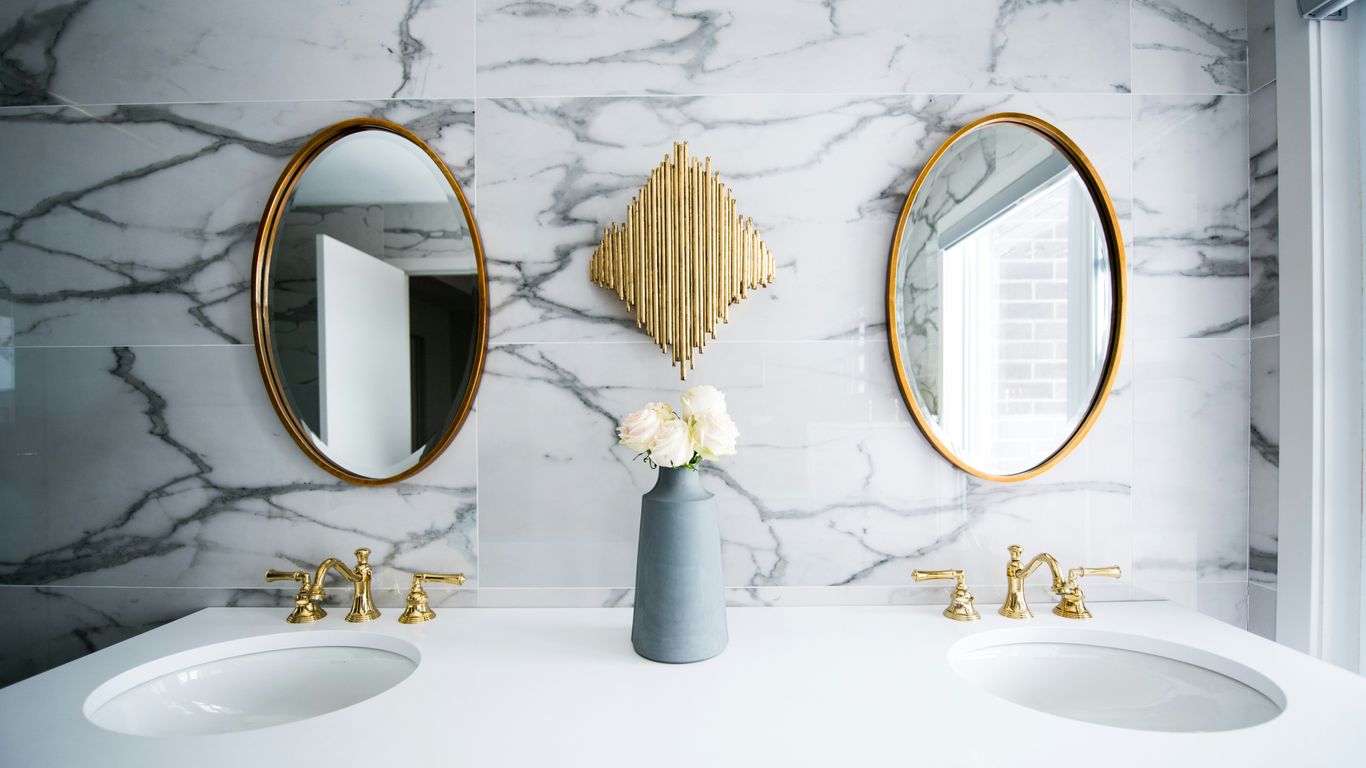
A countertop basin keeps the stone visible and can simplify the overall silhouette, but the surrounding height must remain comfortable. An under-mounted basin creates a quieter transition and can make wiping water into the bowl easier. A vessel basin adds height and presence, so tap position and user reach need close checking.
For a deeper look at custom marble basin design, consider how dimensions, drainage, stone selection and fabrication interact rather than choosing the bowl in isolation. The basin type should be resolved with the vanity, wall and tap drawing.
Coordinate the basin material with the vanity and wall finish
The basin top can match the wall marble, contrast with it or act as a smaller stone moment within a timber or painted vanity. Repeating one vein direction may feel calm, while a contrasting edge can make the basin more sculptural. Check the junction between top, upstand, mirror and side wall before approving the cut list.
Geoscenic Stone produces made-to-order furniture and architectural pieces in marble, travertine and onyx, with dimensions, stone, finish, edges and drillings confirmed in an approved production drawing. That factory-to-order approach is useful when the basin must fit an unusual wall, vanity or plumbing arrangement.
Plan storage, tap placement and splash protection
Storage should be planned around the items actually used: towels, cleaning supplies, toiletries and spare paper. Leave service access for traps and valves, and make sure drawers do not collide with pipework. Tap reach, mirror height and splash zones should be drawn together, not selected as separate purchases.
A simple planning list can keep the basin area practical:
- Confirm the finished vanity height and stone thickness.
- Draw tap centres, basin footprint and wall clearances.
- Reserve access for traps, valves and concealed connections.
- Specify the upstand, splashback or sealed wall junction.
These details prevent the common mistake of treating the vanity as a slab with a hole in it. They also make the quotation and installation sequence easier to understand.
Prevent staining around the basin and vanity joints
Water collects at the rear edge of a basin, around tap penetrations and where the top meets the wall. Use compatible sealants, maintain sensible falls and avoid leaving standing water on porous surfaces. Cleaning products should be checked for compatibility with the selected stone and finish.
The broader stone basin guide is helpful when comparing porosity, texture and the practical differences between natural stone types. The right choice remains specific to the basin’s fabrication and the room’s maintenance routine.
Decide whether a marble bath suits the space
A marble bath can become the room’s central architectural element, but it is a substantial object to design, move and support. Its proportions influence circulation, floor loading and the position of every nearby fitting. Treat the bath as a coordinated construction package rather than a decorative object added at the end.
Compare freestanding, built-in and marble-clad bath designs
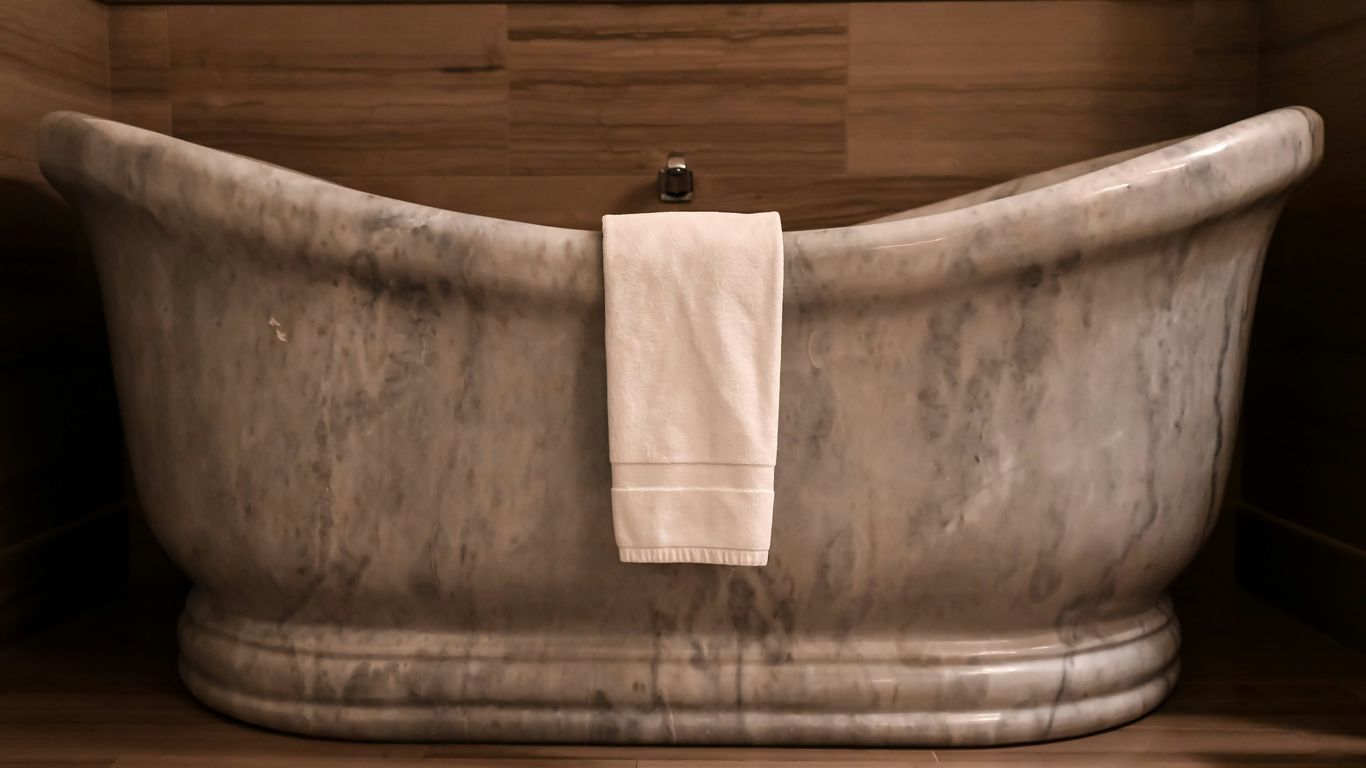
A freestanding bath exposes more of its outer form and can sit comfortably as a sculptural centrepiece. A built-in bath may use space more efficiently and simplify the relationship with wall finishes. Marble cladding can create a strong monolithic appearance, although the substrate, access panels and joints need careful resolution.
Natural stone bath designs vary in mass, finish and maintenance needs. A freestanding marble bath guide can help frame the comparison, particularly around proportions, sealing and structural support.
Check structural loading, access routes and installation clearance
Before approving a heavy bath, confirm floor capacity with the appropriate professional and map the route from delivery point to bathroom. Measure lifts, corridors, turns, door openings and temporary protection requirements. Installation clearance is needed not only to place the bath but also to connect, test and service it.
A made-to-order bath may be produced to an approved drawing, but the drawing cannot remove a difficult access route. Weight, packing, lifting equipment and site restrictions should appear in the project planning and quotation.
Pair the bath with suitable flooring and wall protection
The floor beneath and around the bath should tolerate repeated splashes and remain cleanable. Wall protection is especially important at the tap end and along any exposed edge. Keep joints accessible where possible, and avoid creating narrow ledges that collect water and dust.
Contrast can help the bath read clearly: a quieter floor, warm timber vanity or restrained wall colour may be more effective than another dramatic stone surface. The bath should feel anchored, not stranded in a room of competing finishes.
Design safe, practical controls and drainage
Controls should be reachable without leaning across a wet, slippery rim, and the waste should be positioned for reliable drainage. Check overflow arrangements, tap projection, handheld shower storage and the relationship between the bath and shower spray. A neat appearance is worthwhile only when the controls are comfortable to use.
Keep service access in the design. Concealed plumbing still needs a rational route and a way to be inspected if a seal or connection eventually requires attention.
Combine marble with fittings and complementary materials
Marble can feel cool, formal or richly layered depending on what surrounds it. Timber, glass, metal, paint and sanitaryware give the eye places to pause. The aim is not to dilute the stone but to make its variation legible and the room comfortable to live with.
Select taps and hardware in finishes that complement the stone
Warm metals can draw out cream or gold notes, while chrome and stainless steel support a cooler, more restrained composition. Black hardware creates crisp contrast but can make strong veining feel even more graphic. Order samples where possible because the apparent colour of a finish changes beside different marbles and lighting temperatures.
Keep the number of metal finishes controlled. Repeating one finish across taps, accessories and shower hardware usually feels more deliberate than collecting several similar but mismatched tones.
Use timber, glass and metal to soften a marble-heavy scheme
Timber introduces warmth and can make a pale marble bathroom feel less clinical. Clear glass preserves sightlines in a compact shower, while ribbed or reeded glass adds privacy without a heavy wall. Metal-framed details can provide structure around mirrors, screens and open shelving.
For broader ideas about made-to-order marble furniture, think about how stone thickness, joinery and neighbouring materials are resolved together. A vanity or shelf should belong to the room’s construction language, not look like a separate object placed beside it.
Coordinate lighting to reveal veining without harsh glare
Use layered lighting: general illumination, task light at the mirror and a softer accent where the stone can be appreciated. Light striking a polished wall directly may create glare, while grazing light can exaggerate every change in texture. Test colour temperature with actual marble samples before finalising fittings.
Geoscenic Stone makes each piece from material selection through cutting, finishing, inspection, packing and delivery for a specific project. That process makes it sensible to consider the finished stone and its lighting together, especially when a slab is being used as a focal surface.
Create contrast with grout, cabinetry and sanitaryware
Grout colour can either quieten the joints or outline the tile pattern. Cabinetry in a related tone creates continuity, while a darker or lighter colour gives the marble a clear frame. Sanitaryware is usually best kept simple when the stone has pronounced movement.
Before final approval, view the complete palette under daytime and evening lighting. Small samples can hide how much a colour relationship changes once the materials occupy full walls and floor areas.
Budget, install and maintain a marble bathroom in Singapore
The cost of a marble bathroom is shaped by more than the stone rate. Slab selection, usable yield, fabrication, edge profiles, cut-outs, packing, delivery, site access and installation all influence the final figure. A transparent brief makes comparisons fairer and reduces the risk of discovering major exclusions after work has begun.
Estimate costs for stone, fabrication, delivery and installation
Ask for the stone area and expected yield to be shown separately from fabrication and installation. Include templates, sink cut-outs, tap drillings, upstands, mitred edges, sealing and protection where they apply. For heavy or delicate pieces, discuss packing, lift access, carrying distance and any lifting equipment.
Geoscenic Stone’s quotations account for the individual piece, its weight, packing, destination, site access and installation requirements where applicable. Confirm what is included in the individual quotation rather than assuming that delivery, duties, taxes or installation are automatically covered.
Work with suppliers, fabricators and bathroom contractors
The designer, stone fabricator, plumber and bathroom contractor should work from the same current drawings. Record finished dimensions, tolerances, joints, edge details, drainage points and responsibilities for templating. Site verification is particularly valuable before a natural stone piece enters production.
For context on practical cleaning coordination, a facility cleaning checklist illustrates how planned cleaning tasks can be organised, although a private bathroom needs a much more specific routine. The useful principle is simply to assign responsibilities clearly rather than leaving care to assumption.
Seal marble and establish a regular cleaning routine
Use a sealer suited to the stone, finish and intended application, and follow the supplier’s curing instructions. Wipe spills rather than allowing toiletries, cosmetics or acidic products to sit on the surface. A soft cloth, clean water and a compatible neutral cleaner are generally safer starting points than abrasive pads or aggressive chemicals.
Natural stone changes subtly with use, and sealing does not make it impervious. A realistic maintenance plan protects the material while accepting that a living surface may develop small variations over time.
Repair etching, stains and damaged grout before problems spread
Etching may require professional refinishing rather than more cleaning. Stains should be assessed according to their source, depth and the stone’s porosity, while cracked or missing grout should be repaired before water reaches vulnerable joints. Do not mask a structural or waterproofing problem with surface treatment.
A written record of the stone, finish, sealer and cleaning products makes future repairs easier. It also helps a contractor distinguish ordinary variation from damage that needs investigation.
Request a stone consultation
A well-resolved marble bathroom begins with a measured brief and an honest discussion of material, dimensions, finish and access. If you are commissioning a basin, bath surround or related architectural piece, request a quotation with your drawings, preferred stone and site information so the proposal can reflect the actual project.
Conclusion
Designing a marble bathroom in Singapore is a study in proportion, moisture, movement and material character. When the layout, stone selection, fabrication drawings and maintenance plan are considered together, the result can feel both distinctive and quietly practical for everyday use.
Frequently Asked Questions
Is marble suitable for a bathroom in Singapore?
Yes, provided the room has sound waterproofing, adequate ventilation, suitable drainage and a realistic cleaning routine. The selected stone, finish and installation details matter as much as the material name.
Which marble finish is best for a bathroom floor?
A finish should be selected for confident wet-foot traction, cleanability and the desired appearance. Polished surfaces may be less forgiving of glare and water marks, while honed or textured finishes can offer a softer visual effect.
Should bathroom walls use large marble slabs or tiles?
Large slabs create fewer joints and can make a wall feel continuous, but they require careful handling, access and fabrication. Tiles may be easier to move and replace, though they introduce more grout lines.
How do I choose the right marble basin size?
Start with the vanity footprint, user comfort, wall clearances, tap position, plumbing and storage needs. Include the finished stone thickness and any overhangs in the dimensioned drawing.
Is a marble bathtub too heavy for an apartment?
It may be, depending on the bath design, water load, floor construction and access route. Structural capacity and delivery conditions should be checked by the relevant professionals before production.
How often should marble in a bathroom be sealed?
There is no single schedule for every marble or finish. Follow the sealer manufacturer’s guidance and reassess the surface according to use, water exposure and whether it still repels moisture as expected.
Can stains or etching be removed from marble?
Some marks can be treated, while etching often needs professional honing or refinishing. The correct method depends on the substance, depth, finish and condition of the stone, so test cautiously and seek specialist advice for prominent damage.