
Key Takeaways
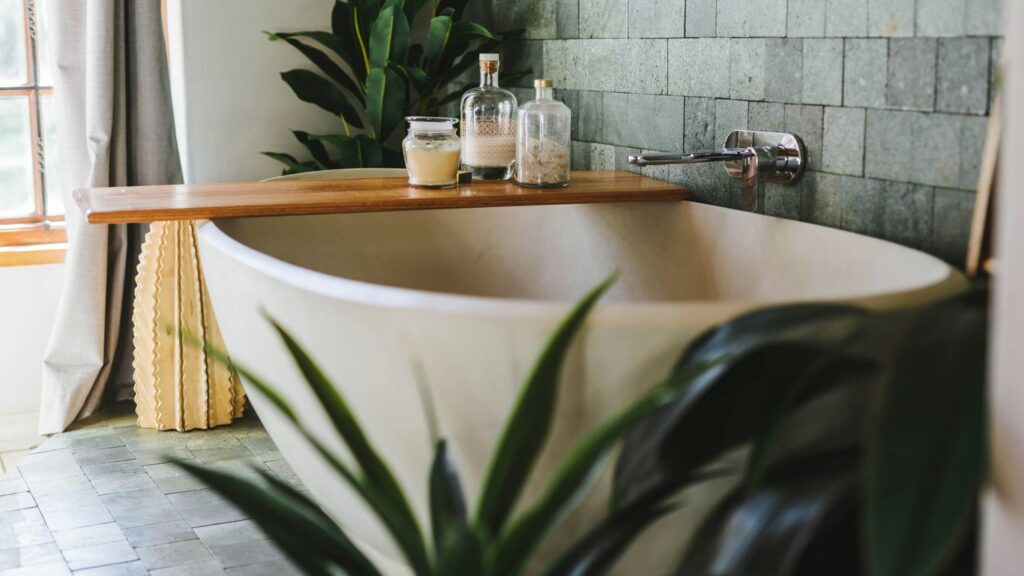
A freestanding marble bathtub can give a bathroom a quiet, sculptural centrepiece, but its success depends on more than appearance.
- Measure the room, access route and clearances before choosing a tub.
- Treat marble as a natural material with individual veining, porosity and colour variation.
- Confirm floor structure, waste positions, tap locations and installation responsibilities early.
- Choose finishes and cleaning methods that suit the way the bathroom will be used.
- Request a detailed quotation that separates the tub, delivery, access, plumbing and installation costs.
Understanding the appeal of a freestanding marble bathtub
A freestanding marble bathtub has presence before it is filled or used. The mass of the stone, the softness of its curves and the movement in its veining can make an otherwise practical room feel architectural. It is also a decision that needs clear-eyed planning, because natural stone brings weight, variation and maintenance considerations with it.
How marble transforms the bathroom into a focal point
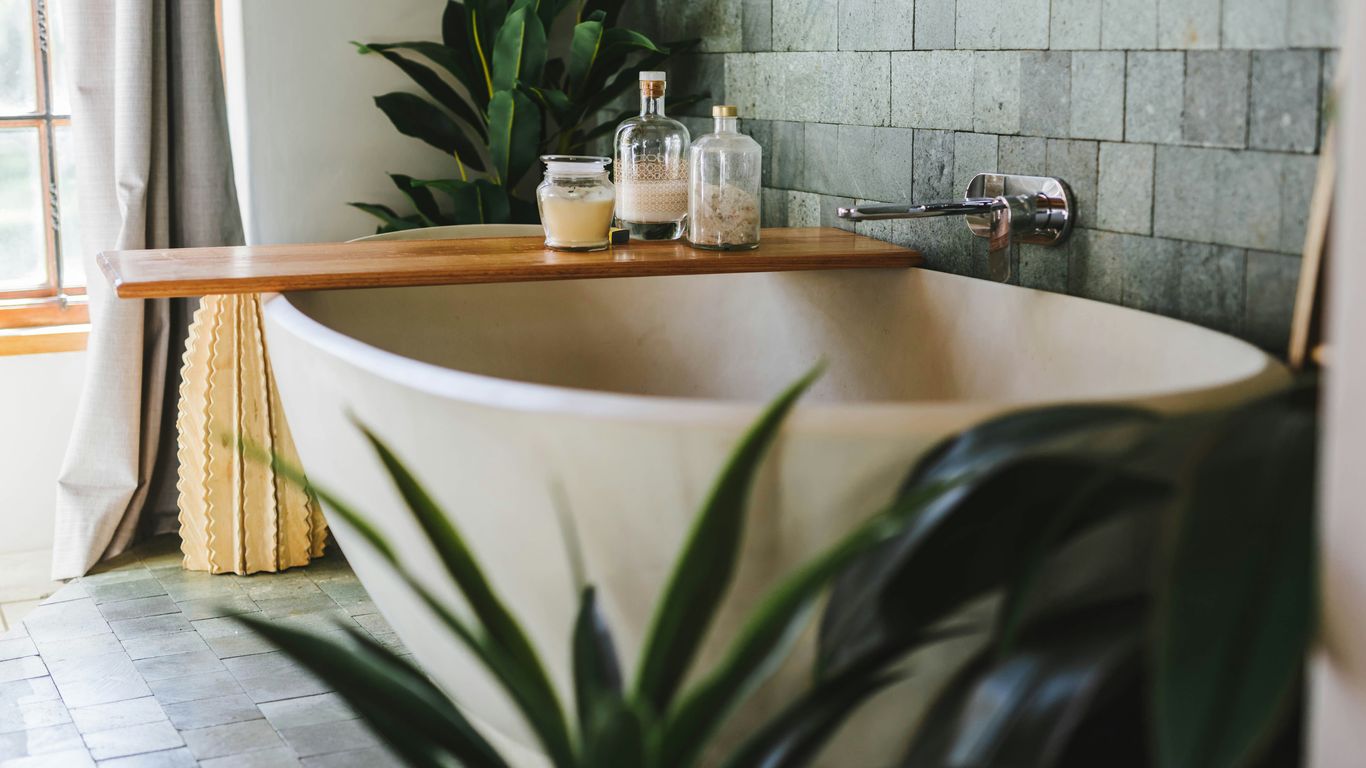
Marble draws attention through both colour and surface. A pale stone can reflect daylight around the room, while a darker or more strongly veined variety gives the bath a grounded, almost furniture-like character. The result is often most successful when the surrounding finishes are restrained, allowing the tub to read as a deliberate object rather than one more pattern in a crowded scheme.
The bath does not need to sit in the middle of a large room to become a focal point. A position beside a window, against a carefully finished wall or in front of a simple tiled backdrop can provide enough visual space. A freestanding stone basin can reinforce the same language elsewhere; this stone basin guide is useful when coordinating scale, material and pipework across the room.
Natural stone versus marble-effect and composite alternatives
Solid natural marble offers geological variation that manufactured surfaces deliberately try to reproduce. No two blocks will have exactly the same veining, tone or mineral markings, and a finished tub may show subtle changes across its rim and body. Marble-effect products can be lighter, more consistent and simpler to replace, while composite stone may offer a practical compromise between visual weight and everyday resilience.
The right choice depends on what matters most in the project. If the bath is intended as a singular architectural element and the client accepts variation, natural stone has a depth that is difficult to imitate. If access, floor loading or budget is restrictive, a lighter alternative may be the more responsible specification rather than a reluctant substitute.
The design styles that suit marble tubs
Marble works across more styles than the word luxury sometimes suggests. A softly oval tub can sit comfortably in a contemporary or pared-back room; a strong rectangular profile can suit a more architectural interior; and a warm, lightly honed stone can soften a traditional scheme. The surrounding materials matter just as much as the bath itself, especially timber, plaster, metal and the colour of the floor.
Consider the whole composition rather than matching every element. A fireplace surround, for example, may become another focal point rather than a useful companion, so its scale and detailing should be assessed carefully. Even adjacent architectural references such as Home Expressions show why the profile, mantel-like edges and surrounding joinery need to be considered as one visual arrangement.
Key benefits and limitations for everyday use
Marble can feel substantial and calm, and its naturally varied surface gives a bespoke piece character. It may also hold the visual warmth of a carefully designed bathroom for years. Yet it is not maintenance-free: acids can etch the surface, unsealed areas can absorb staining, and a heavy stone body can complicate delivery and installation.
For a broader view of material, proportion and structural questions, consult this natural stone bathtub guide while the project is still at specification stage. The best decision is rarely based on appearance alone; it balances the desired atmosphere with the household’s cleaning habits, access conditions and tolerance for natural variation.
Choosing the right size and proportions
A beautiful bath can feel awkward if its length overwhelms the room or its rim leaves too little space to move around it. Size should therefore be considered in three dimensions, including the internal bathing well, external footprint and overall height. Draw the room at scale before ordering, and include doors, sanitaryware, radiators, windows and any cabinetry that will remain.
Standard freestanding bathtub dimensions
Many freestanding baths are roughly 1,500–1,800 mm long and 700–900 mm wide, although stone tubs can fall outside these familiar ranges. Their wall thickness, base shape and internal slope affect the external dimensions considerably. Ask for the complete technical drawing rather than relying on a nominal length, particularly when the bath is made to order.
Height also affects the room. A tall rim can look dramatic but may be less comfortable for some users and harder to step over. A lower profile may be visually quieter, although it still needs enough depth for the intended bathing position and adequate space beneath or around the waste connection.
Matching tub length and width to the bathroom footprint
Start with the usable floor area, not the room’s overall dimensions. Mark the tub footprint with tape or a temporary template, then walk around it with the door open and cupboards in use. This quick exercise often reveals that a few extra centimetres affect circulation more than expected.
A smaller bath may look more considered than a larger one forced into a tight room. Conversely, in a generous principal bathroom, an undersized tub can appear lost. The aim is a visual and practical balance between the stone’s mass, the ceiling height and the negative space around it.
Checking bathing depth, rim height and user comfort
External dimensions do not tell you whether the bath will feel comfortable. Check internal depth to the overflow or intended water line, the angle of the backrest, the width at shoulder level and the rim height from finished floor level. If several people will use the room, test these dimensions against their height and mobility rather than assuming a showroom pose represents everyone.
The drawing should also show the rim profile and any changes in thickness. A broad rim may provide a place for a towel or toiletries, but it reduces internal width. A narrow, crisp edge can look elegant while offering less tolerance for impact, so the profile should be judged alongside the proposed finish.
Allowing practical clearance around the tub
Clearance is what allows a sculptural bath to remain usable. Leave enough room to clean behind it, reach the taps and open nearby doors without collision. Where a bath sits beside a wall, check whether the gap is intentionally accessible or whether the joint will need a carefully planned seal and cleaning strategy.
A useful room review should include:
- the door swing and a clear route for daily movement;
- access to windows, blinds, heated towel rails and storage;
- space for a person to enter, exit and dry safely;
- enough room for cleaning tools and future maintenance;
- the position of the waste relative to the final bath footprint.
These checks are modest on paper but prevent the expensive mistake of designing around a footprint that cannot work once fittings and finishes are installed.
Selecting the best marble and stone finish
The stone is both the surface and the structure of the bath, so selection should cover appearance, performance and fabrication. Ask to review the proposed block or slab where possible, rather than choosing from a small image alone. Colour, veining, open pores and mineral marks can change the character of a finished piece.
Popular marble types for freestanding baths
Carrara-style marbles are often chosen for their light ground and grey movement, while Calacatta-type stones can offer stronger veining and a more graphic appearance. Statuario varieties may read as brighter and more directional, but names are not enough to define a particular block. Availability, thickness, soundness and the scale of the required piece all affect what can actually be produced.
The same stone can feel formal when polished and quieter when honed. Warm beige, green, black and strongly figured marbles may create a more intimate bath, although darker surfaces can make water marks and residue more visible. Choose the stone with the room’s lighting and cleaning routine in mind.
Veining, colour variation and slab matching
Veining should be considered in relation to the tub’s curves. A linear pattern may flow elegantly along a long side, while a highly fractured block may produce a more irregular result around the rim. If separate pieces are used for associated ledges or panels, discuss how their tones and direction will sit together.
Natural stone is not a printed repeat. A sample can establish a general family of colour, but it cannot promise an identical finished appearance. Approve the material, drawing and expectations in writing before fabrication, especially where the bathtub is intended to anchor a hotel suite or a highly photographed residence.
Honed, polished and textured surface finishes
A polished finish brings out contrast and can make the marble look deeper, but it also reflects light and may show water marks readily. Honing produces a softer, more muted surface that often feels easier to integrate with plaster, timber and matte fittings. A textured finish can add grip and tactile interest, though its small depressions may require more attentive cleaning.
The internal and external surfaces do not always need to be identical. A smooth interior may be paired with a honed exterior, provided the transition, edge and maintenance instructions are clear. Sample boards are helpful because the finish can change how the same colour behaves in morning, artificial and low evening light.
Assessing porosity, sealing and long-term durability
Marble is relatively porous compared with many manufactured bathroom surfaces, and porosity varies between stones. A suitable sealer can reduce absorption, but it does not make the surface immune to acids, standing water or abrasive cleaning. Ask which products are compatible with the selected stone and whether sealing is completed in the workshop or on site.
A clear care schedule should cover initial treatment, routine cleaning and signs that resealing may be due. This marble basin maintenance guide offers a useful parallel because the same concerns—finish, porosity, staining and etching—apply to a bath, often across a much larger surface.
Planning the bathroom before installation
Planning is where an attractive concept becomes a buildable one. Stone baths are heavy, awkward to handle and difficult to modify once finished, so the architect, designer, plumber, builder and stone fabricator should work from the same information. Confirm the finished floor level, wall build-ups and service routes before the final production drawing is approved.
Confirming floor loading and structural support
The structure must carry the empty tub, the water and the person using it. A large stone bath can impose a substantial concentrated load, particularly where it rests on a narrow base or feet. Have a qualified structural professional review the proposed position, floor build-up and any reinforcement rather than relying on the weight of a similar-looking product.
The finished floor also needs to be level and strong enough to support accurate setting. Deflection can affect the waste connection, create stress at the base and make doors or seals behave poorly. Record who is responsible for structural confirmation in the project documents.
Positioning the tub around doors, windows and furniture
A central position is not automatically the best position. A bath near a window may benefit from natural light, but privacy, condensation and access for cleaning the glazing still matter. A piece placed beside a vanity or tall cabinet needs enough separation that the room does not feel pinched.
Use a full-size floor template where possible. It can test sightlines from the doorway, the relationship with a shower and whether the bath interrupts the visual rhythm of the room. A custom marble basin guide is also relevant when coordinating basin proportions, tap positions and splash control with the tub.
Coordinating waste, water supplies and tap placement
Confirm the waste outlet, trap access, overflow arrangement and finished floor height before the bath arrives. Freestanding taps need their own structural and service planning, while wall-mounted taps require accurately set-out pipework and sufficient wall depth. The outlet should discharge cleanly without relying on an improvised connection hidden beneath a heavy stone body.
Create a coordinated drawing showing tap centres, spout reach, valve positions and the direction of water flow. If the bath is rotated late in the project, the original service points may no longer align. This is also the moment to decide whether the taps should stand as a contrast or recede into the architectural background.
Managing access routes for a heavy stone bathtub
Measure the route from delivery vehicle to bathroom, including gates, lifts, corridors, stair turns and door openings. Take skirting boards, handrails and temporary protection into account. A route that works for a flat-packed vanity may not work for a finished stone vessel with limited grip points.
The handling plan should identify equipment, manpower, temporary storage and protection for floors and corners. Made-to-order work is not the same as selecting a warehouse item: at Geoscenic Stone, dimensions, stone, finish and packing are confirmed for the individual project, so access information belongs in the quotation and production discussion.
Installing a freestanding marble bathtub
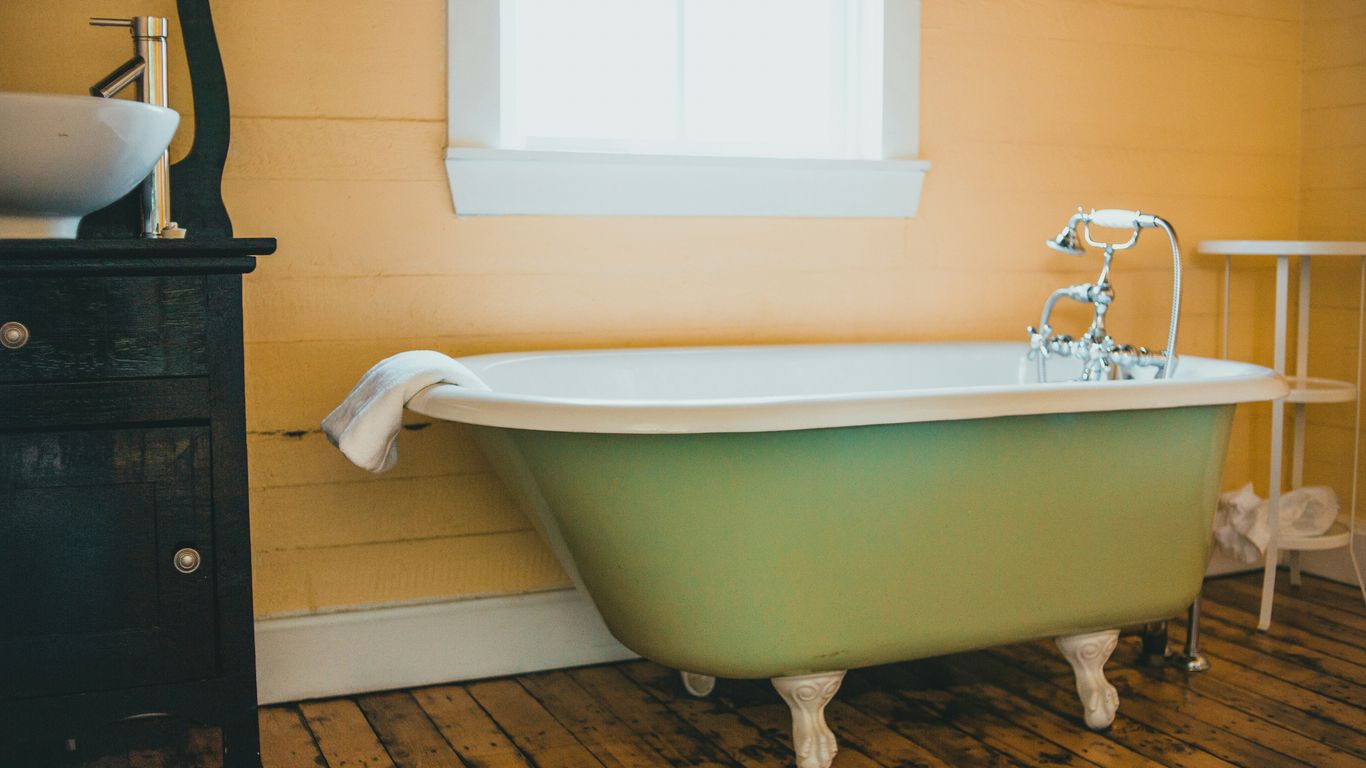
Installation should begin only when the room is ready to receive the finished piece. Walls, floor finishes, paint protection and service points should be sufficiently complete, while the final position remains checked against the approved drawing. Good installation is quiet and methodical; rushing the lift or forcing a connection can damage both the stone and the room.
Preparing the floor and setting the final position
Protect the route and finished floor before moving the bath. Confirm the base contact points, level the support as specified and dry-position the tub to check its relationship with walls, taps and the waste outlet. Do not drag the stone across a finished surface or use the rim as a lifting point unless the fabricator has expressly designed it for that purpose.
Mark the final position only after the actual tub has been inspected. Natural variation is expected, but transport damage, chips or an unexpected tolerance should be recorded before the piece is fixed. For related stone installation principles, the Statuario White installation guide discusses inspection, substrate preparation, dry-fitting, sealing and waste calculations in useful detail.
Connecting the waste and overflow correctly
The waste connection must be accessible enough for inspection and secure enough to remain watertight as the bathroom settles. Confirm the trap type, outlet direction and fall before the bath is sealed in place. If an overflow is included, test it with controlled water before the installation is signed off.
Use compatible seals and avoid overtightening fittings against the stone. A connection that appears dry during a brief test can still fail later if it is stressed by movement or poorly aligned pipework. Photograph concealed connections and retain the installation record for future maintenance.
Choosing wall-mounted, deck-mounted or floor-mounted taps
Wall-mounted taps keep the rim visually clean but depend on precise pipework and a stable finished wall. Deck-mounted taps require suitable drilling and enough rim width, while floor-mounted taps need a secure fixing method and careful placement beside the bath. The choice should follow the tub drawing, not be made after the stone has arrived.
Check spout projection, handle clearance and splash behaviour at the intended water level. A tap that looks proportionate in elevation may send water beyond the bathing well in use. Where drillings are required, their size and position should be approved before production.
When to use a specialist stone and bathroom installer
A specialist is sensible when the bath is unusually heavy, access is constrained, the stone has a delicate edge or the plumbing is concealed. The installer should understand lifting, temporary support, sealing, levelling and the consequences of drilling or adjusting natural stone. The plumber and stone team should also agree who owns each interface.
Ask for a method statement if the piece is large or the site is complex. A clear division of responsibility reduces the chance that a cracked fitting, damaged floor or inaccessible trap becomes an argument after completion.
Maintaining marble and preventing common damage
A marble bathtub rewards a simple routine rather than aggressive cleaning. Dust, body oils, soap residue and hard-water deposits should be removed before they build up, and spills should not be left to dry on the surface. Maintenance instructions should be based on the selected stone and finish, not copied from a generic bathroom label.
Cleaning products and routines that protect the surface
Use a soft cloth or non-abrasive sponge with a pH-neutral stone cleaner, then rinse and dry the surface. Avoid vinegar, lemon-based products, bleach mixtures, scouring powders and abrasive pads unless a stone specialist has confirmed their suitability. Drying the rim after use helps reduce mineral deposits and keeps the finish easier to read.
Keep bottles on a removable tray rather than directly on the marble. A small amount of restraint in daily use protects the surface better than trying to repair an etched patch later.
Removing soap scum, limescale and everyday marks
Fresh soap residue can usually be lifted with warm water and a neutral cleaner. Limescale needs more care because common acidic descalers may etch marble. Use a product specifically labelled for natural stone, follow its dwell time and test it in an inconspicuous area first.
Persistent marks should be assessed before treatment. A dull patch, a pale ring and a darker stain are different problems and may require different professional methods. Scrubbing harder is rarely a reliable answer and can enlarge the affected area.
Resealing schedules for different marble finishes
There is no universal resealing interval. Porous stone, a frequently used bath and a honed surface may need attention sooner than a less absorbent stone or lightly used guest bathroom. Ask the fabricator or stone-care professional how to test absorption and which sealer is compatible with the existing finish.
Keep a record of the product and date applied. Resealing should be preceded by proper cleaning and drying, and it should not be used to conceal a surface that is already etched, chipped or contaminated.
Preventing staining, etching, chips and thermal shock
Preventing damage begins with habits and handling. Do not place metal objects, strongly coloured bath products or hot items directly on the rim, and avoid dropping hard bottles against corners. Sudden temperature changes are also unhelpful, particularly if a cold stone surface is exposed to very hot water without a gradual fill.
A marble bath should be treated as a durable architectural surface, not as an indestructible one. With sensible care, its variation and small signs of use can remain part of its character rather than becoming a source of avoidable repairs.
Buying and budgeting for a marble freestanding tub
The purchase price is only one part of the project budget. Stone selection, block yield, carving, finishing, drilling, inspection, protective packing, freight, site access and installation can all affect the final figure. A transparent quotation should describe what is included and identify assumptions that still need confirmation.
What affects the price of a marble bathtub
Size and weight are obvious factors, but complexity matters too. A deep undercut, thin rim, curved profile, unusual base, matched veining or special finish can increase fabrication time and risk. The selected block may also have a different yield from another block of similar colour.
Destination and access affect costs after fabrication. Freight handling, crating, lift restrictions, stairs, insurance, duties and local installation should be considered separately unless the quotation explicitly combines them. The approved drawing matters because it gives each of these decisions a fixed reference.
Comparing bespoke, ready-made and reclaimed options
A ready-made bath may offer quicker selection, while a reclaimed piece can bring patina and history. Bespoke work is useful when dimensions, stone, finish, tap drillings or room constraints require a specific response. It generally involves more decisions before fabrication and a longer period between approval and delivery.
Do not assume that a photographed example is interchangeable with the piece being commissioned. Natural stone changes from block to block, and reclaimed items may have unknown repairs, tolerances or service arrangements. For wider context on made-to-order stone work, this custom stone furniture guide explains why material selection, drawings, proportions and delivery planning belong together.
Questions to ask about specifications, delivery and warranty
Before paying a deposit, ask for the external and internal dimensions, stone description, finish, rim profile, base arrangement, waste and overflow details, expected tolerances and approved drawing process. Confirm whether the quoted figure includes packing, transport, unloading, site delivery and installation. Also ask how transit damage, natural variation and remedial work are handled.
Adjacent suppliers sometimes document unusual delivery terms clearly; for example, Xcan It is an entirely different type of service, but its emphasis on managing assets from one dashboard is a useful reminder to keep project documents, revisions and delivery information organised. That comparison is about documentation discipline, not bathtub performance.
Evaluating installation, plumbing and ongoing maintenance costs
Separate the costs into fabrication, packing, transport, access equipment, structural work, plumbing, tapware, installation and aftercare. This makes it easier to compare quotations that use different assumptions. Include contingency for floor protection, temporary removal of doors or a second handling attempt if the route is uncertain.
A careful budget also allows for routine stone care and eventual resealing. Do not treat a low initial figure as economical if it leaves structural checks, difficult access or specialist handling unresolved. When discussing staff or contractor changes on a larger hospitality project, even an exit interview assessment is not a substitute for recording practical handover information about the bathroom itself.
Contact the Stone Team
If you are planning a made-to-measure marble bath, share the room drawings, access route, preferred stone and required dimensions with Geoscenic Stone. The team can review the project and prepare a quotation around the individual piece, its finish, packing, destination and installation requirements.
Conclusion
A freestanding marble bathtub is most successful when its visual weight is matched by careful decisions about proportion, stone, structure, access and aftercare. Treat the piece as architecture rather than a simple bathroom fitting, and its natural variation can become a lasting part of the room’s identity.
Frequently Asked Questions
Is a freestanding marble bathtub suitable for a small bathroom?
It can be, provided the external footprint, door swing, cleaning access and tap position are carefully measured. A smaller, well-proportioned tub is usually more successful than a larger model that restricts circulation.
How heavy is a marble freestanding bathtub?
Weight varies substantially with stone density, wall thickness, dimensions and base design. The combined load of the empty tub, water and bather should be checked by a qualified professional against the floor structure.
Does marble need to be sealed in a bathroom?
Most marble benefits from a suitable sealer, although sealing does not make it stain-proof or acid-proof. The correct product and renewal interval depend on the stone’s porosity, finish and use.
Which finish is easiest to maintain?
A honed finish can appear less reflective and may integrate well with a relaxed bathroom, while a polished finish can show stronger colour and veining. Both require appropriate cleaning and protection from acids and abrasives.
Can the tap holes be drilled after the bath is delivered?
Drilling should normally be planned and approved before fabrication. Altering a finished stone bath on site can introduce risks to the rim, surface, waterproofing and final alignment.
How much clearance should surround a freestanding tub?
The required clearance depends on the room, bath shape, tap arrangement and local regulations. Allow enough space to enter, exit, clean, operate nearby fittings and maintain the waste connection.
What should a marble bathtub quotation include?
It should identify the dimensions, stone, finish, tolerances, drillings, packing, delivery assumptions, access requirements, installation responsibilities and aftercare guidance. Structural work, duties, taxes and local plumbing should be listed clearly rather than assumed.