
Key Takeaways
Stone furniture manufacturing is a measured process in which design, material behaviour and workshop accuracy must work together.
- Select stone for both its appearance and intended use.
- Approve drawings that show dimensions, edges, joins, openings and fixings.
- Support and cut slabs carefully to reduce cracking, chipping and waste.
- Treat finishing, assembly and inspection as part of the design, not an afterthought.
- Pack and transport finished pieces according to their weight, geometry and destination.
Choosing stone and preparing the design
Every successful stone piece begins before the saw is switched on. The proposed use, room, access route and supporting structure all influence the material and the geometry. A clear production drawing gives the workshop something precise to make and gives the client a fair opportunity to approve the details. This is the point at which appearance and practical performance need to be considered together.

Comparing marble, granite, quartzite and engineered stone
Marble offers expressive veining and a broad range of tones, while granite is often selected for its granular appearance and hard-wearing character. Quartzite can provide strong natural patterning with a different performance profile, and engineered stone offers a more controlled visual field. The right choice depends on the furniture’s use, the desired finish and the amount of natural variation the project can accommodate. A useful comparison of material character is included in this guide to natural stone dining tables.
Assessing slabs for colour, veining, strength and defects
A slab should be viewed as a whole rather than judged from a small sample. Tone, veining, mineral marks, pores and fissures may change across its surface, and those changes affect both the appearance and the cutting plan. Fabricators look for areas that suit visible faces while reserving suitable material for edges, legs, returns and smaller components. The full slab tells the story more accurately than a photograph.
Translating drawings into cutting plans and templates
A drawing is converted into working information: finished dimensions, slab thickness, edge profiles, cut-outs, drillings, mitres and assembly references. Templates or digital files then guide the saw, waterjet and CNC stages. This translation is not merely administrative; it determines how the grain or veining will travel across the assembled piece. For a broader view of this stage, see the guide to custom stone fabrication.
Allowing for grain direction, joins, fixings and tolerances
Natural stone has no universal grain direction, but its visual movement still needs to be planned. Joins should be placed where they make structural and visual sense, while fixings must allow for the thickness and fragility of the material. Small tolerances are allowed for fabrication, installation and the adjoining components, rather than assuming that every site is perfectly square. This same discipline is useful when reviewing enzyme-free tissue decellularization, where process control also depends on preserving the intended structure; the applications are different, but the value of careful planning is familiar.
Preparing slabs for stone furniture manufacturing
Preparing the slab is a quiet stage with major consequences. The surface is cleaned, checked and measured before marks are made, and the support beneath it must keep the material stable throughout cutting. Equipment is selected according to thickness, shape and detail, while water, slurry and dust are controlled around the work. In a factory-to-order process, these preparations are tied to one approved piece rather than to a generic stock dimension.
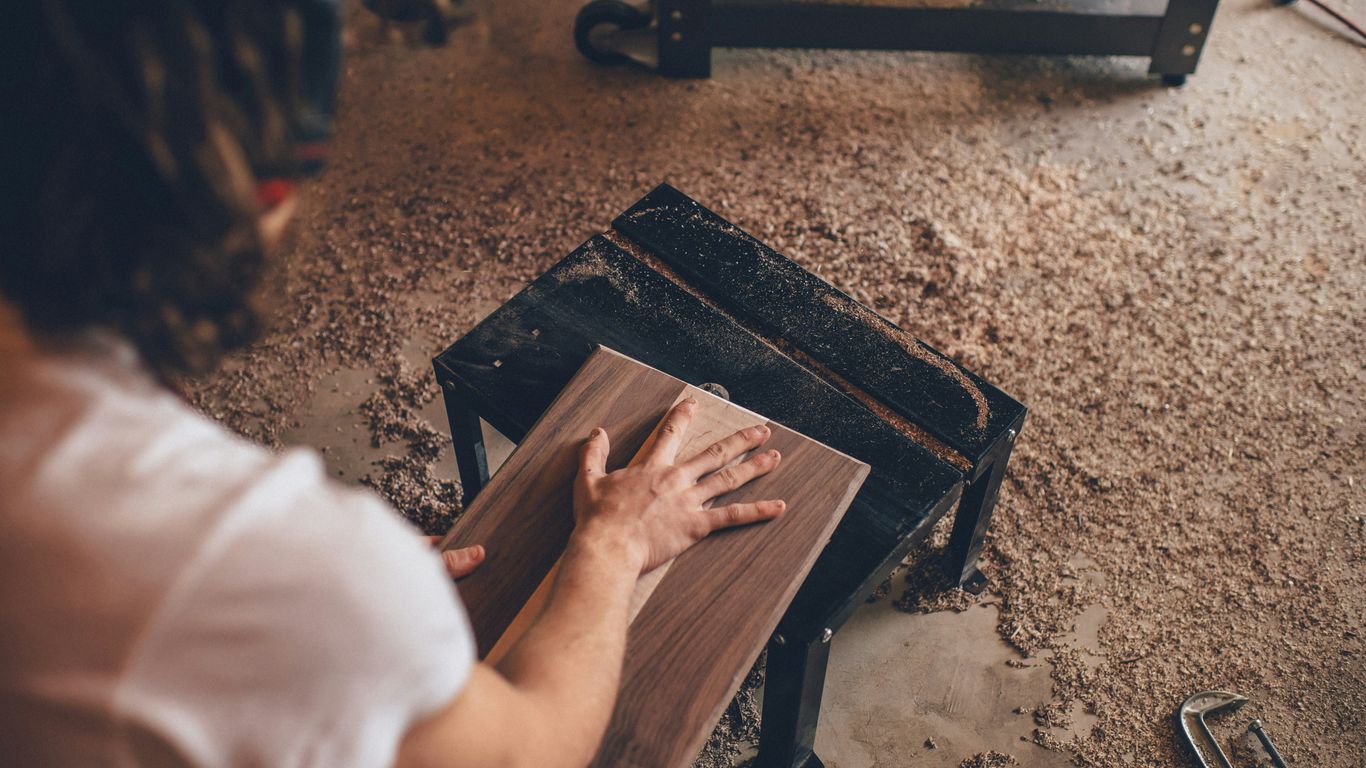
Inspecting, measuring and marking the raw slab
The slab is checked against the selected material and the approved drawing. Measurements establish usable areas, likely cut lines and the position of natural features that should be shown or avoided. Marking may be done physically or digitally, but the purpose is the same: to make the relationship between the design and the raw material visible before cutting begins.
Supporting the stone to prevent movement and cracking
Stone needs even support, particularly around overhangs, narrow sections and openings. Rails, tables, suction equipment or temporary supports may be used according to the machinery and component shape. Movement during a cut can damage an edge or place stress through a weak area, so the setup is checked before the blade or jet starts. Weight and access also matter, especially for large tops and assembled bases.
Selecting saws, waterjet equipment and CNC machinery
A bridge saw is suited to many straight cuts, while waterjet equipment can follow complex outlines and CNC machinery can drill, profile and machine selected details. The choice depends on the geometry, the required finish and the material’s behaviour. A useful production record identifies the operation, the component and its approved dimensions, helping the workshop keep the sequence clear.
Managing dust, water and workshop safety
Wet cutting helps control airborne dust, but it produces slurry that must be managed and removed safely. Operators also need suitable protective equipment, clear walkways and safe procedures for lifting heavy slabs. Practical planning extends beyond the workshop: a pre-winter building checklist is a different type of construction guidance, yet it illustrates the same principle of checking conditions before a problem reaches the finished work.
Cutting stone components accurately
Cutting turns a marked slab into recognisable furniture components, but accuracy is more than reaching a nominal length. The operator must preserve the intended visual movement, leave enough material for finishing and account for the sequence of cuts. Openings and mitres introduce additional stress, so their positions are checked against both the drawing and the support strategy. A clean cut reduces the amount of correction required later.
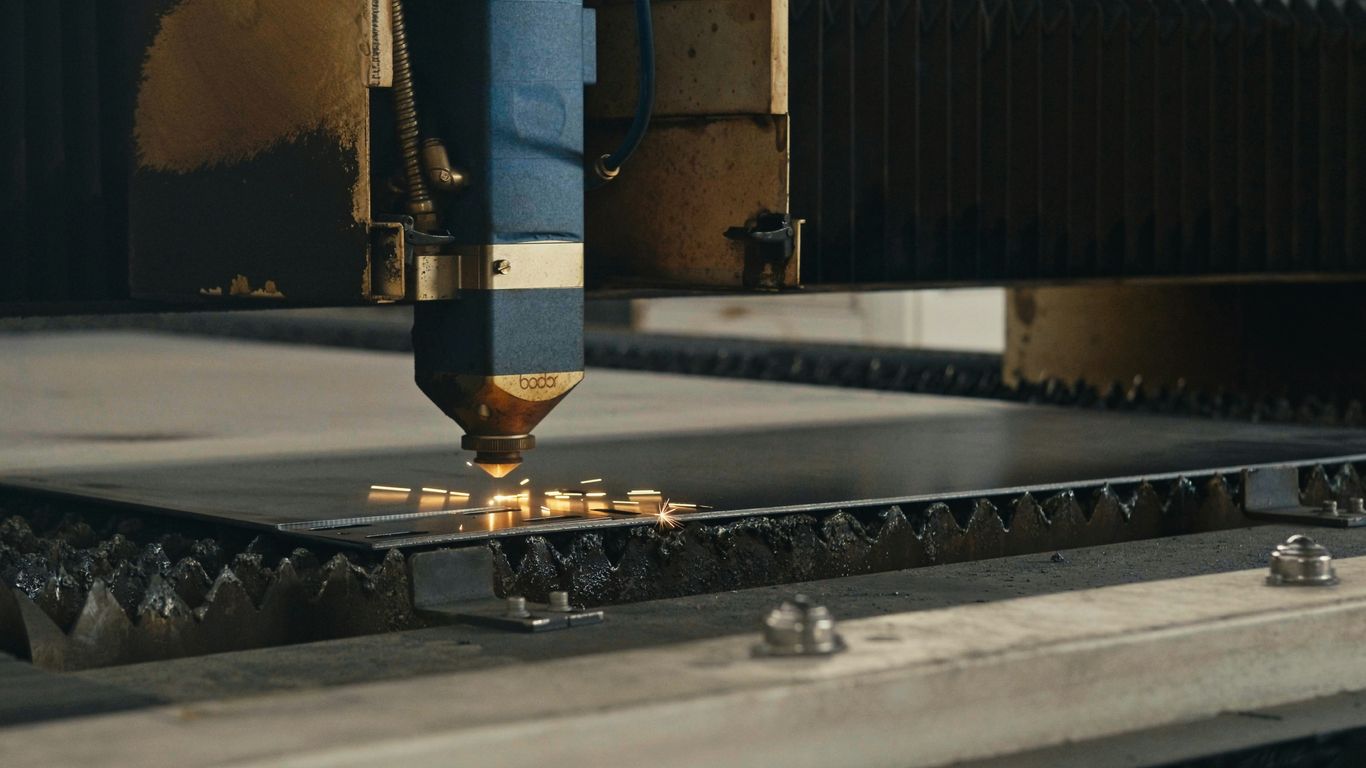
Cutting slabs into tops, panels and structural parts
Large tops, shelves, side panels and plinths are cut with reference to their final orientation. Labels or digital records keep each component associated with the correct drawing and location. Where several pieces come from one slab, their arrangement may be planned to create a considered relationship between veins and tones rather than treating every cut as an isolated rectangle.
Creating openings, mitres and connection points
Sink openings, cable routes, rebates and fixing points must be positioned precisely and finished without leaving vulnerable corners. Mitres are cut with enough allowance for joining and polishing, and the visible faces are protected during handling. The opening size also has to suit the component being installed, not simply the appearance of the drawing.
Using waterjet cutting for complex shapes and details
Waterjet cutting is useful for curved outlines, repeated details and shapes that would be difficult to produce cleanly with a straight saw. The digital path still needs checking for kerf, entry points and the amount of finishing required afterwards. Complex geometry is only successful when it remains compatible with support, assembly and the final use of the furniture.
Preventing chipping, heat damage and material waste
Feed rate, blade condition, water flow and support all affect the edge produced by a cut. Operators may leave a small finishing allowance so that polishing or profiling can remove minor marks without reducing the intended size. A simple cutting schedule also helps group parts efficiently and limits unnecessary waste. This is a practical, physical version of the same budgeting logic discussed in an IT budget guide: understand resources before committing them.
Shaping edges, surfaces and assembled parts
After primary cutting, each component is refined until it can meet the other parts cleanly. Edge profiles change the apparent weight of a top, while recesses and drillings make room for fittings or concealed supports. Curves are developed gradually, with frequent measurement against the drawing. The work is tactile as well as technical, because light and touch reveal small inconsistencies that a dimension alone may miss.
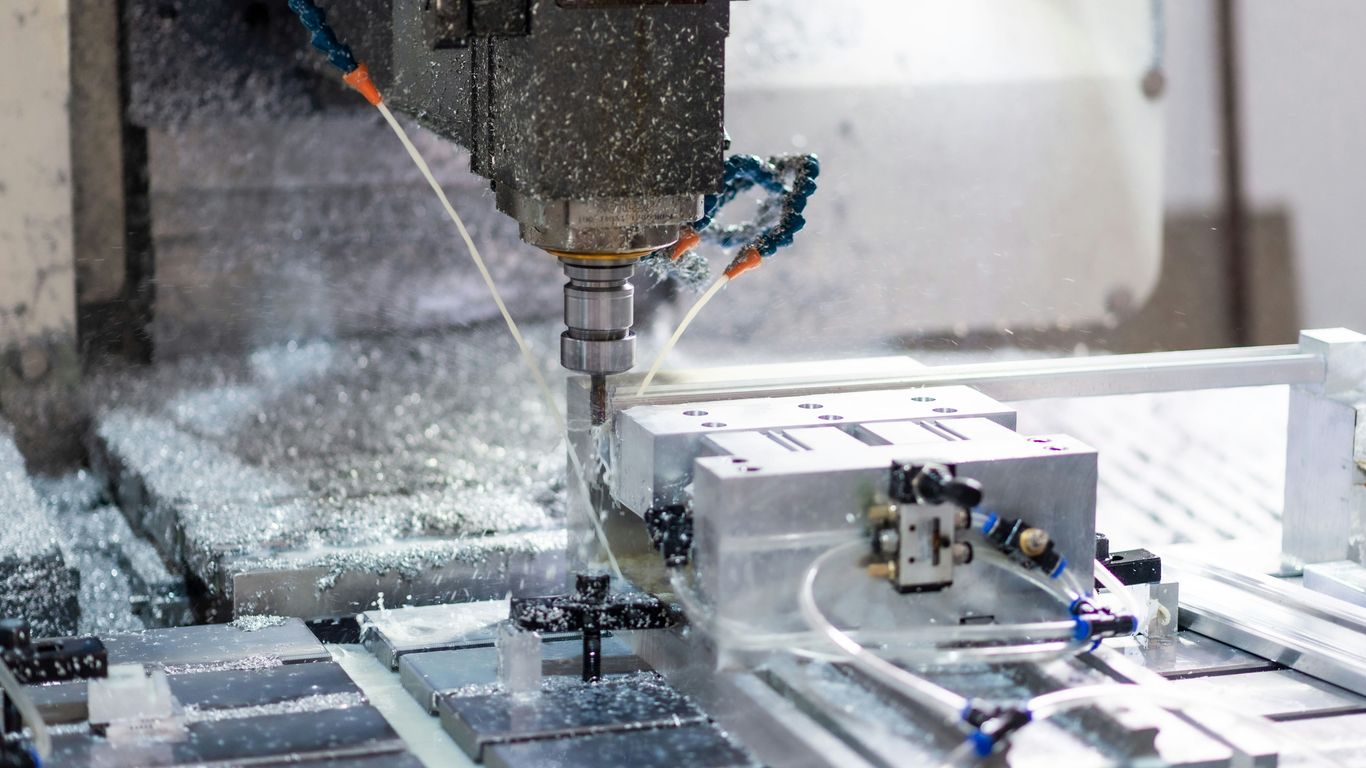
Profiling edges for different furniture styles
A square eased edge can look quiet and architectural; a bevel, bullnose or more shaped profile can soften the same slab. The choice should relate to the furniture’s scale, the room and how the edge will be used. Thickness, overhang and the relationship to the base are considered together, as shown in this explanation of marble table edge profiles.
Drilling holes and machining recesses
Drilled holes for fittings and machined recesses for supports must be located from reliable datum points. The fabricator checks diameter, depth and edge distance because a small error can affect both installation and structural integrity. Recesses are kept controlled rather than unnecessarily deep, preserving material where strength is needed.
Forming curves, tapers and detailed profiles
Curves may be shaped with CNC tooling and then refined by hand through progressively finer abrasives. Tapers and compound forms require careful templates or digital checks so that the intended silhouette survives the finishing process. On a bespoke piece, the detail should look deliberate from every normal viewing angle, not just from the front elevation.
Dry-fitting components before final assembly
Dry-fitting allows the team to confirm that parts meet, openings align and the furniture can be assembled in the proposed sequence. It also exposes access problems before adhesive or permanent fixings make changes difficult. The result is a more reliable transition from workshop fabrication to site installation, particularly where large stone components must pass through restricted routes.
Finishing and assembling stone furniture
Finishing determines how the stone receives light, touch and everyday use. Honing, polishing, brushing or texturing can reveal different aspects of the same material, while sealing and careful assembly protect the work without disguising its natural character. Components made from stone, metal, timber or glass must be allowed to meet without forcing incompatible movement. The final appearance is therefore the result of several coordinated operations.
Honing, polishing and texturing the stone surface
Polishing brings depth and reflection to suitable stones, while honing creates a softer, more restrained surface. Textured finishes can add tactile variation and reduce visual uniformity. Abrasive stages are carried out progressively, with edges and corners checked alongside broad faces so that the finish does not change abruptly at the perimeter.
Sealing stone for stain and moisture resistance
Sealing can reduce the ease with which some liquids enter porous stone, but it does not make a surface invulnerable. The appropriate treatment depends on the material, finish and expected use, and it should be applied to a clean, dry surface. Care instructions should explain what the sealer does and what routine cleaning still requires.
Combining stone with metal, timber, glass or other materials
Mixed-material furniture depends on proportion as much as on joinery. Metal may provide a slender structural frame, timber can introduce warmth, and glass may lighten the visual mass of a stone top. Interfaces need to be drawn clearly, including overlaps, gaps, supports and visible fixings. This is also where custom marble furniture can be considered as part of a wider interior material palette rather than as a standalone object.
Bonding, reinforcing and installing components safely
Adhesives are selected for the materials and the joint, while concealed reinforcement may be used where the geometry requires additional support. Bonded surfaces must be clean and correctly prepared, and curing time should be respected before lifting or loading the piece. Installation planning includes the route into the room, the available labour and any destination-specific requirements. Projects benefit from renovation expectations being agreed early, particularly where noise, dust or access affects other occupants.
Inspecting quality before delivery
Inspection is the final working stage, not a ceremonial glance before packing. The completed furniture is compared with the approved drawing, finish sample and agreed material selection. Dimensions, joins, stability and visible surfaces are reviewed together because a piece can be accurate in one respect and unsuitable in another. Documentation also helps the client understand natural variation without confusing it with fabrication error.
Checking dimensions, flatness, joins and edge consistency
Critical dimensions are measured with suitable tools, while flatness is checked across the surfaces that must sit level or receive another component. Joins should be even, secure and visually coherent, and edge profiles should remain consistent around corners and returns. Any correction is completed before packing, when access to the work is still straightforward.
Reviewing colour variation, veining and surface finish
Natural stone will vary in tone, figuring, porosity and mineral marks. The review therefore asks whether the delivered piece corresponds to the approved material and intended layout, not whether it is identical to a photograph. Finish is checked in the light in which the furniture will usually be seen, since reflection can change the apparent depth and colour.
Testing stability, load performance and fixing points
The base, joints and fixing points are examined for movement before the piece leaves the workshop. Where appropriate, the team checks how components bear weight and whether fittings can be installed without stressing the stone. These checks should reflect the intended use and should not be replaced by a purely visual inspection. A production approach that values repeatable checks is outlined in this quality control guide.
Protecting finished furniture during handling and transport
Corners, polished faces and vulnerable openings are protected with suitable wrapping and rigid packing. Large or heavy pieces need lifting points and handling instructions, while the delivery plan should account for access, stairs, hoists and the final position. Quotations may treat packing, delivery and installation as project-specific items rather than automatic inclusions. Teams also need a humane working environment; guidance on construction mental health is relevant wherever heavy, time-sensitive work is being organised.
Get A Bespoke Stone Quote
If you are planning a made-to-order stone piece, request details from Geoscenic Stone so the material, drawing, finish, packing and destination can be considered together.
Conclusion
Stone furniture manufacturing succeeds when the beauty of the slab is matched by disciplined decisions at every stage, from selection and drawing through cutting, shaping, finishing, inspection and delivery. The result should be made for its particular room, use and installation conditions, with natural variation treated as part of the material rather than an inconvenience.
Frequently Asked Questions
What is stone furniture manufacturing?
Stone furniture manufacturing is the process of turning slabs or blocks into usable pieces such as tables, consoles, shelves, vanities and architectural furniture through design, cutting, machining, finishing, assembly and inspection.
Which stone is best for furniture?
There is no single best stone. Marble, granite, quartzite and engineered materials each offer different appearances, strengths, porosity and maintenance requirements, so the choice should follow the intended use and design.
How are stone slabs cut for furniture?
Slabs are measured and marked from approved drawings, then cut with equipment such as bridge saws or waterjets. Allowances are made for finishing, joins, openings, edge profiles and natural features in the slab.
Can stone furniture have curved edges?
Yes. Curved edges can be formed with CNC tooling and refined with abrasive finishing. The curve must be supported by an accurate drawing and checked for thickness, consistency and safe handling.
How is a stone surface finished?
Common finishes include polished, honed and textured surfaces. The selected finish affects reflection, touch, appearance and maintenance, and should be agreed before fabrication begins.
Does natural stone need to be sealed?
Some stones and finishes benefit from sealing, particularly where staining or moisture is a concern. Sealing reduces absorption but does not remove the need for suitable cleaning and care.
How is stone furniture protected during delivery?
Finished pieces are wrapped and packed to protect edges, surfaces and openings. The packing and handling method should reflect the item’s weight, geometry, lifting requirements and route into the final space.