
Key Takeaways
A marble basin should be specified as part of the whole bathroom, not as an isolated object. These principles will help you balance appearance, comfort, installation and long-term practicality.
- Measure the basin’s overall footprint, not only its internal bowl.
- Allow clearances for walls, doors, taps, splashbacks and circulation.
- Match the installation type to the vanity, worktop and supporting structure.
- Confirm plumbing, fixing details, stone characteristics and tolerances before fabrication.
- Approve a complete drawing so the finished basin suits the room and the way it will be used.
Understand the key marble basin dimensions
Marble basin dimensions describe more than a simple width and depth. The external footprint, bowl opening, rim, height, tap zone and underside all affect how the basin will work once installed. For a made-to-order piece, these measurements should be considered together and recorded in an approved drawing.
A useful starting point is the custom marble basin guide, which considers water-holding space, working space, service space, drainage and the relationship between the basin and vanity. Geoscenic Stone produces made-to-order pieces from an approved drawing, so dimensions need to be settled before cutting and finishing begin.
Width, depth and height explained
Width is usually measured from left to right across the widest part of the basin. Depth runs from the front edge towards the wall, while height may refer either to the basin itself or to the finished rim height above the floor. Always state which reference point you mean, particularly when comparing a countertop basin with an undermount model.
The rim adds to the overall footprint but does not increase the usable bowl area. A broad rim may provide room for a tap or a more sculptural profile, yet it can reduce the worktop available for toiletries. Record the external dimensions, internal opening, rim width and finished installation height separately.
Standard dimensions for cloakrooms, ensuites and family bathrooms
There is no single universal standard that suits every bathroom. A cloakroom often needs a shallow basin and careful door clearance, while an ensuite may allow more depth but still have a narrow circulation route. A family bathroom generally offers more flexibility, although the basin must compete with storage, mirrors, shower doors and other fittings.
Treat published nominal sizes as a starting point rather than a promise of fit. Walls may not be square, finished surfaces may alter the available room, and natural stone fabrication may involve agreed tolerances. A site measurement and a dimensioned drawing are more reliable than choosing by category alone.
Round, oval, square and rectangular basin measurements
A round basin is normally specified by diameter, whereas an oval basin needs both its major and minor dimensions. Square and rectangular forms require width, depth and corner details, since a sharp internal corner behaves differently from a softened one. The shape also changes the usable area around the waste and the amount of counter space left beside it.
For a double basin, measure the complete run, including the central gap and any side margins. Two bowls that fit individually may still make the vanity feel crowded when taps, splashbacks and elbows are added. Shape should therefore be assessed in plan view, not only from a product photograph.
How internal bowl size differs from the overall footprint
The internal bowl determines how much water the basin can hold and how comfortable it is for washing. The overall footprint determines whether it fits the room, worktop and clearances. A thick rim, generous outer wall or integrated ledge can make a basin appear large while leaving a relatively modest internal bowl.
This distinction matters when a design needs both a compact exterior and useful washing space. Ask for a drawing showing the internal dimensions, waste position, rim width, underside and overall profile. Natural marble also varies in veining, tone and mineral character, so the visual impression will not be identical to a photographed example.
Match the basin size to your bathroom layout
The best basin size is governed by the space around it as much as by the basin itself. Start with the walls, doors, windows, furniture and likely movement route, then place the basin within that fixed geometry. A beautiful stone form can feel inconvenient if its projection narrows the entrance or conflicts with a drawer.
Use a scaled plan where possible, including finished wall and floor surfaces rather than assuming the structural dimensions will remain visible. This makes it easier to test different depths and installation types before committing to fabrication.
Allowing clearance around walls, doors and furniture
Check the basin’s side clearances, front projection and relationship to nearby fittings. A door swing can make a seemingly comfortable basin difficult to approach, while a wall return may prevent a drawer or trap from being positioned centrally. Include skirting, wall panelling, radiators and heated towel rails in the drawing.
The basin should also leave enough room for cleaning around its sides and rear. Where a splashback or upstand is planned, include its thickness in the final depth. Small omissions at this stage can become awkward cut-outs or unusable gaps later.
Choosing a basin for compact bathrooms and cloakrooms
In a compact room, a shallow rectangular or small rounded basin may preserve the circulation route better than a deep vessel. Wall-mounted installation can also keep the floor visually open, although the wall and fixing arrangement must be suitable for the stone’s weight. The practical question is not simply whether the basin fits, but whether a person can stand in front of it without blocking the room.
Use the smallest external depth that still provides a comfortable bowl and sensible tap position. A narrow basin with an overhanging tap may create more splash than a slightly deeper basin with better proportions. Test the plan at full scale with tape or cardboard before approving the final dimensions.
Planning double basins in larger bathrooms
Double basins need a generous total run, not merely two bowl widths added together. Allow for the central separation, tap zones, side margins and any joint or integrated worktop detail. Storage below should remain usable, with plumbing arranged so that traps do not consume every drawer.
Consider whether both users need identical bowls and whether the mirror, lighting and wall services can be centred around the pair. A long marble vanity can be visually quiet when the spacing is deliberate, but it becomes crowded when the bowls are pushed too close to the ends.
Positioning the basin for comfortable circulation
The basin should sit on a route that feels natural from the door, shower and storage. Avoid forcing users to turn sideways around a projecting corner, particularly in a shared bathroom. Check that towels can be reached without crossing the main wet-zone path.
A scaled plan can reveal these problems early. For broader principles about measuring a room around a heavy stone element, the marble dining table dimensions guide offers a useful parallel: the full zone around an object matters as much as its nominal footprint. The same logic applies here, even though the furniture and clearances differ.
Choose the right basin style and installation type
Installation type changes the way dimensions are read. A countertop basin includes the visible vessel above the worktop; an undermount basin largely disappears into it; and a wall-mounted basin transfers its load to the wall rather than a cabinet. Freestanding forms need still more attention to floor area, access and visual scale.
Choose the style after considering the room, the structure and the service route. Serafini marble washbasins illustrates the range of formats available in the wider market, including integrated, wall-mounted, freestanding and countertop designs, but the appropriate option still depends on the individual installation.
Countertop basins and the space required beneath them
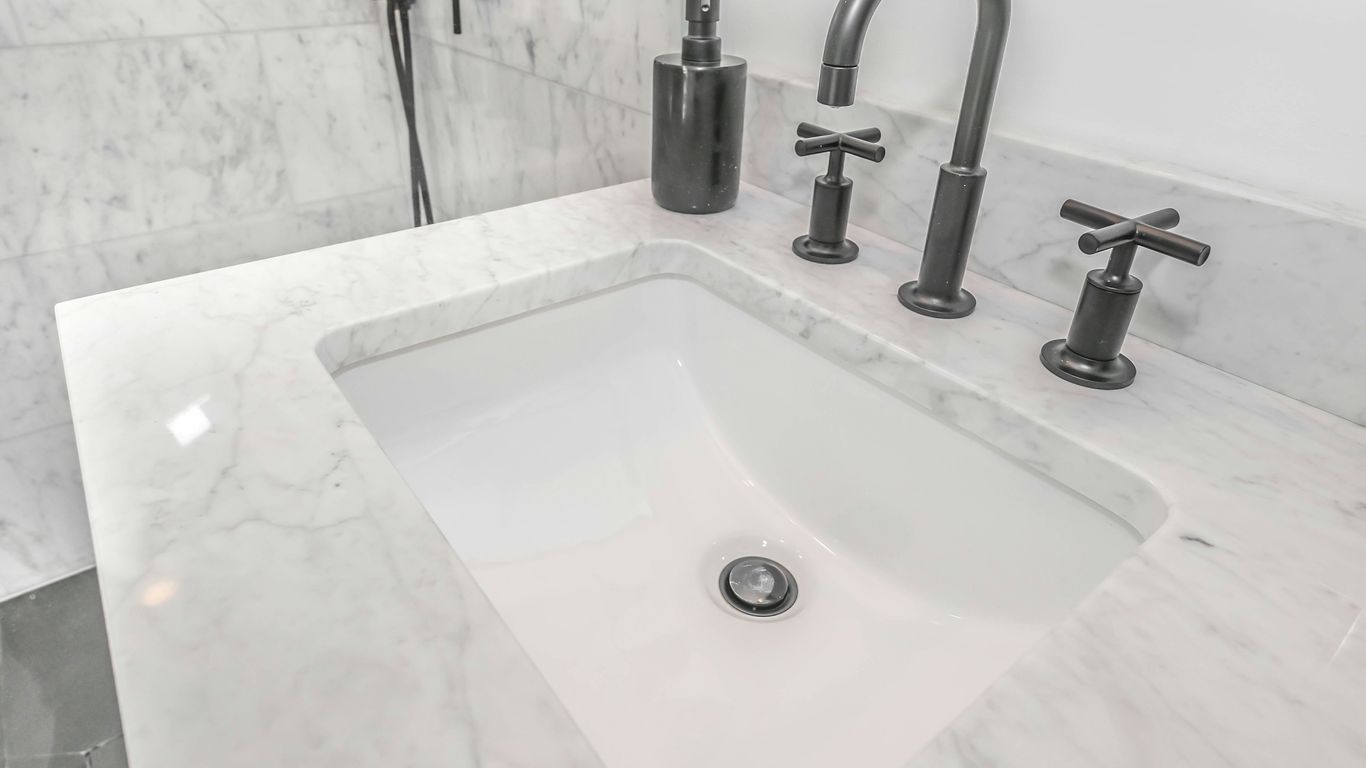
A countertop basin needs enough worktop around its base for stability, cleaning and tap coordination. The cabinet beneath must accommodate the basin projection, waste and trap, while the finished rim height should remain comfortable. If the vessel is deep, the vanity may need to be lower than expected so the top edge does not become awkwardly high.
Check whether the basin sits fully on the surface or partly within a recess. The answer affects the cut-out, visible edge, waterproofing detail and the amount of usable counter space. Do not finalise the vanity height until the basin section has been reviewed.
Wall-mounted basins for a lighter visual footprint
A wall-mounted basin can make a small room feel more open because the floor remains visible beneath it. That visual lightness does not mean the installation is structurally simple. The wall, brackets, concealed frame or fixing points must carry the completed stone basin and the loads created during everyday use.
Plan the waste route and any exposed or concealed support before closing the wall. Also check whether the chosen height leaves comfortable knee space and allows the underside to be cleaned without inaccessible recesses.
Undermount and inset basins with vanity units
Undermount and inset designs require close coordination between the basin and the worktop opening. The template must identify the cut-out size, corner radius, rim support, sealant line and position of the waste. Even a modest discrepancy can affect the visible reveal or prevent the basin from seating correctly.
These formats can give a calm, integrated appearance, but the cabinet still needs sufficient internal clearance. Drawers may require a reduced top drawer, a false front or a carefully positioned trap. Review the whole section rather than treating the basin cut-out as a separate trade detail.
Freestanding marble basins and their floor-space implications
A freestanding basin is read as an architectural object, so its full silhouette matters from every direction. Allow space behind and beside it for cleaning, services and visual breathing room. The floor must be level enough for the basin to sit securely, and the delivery route must accommodate its dimensions and weight.
The freestanding stone basin guide is helpful when considering visual weight, tap coordination and cleaning access. In a smaller bathroom, a freestanding form may need a narrower body or a carefully controlled plinth so its sculptural presence does not restrict movement.
Specify the countertop, vanity and supporting surfaces
The basin, worktop and vanity should be specified as one coordinated assembly. Their dimensions determine where water lands, where toiletries sit and how easily the cabinet can be used. They also determine whether the stone can be safely supported during installation and throughout daily use.
A made-to-order approach is useful when walls are irregular or the room requires an unusual combination of bowl, ledge and storage. Geoscenic Stone’s factory-to-order process means the piece is cut, formed, finished, inspected and packed for a specific project, with the relevant details confirmed in an approved production drawing.
Calculating the worktop size around the basin
Begin with the basin’s overall footprint, then add the side margins, rear tap zone and any front overhang. If the worktop meets a wall, include the splashback or upstand before setting the final depth. For a double arrangement, draw the complete run and mark every bowl, tap, joint and end condition.
A useful schedule should distinguish the slab dimensions from the finished visible dimensions. Edge profiles, returns and cut-outs can all change how much material is required. Review the plan and section together before ordering the supporting surface.
Allowing space for taps, splashbacks and toiletries
Tap position should be chosen with the bowl, wall and user in mind. A rear-mounted tap may require more depth, while a wall-mounted tap needs a coordinated service point and adequate clearance above the rim. Splashbacks should protect the wall without making the basin feel cramped.
Leave a practical landing area for soap and everyday items, but avoid allowing toiletries to dictate an oversized worktop. If the basin has a broad rim or integrated ledge, use that feature deliberately and confirm where water will drain after use.
Selecting vanity-unit dimensions and storage depth
Vanity depth should follow the basin and worktop rather than a standard cabinet module. Check the projection of the bowl, the position of the waste and the clearance needed for drawers or doors. A shallower cabinet may suit a cloakroom, while a deeper unit can provide useful storage in a family bathroom.
Storage planning should include cleaning products, spare towels and the items users reach for daily. The made-to-measure marble basin guide discusses vessel, countertop and undermount relationships, which can help when deciding whether the basin should sit above, within or below the vanity surface.
Checking the weight capacity of the supporting structure
Marble is a substantial material, and the finished load includes the basin, worktop, vanity, water and any supporting frame. Confirm the capacity of walls, brackets, cabinets and floors with the responsible contractor or structural professional. Do not rely on the appearance of a support alone.
A clear fixing schedule should identify where loads transfer and how the basin will be secured without damaging the stone. This is particularly important for wall-mounted and freestanding designs, as well as for larger double-basin arrangements.
Plan plumbing and practical installation requirements
A basin can have the right external dimensions and still fail at installation if the services are not coordinated. Waste position, trap depth, tap drilling, access panels and finished floor levels all influence the usable space. Bring the plumber, joiner, stone fabricator and designer into the same drawing review.
For context on natural stone selection, porosity and maintenance, a marble sink planning guide can help frame the practical questions. It should complement, not replace, the basin’s project-specific plumbing and fixing drawings.
Setting the basin height for everyday use
Finished rim height affects posture, reach and the relationship to the mirror. Measure from the completed floor, not the structural slab, and include the thickness of the worktop, plinth or basin support. A countertop basin may need a lower vanity than an undermount model to achieve a similar rim height.
Consider the users rather than applying a single default dimension. In a shared bathroom, a balanced height may be preferable to designing around one person alone. Confirm the height alongside tap reach, mirror position and lighting.
Checking waste, trap and tap compatibility
The waste must align with the basin outlet and leave enough room for the trap without colliding with drawers or shelves. Tap holes, overflow details and wall-mounted fittings should be confirmed before drilling. Some basin forms may require a particular waste arrangement or access direction.
Record all service centres on the approved drawing. A small change to the bowl or rim can move a drilling point, so plumbing rough-ins should not be set from an unapproved visual sketch.
Allowing access for maintenance and cleaning
Even an elegant installation needs reachable valves, trap connections and sealant joints. Avoid boxing services into a void that cannot be opened without removing the basin. Leave enough space around the underside and rear edge for inspection and cleaning.
Where a cabinet is used, removable panels or accessible drawers can make routine work far easier. Plan the cleaning route as carefully as the installation route, especially around freestanding plinths and wall-mounted supports.
Coordinating basin dimensions with wall and floor finishes
Finished tile, stone, plaster and flooring can change the final clearances. A wall finish may reduce rear depth, while a floor build-up may raise the basin and alter the door relationship. Mark the finished surfaces and thicknesses on the section drawing.
Natural stone also benefits from a clear care plan. Sealing, cleaning products and exposure to water should be discussed before installation, with the selected finish and stone characteristics taken into account rather than assumed from a photograph.
Balance basin dimensions with comfort and accessibility
Good proportions make a basin easier to use and easier to live with. The internal bowl needs enough width and depth for ordinary washing, while the external form must leave room for elbows, knees, towels and movement. Accessibility should be considered at the first design stage, not added after the vanity has been fixed.
The right balance varies by user and room. A compact basin can work well when its tap, bowl and approach are carefully aligned; a larger basin can still be uncomfortable if it leaves no usable standing space.
Choosing a usable bowl depth and width
A deeper bowl may reduce splashing but can be harder to reach, especially for children or seated users. A shallow bowl may suit a cloakroom yet require more care with tap flow and water landing. Internal width, corner radius and outlet position all contribute to how usable the basin feels.
Test the proportions with a cardboard template or a full-scale drawing. Include the rim and tap position, since a bowl that looks generous in isolation may feel constrained once the hand position is considered.
Providing clear knee and legroom
Clear space below or in front of the basin affects both comfort and access. Pedestal forms, deep traps, cabinet fronts and low rails can restrict knee room even when the basin itself is correctly sized. Where seated use is anticipated, coordinate the basin, waste and support so the approach remains clear.
A wall-mounted design can help, but only if the wall support and service arrangement are resolved. The empty space beneath should be intentional, easy to clean and free from sharp projections.
Considering children, older users and reduced mobility
Ask who will use the bathroom and how their needs may change over time. Children may benefit from a reachable tap and a controlled bowl depth, while older users may need stable approach space, clear sightlines and fewer obstacles. Reduced mobility may require a specific height, knee clearance or support strategy.
These decisions should be recorded as functional requirements in the brief. Do not assume that a visually minimal basin is automatically accessible; comfort depends on the complete relationship between the user, the bowl and the room.
Preventing splashback through proportion and tap placement
Splash is often a proportion problem rather than a basin-size problem. Tap height, spout reach, water pressure, bowl depth and the position of the outlet all interact. A tap that is too far forward may send water onto the rim, while one that is too high may create unnecessary impact.
Use the basin section to test the water path and wall clearance. Small dimensional adjustments matter when they are made before drilling, sealing and finishing, so coordinate the tap specification with the final bowl drawing.
Confirm the specification before ordering a marble basin
The final check should bring together the plan, elevation, section, services, stone and installation method. This is the point to resolve uncertainty rather than pass it to the workshop or installer. A complete specification protects the design intent while acknowledging that natural stone has individual variation.
A short approval process is usually more valuable than a long collection of disconnected messages. Confirm what is fixed, what is subject to agreed tolerance and what will be selected from the stone itself.
Taking accurate measurements on site
Measure finished walls, floor levels, door swings, service points and access routes. Take measurements in more than one place where walls may be out of square, and record obstructions such as pipes, ledges, skirting and structural supports. Photographs with reference dimensions can support the measured plan.
For an international project, include packing, delivery access and the route from unloading point to bathroom. The basin must fit not only the room but also the practical path into it.
Checking manufacturer tolerances and bespoke sizing
Ask which dimensions are nominal, which are finished and which may vary within an agreed tolerance. Bespoke sizing can resolve awkward rooms, but it does not remove the need to establish realistic limits for stone thickness, edge profiles, drilling and internal radii.
Material selection should also be discussed. Veining, tone, porosity and mineral marks vary from piece to piece, so an approved reference or slab selection should describe the character expected without promising an identical pattern.
Reviewing templates, drawings and fixing details
Before production, check the plan, elevations and sections against the latest site information. Confirm bowl orientation, waste centre, tap holes, rim, overhangs, fixing points, support conditions and access panels. If several trades are involved, circulate one controlled drawing revision.
A useful drawing makes installation less interpretive. It should show the dimensions that matter on site, the tolerances that have been accepted and the interfaces that another contractor must prepare.
Confirming stone characteristics, sealing and care requirements
Marble is a natural material, so the final basin may contain variations in colour, veining, figuring and mineral marks. Discuss the selected finish, expected porosity, sealing approach and suitable cleaning routine before approval. Acidic or abrasive products may be unsuitable, depending on the stone and finish.
Geoscenic Stone’s made-to-order work is cut, formed, finished, inspected and packed for the individual project, with dimensions, stone, finish, edges and drillings confirmed in an approved production drawing. If the specification is ready, request a quotation with the room measurements, drawings, preferred stone and delivery details.
Get the Specification Right
If you are commissioning a made-to-measure marble basin, share your plans and requirements with Geoscenic Stone so the dimensions, material, finish and practical delivery details can be reviewed for your project.
Conclusion
The right marble basin dimensions emerge from the relationship between bowl, rim, vanity, services, structure and user. Measure the complete installation, test the clearances, review the drawings and acknowledge the natural variation of stone before approving production. That care turns a striking basin into a comfortable, workable part of the bathroom.
Frequently Asked Questions
What dimensions should I measure for a marble basin?
Measure the overall width, depth and height, then record the internal bowl size, rim width, tap position, waste centre and underside profile. The surrounding worktop, vanity and clearances should be measured as part of the same installation.
Is there a standard marble basin size for a cloakroom?
There is no single size that suits every cloakroom. Choose a footprint that preserves door clearance and circulation while still providing a usable bowl, tap position and practical cleaning access.
How much space should sit around a bathroom basin?
The required space depends on the room, fittings and users. Check side clearances, front approach, door swings, nearby furniture, tap access and the route between the basin and other bathroom fixtures.
Are countertop marble basins comfortable to use?
They can be, provided the basin depth is coordinated with the vanity height. A deep vessel on a standard-height cabinet may place the rim too high, so set the finished height from the floor before finalising the support.
Is a wall-mounted marble basin suitable for a small bathroom?
It can preserve visible floor area and help a compact room feel more open. The wall, fixing system, waste route and supporting structure must nevertheless be designed for the completed stone installation.
How do I allow for plumbing beneath a marble basin?
Confirm the waste, trap, tap drilling and service centres before fabrication. Check that plumbing will not collide with drawers, shelves, brackets or concealed supports, and provide access for future maintenance.
What should I confirm before ordering a bespoke marble basin?
Approve a current plan, elevation and section showing dimensions, tolerances, stone, finish, edge details, drillings, fixing points and service positions. Also confirm site access, support conditions, care requirements and the expected natural variation of the selected stone.