
Key Takeaways
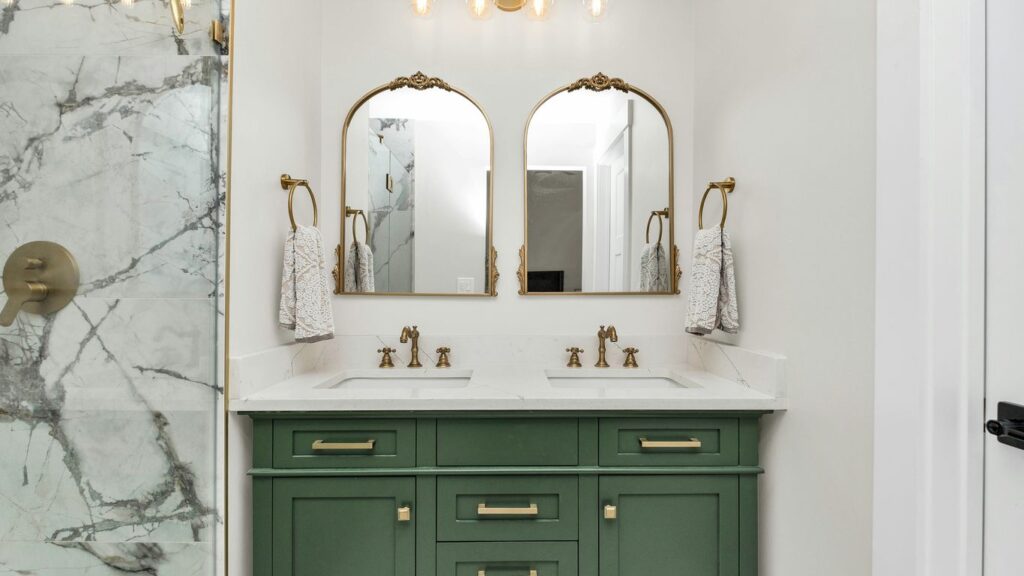
A stone vanity basin can be a quiet practical feature or the main sculptural detail in a bathroom. The best result comes from resolving its proportions, material, drainage and support before fabrication begins.
- Choose the basin format and size around the vanity, wall space and daily routine.
- Compare stone for appearance, porosity, durability, maintenance and expected use.
- Confirm waste, overflow, tap-hole and trap positions before the production drawing is approved.
- Treat support, access, lifting and plumbing as part of the installation design.
- Protect the finished surface with suitable sealing, gentle cleaning and prompt repairs.
Choosing the right stone vanity basin for your bathroom
A stone vanity basin should feel settled in its room rather than simply placed on a cabinet. Its shape, rim, depth and position affect how the vanity is used, how much splash reaches the wall and how easily the surrounding surface can be cleaned. Begin with the room layout and the people using it, then develop the visual language around those practical decisions. A custom marble basin guide can help when the design needs to balance basin type, dimensions, stone selection and drainage.
Vessel, inset and undermount basin designs
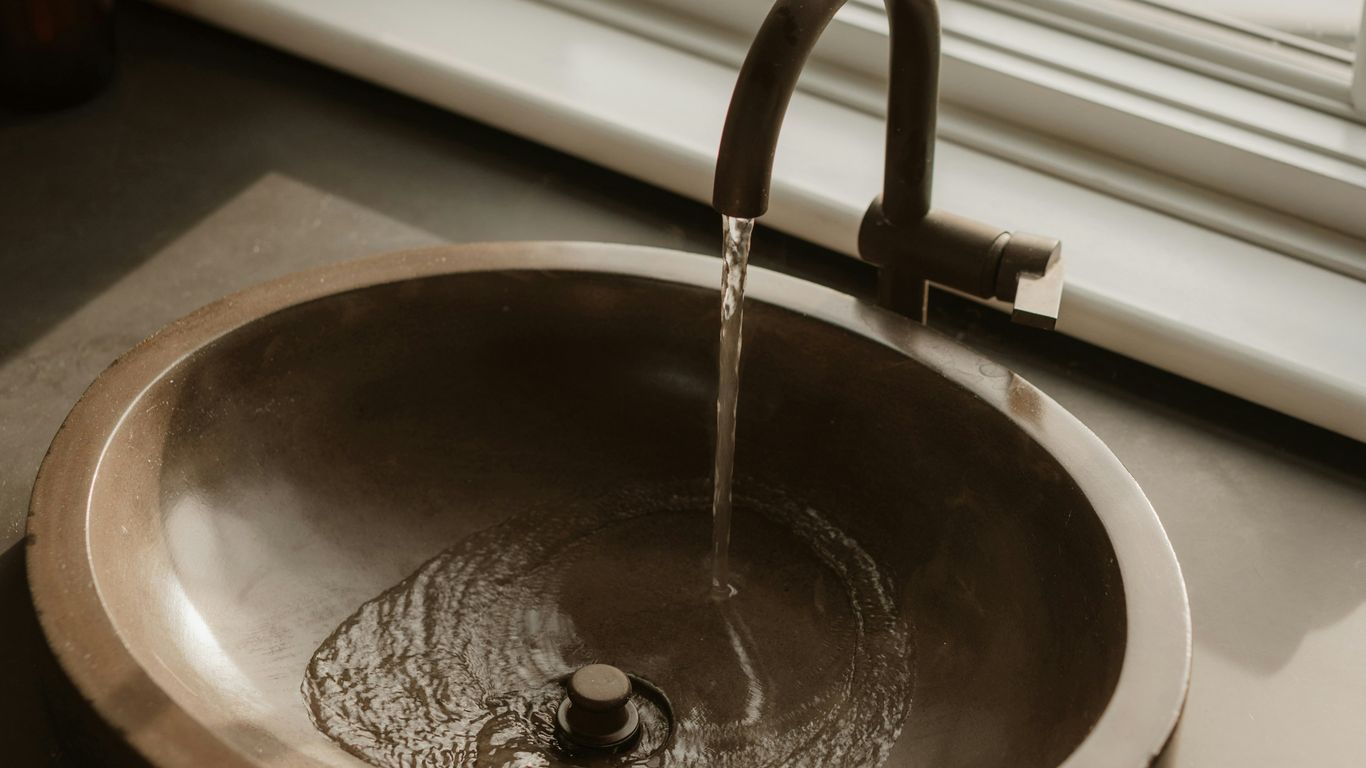
A vessel basin sits above the vanity surface and makes the stone profile visible, often becoming the strongest feature in a compact room. An inset design drops into a prepared opening, giving a more integrated appearance, while an undermount basin places the rim below the worktop for a clean wipe-down edge. Each format changes the finished height, tap arrangement and amount of usable counter space, so the choice should be made with the complete vanity drawing rather than a basin silhouette alone.
Single, double and wall-to-wall configurations
A single basin leaves more room for landing space, storage or a wider mirror and is often the most comfortable arrangement in a smaller bathroom. Double basins can support busy households, but they require enough overall width to avoid cramped tap and elbow positions. A wall-to-wall vanity can make excellent use of an awkward recess, although the ends, splashback and service access need to be measured very carefully.
Matching basin proportions to the vanity unit
The basin should have a deliberate relationship with the cabinet below it. A deep bowl on a shallow unit may feel visually heavy and leave little room at the front, while a small basin on a broad top can look lost unless the extra surface has a clear purpose. Consider the thickness of the stone, the overhang, the position of doors and drawers, and the height at which the finished rim will sit.
Assessing bathroom style, storage and everyday use
A formal ensuite might suit a broad, quiet basin with restrained edges, while a cloakroom can carry a more expressive vessel shape. Storage also matters: drawers may need a reduced-depth trap zone, and cupboard doors must clear the waste connection. For made-to-order work, the approved drawing should show the basin, vanity, tapware and service void together, not as separate purchases that happen to share a room.
Custom sizes and dimensions to plan for
Custom sizing is useful when a bathroom has a narrow wall, a sloping corner or a vanity that must align with existing tiles. It is not simply a matter of making a standard basin slightly longer. The finished dimensions need to account for stone thickness, internal falls, edge profiles, drillings, wall tolerances and the space needed to install and maintain the fittings. Measure the room as it exists, including details that may be hidden once the vanity is fitted.

Measuring the available worktop and wall space
Take measurements at several points because walls and tiled surfaces are rarely perfectly parallel. Record the clear width, usable depth, finished floor level, wall projections and the position of corners or service risers. A site template or verified drawing is more reliable than a single tape measurement, particularly where the basin will run close to a wall or a full-width splashback.
Selecting basin width, depth and height
Width should leave a comfortable area for hands and toiletries without forcing the tap too close to the bowl. Depth affects both capacity and splash behaviour, while height is determined by the vanity, the basin form and the user’s preferred standing position. When several dimensions are being adjusted at once, review the proportions in elevation as well as plan; a basin can fit numerically and still feel awkward in the room.
Allowing clearance around taps, mirrors and walls
Leave enough space behind the basin for the chosen tap body, spout movement and cleaning access. A mirror may need to begin above a raised rim or sit between wall lights, and a side wall can restrict the position of a tap handle. Small clearances also matter around drawers, towel rails and door swings, so mark the actual fittings rather than relying on nominal fixture sizes.
Planning bespoke shapes, overflow positions and tap holes
Curves, asymmetrical corners and integrated upstands should be resolved before cutting begins. Specify whether the basin needs an overflow, where it will discharge, and whether the tap is mounted on the basin, worktop or wall. Hole diameters and centres must match the selected fittings, and every opening should be shown on the approved production drawing. Geoscenic Stone works from an approved drawing for made-to-order pieces, with dimensions, finish, edges and drillings confirmed before production.
Comparing materials for a stone vanity basin
Stone is not one uniform category. Marble may offer expressive veining, granite can provide a more granular and hard-wearing character, and softer limestones bring a quieter, tactile surface. Porosity, mineral content, finish and fabrication quality all influence how a basin behaves around water and toiletries. The useful comparison is not simply which stone looks best in a sample, but which material suits the room’s maintenance habits and expected traffic.
Marble for distinctive veining and luxury appeal
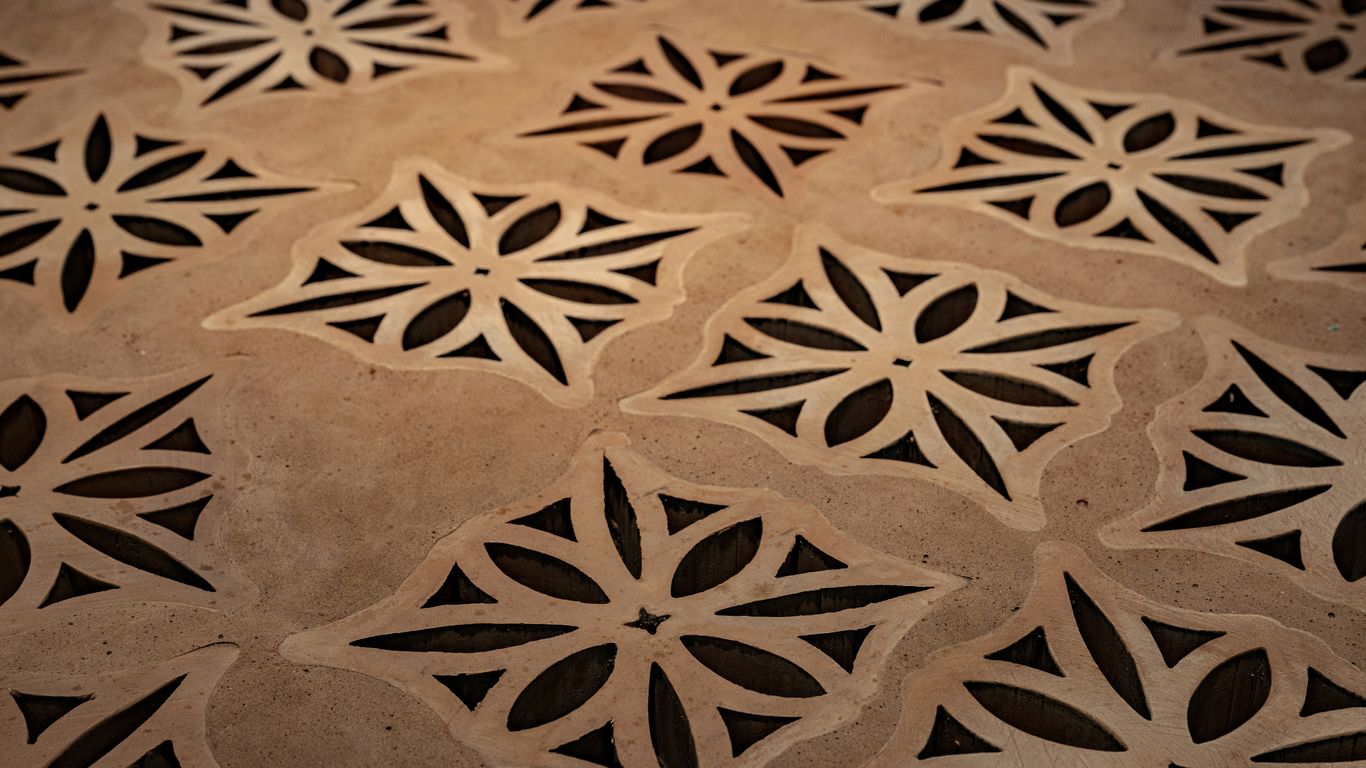
Marble gives a basin visual movement through veining, tone and mineral variation. A honed finish can feel soft and understated, while a polished surface reflects more light and makes the pattern appear sharper. Marble is porous and can etch when exposed to acidic substances, so it rewards careful sealing and prompt cleaning. When selecting a slab, review the actual material proposed rather than assuming a photograph represents the finished piece; a marble basin reference explains why thickness, finish and natural variation deserve attention.
Granite and quartz for durability and stain resistance
Granite is dense and visually varied, with a texture that can suit both traditional and contemporary bathrooms. Quartz, whether natural quartzite or an engineered quartz product, needs to be identified accurately because the name is used for different materials with different fabrication and care requirements. Ask about the proposed material’s water absorption, finish, edge detail and suitability for cut-outs before treating it as maintenance-free.
Travertine, limestone and sandstone for natural texture
Travertine and limestone bring warmth, pores and a more sedimentary appearance, while sandstone can have a distinctly granular surface. These stones can be compelling in a calm, natural bathroom, but their texture and porosity may require more attentive sealing and cleaning. Open pores, filled areas and mineral marks are part of the material’s character, not signs that every surface should look identical.
Choosing between natural stone and engineered alternatives
Natural stone offers variation that cannot be reproduced exactly from one piece to another. Engineered alternatives may provide more consistent colour and can be appropriate where uniformity is a major design requirement, but their fabrication limits, heat behaviour and care instructions still need checking. Use this comparison to clarify priorities: visual individuality, predictable appearance, repairability, maintenance and the technical requirements of the chosen basin design.
| Material | Typical visual character | Main planning consideration | Care focus |
|---|---|---|---|
| Marble | Veining and tonal movement | Porosity and etching risk | Seal and clean promptly |
| Granite | Dense, granular variation | Weight and edge fabrication | Use suitable stone cleaner |
| Travertine | Warm tones and natural pores | Open texture and water exposure | Maintain protective sealer |
| Engineered quartz | More consistent pattern | Product-specific fabrication limits | Follow manufacturer guidance |
The table is a starting point, not a substitute for a sample and technical confirmation. A project team should assess the actual slab or batch, the intended finish and the proposed edge before approving the material. Geoscenic Stone selects material for each order, so the quotation and drawing should make clear what has been agreed rather than implying that a photographed basin will be reproduced identically.
Designing drainage and plumbing connections
Drainage is where a beautiful basin can become difficult to use if the details are left until installation day. The outlet, overflow, waste pipe and trap must work within the basin geometry and the storage below it. Confirm the fitting manufacturer’s requirements alongside the fabricator’s drawing, especially where a shallow vanity or a wall-mounted configuration leaves little room for adjustment. A natural stone basin guide covering waste fittings and splash control is useful during this coordination stage.
Selecting compatible waste outlets and plug types
Choose the waste outlet with the basin’s thickness, outlet shape and overflow arrangement in mind. A clicker waste, fixed open waste or traditional plug-and-chain arrangement each changes the visible finish and the way water is retained. Check thread sizes, seals and the depth available below the outlet, then keep the selected fitting with the approved specification so a substitution does not create a late mismatch.
Understanding slotted and unslotted wastes
A slotted waste allows water to pass through an overflow route in a basin designed to use that channel. An unslotted waste is generally used where there is no integrated overflow or where the fitting arrangement requires water to drain only through the main opening. The correct choice depends on the basin and waste combination, not on appearance alone; ask the plumber and fabricator to confirm it together.
Planning overflow channels and water protection
An overflow may be a visible opening, a concealed channel or a detail formed within the basin, depending on the design. It must be continuous, cleanable and connected to a compatible waste arrangement if it is intended to prevent overfilling. Sealant at joints should protect the vanity and wall without blocking the overflow path, and the finished fall should be checked so standing water does not remain around the outlet.
Positioning the trap, waste pipe and vanity storage
The trap needs enough room for installation, inspection and future cleaning. Its position can conflict with a drawer, shelf or cabinet back, so the plumbing route should be drawn before the vanity is manufactured. Where possible, keep connections accessible and avoid forcing a rigid pipe into alignment with a stone outlet; controlled flexibility in the plumbing is safer than loading the basin.
Preparing the vanity and bathroom for installation
Preparation determines whether the basin arrives at a ready site or becomes part of an improvised building exercise. Confirm wall conditions, cabinet support, finished heights, access routes and the relationship between the stone, tiles and splashback. The larger and heavier the piece, the less forgiving a small error becomes. A clear fabrication brief should describe intended use, site conditions, cut-outs, supports and tolerances before production begins.
Checking wall strength and cabinet support
A wall-hung vanity transfers load into its brackets and wall structure, while a floor-standing unit still needs a level, stable base. Stone adds considerable weight, especially when the worktop, basin and splashback are formed as several substantial components. Have the installer verify the support system for the actual piece and ensure that the cabinet cannot twist as the basin is set down.
Creating an accurate template for the cut-out
The cut-out should be based on a verified template, not an assumed nominal dimension. Mark the front edge, wall line, tap holes, waste opening and any radius or corner detail, then check the template against the actual vanity and wall before fabrication. Digital templating can help, but it does not remove the need to confirm site conditions and finished levels.
Coordinating the basin, worktop and splashback
Decide which joints should be visible, where the splashback terminates and how the basin edge meets the worktop. Aligning veining or tonal movement may affect the cutting plan and material yield, while an upstand may change the available tap clearance. The custom fabrication process is best understood as a sequence of decisions about drawings, joins, edges, supports and site conditions rather than a final cutting operation alone.
Confirming plumbing, access and installation tolerances
Before delivery, measure doorways, lifts, stair turns and the route from unloading point to bathroom. Confirm that plumbing stubs are in the agreed locations and that finished wall and floor surfaces will be ready. Allow tolerances for the building rather than expecting a rigid stone piece to absorb every discrepancy; small planned joints are usually preferable to forced contact.
Installing a stone vanity basin safely
Installation is a controlled handling and coordination task, not merely the final application of sealant. Stone can be heavy, vulnerable at corners and difficult to reposition once it is bonded. The installer should have the correct lifting plan, a clean support surface and enough people or equipment for the piece being moved. Keep protective packaging in place for as long as practical, and inspect edges and surfaces before fixing.
Handling, lifting and supporting heavy stone
Lift from stable, supported areas and never use a tap hole, thin rim or projecting edge as a handhold. Protect corners during movement and place the basin on prepared supports rather than directly on a hard floor. A dry fit can confirm alignment, but it should be carried out without dragging the stone across the vanity or twisting it against a wall.
Sealing joints between the basin and vanity surface
The jointing method depends on the basin format, worktop material and the installer’s specification. Surfaces should be clean, dry and properly supported before a compatible sealant or adhesive is applied. Keep the joint neat and continuous, but do not use sealant to compensate for a poor cut-out or an unstable cabinet; those issues need correcting first.
Connecting the waste without stressing the stone
Tightening a waste fitting too far can place point pressure on the basin around the outlet. Use the correct seals, tighten progressively and support the fitting while making the connection. Pipework should align naturally, with the trap and waste allowed to move slightly under normal use rather than pulling against the stone. Test for leaks after the sealant has cured as specified.
When to use a specialist stone fabricator or installer
Specialist support is sensible when the basin is large, unusually shaped, integrated into a worktop or made from a more fragile stone. It is also valuable where the installation involves wall reinforcement, complex drainage, difficult access or several visible joints. Geoscenic Stone produces made-to-order architectural pieces through material selection, cutting, finishing, inspection, packing and delivery, while the individual quotation should clarify any installation requirements for the project.
Caring for and maintaining a stone vanity basin
Maintenance begins with understanding the stone and finish that were actually supplied. Natural variation in tone, veining, pores and mineral marks is inherent to the material, while wear patterns depend on water quality, cleaning habits and use. Good care is generally simple, but it needs to be consistent. Keep the basin dry when practical and deal with spills before they have time to settle into a porous surface.
Sealing porous stone before and after installation
Ask for the recommended sealer and application schedule for the specific stone and finish. Sealing reduces absorption but does not make a porous material impervious, and it will gradually wear in areas that receive frequent water and cleaning. The surface should be clean and fully dry before resealing, with excess product removed so the finish is not left cloudy or tacky.
Cleaning products and methods that protect the finish
Use a soft cloth or non-abrasive sponge with a pH-neutral stone cleaner or mild soap suited to the material. Rinse away residue and dry the surface rather than allowing a film to build around the outlet and tap. Avoid scouring powders, harsh acids and unapproved bleach-based products, particularly on polished or calcareous stones where dull patches can develop.
Preventing limescale, staining and etching
In hard-water areas, wipe droplets from the rim and tap zone regularly so mineral deposits do not accumulate. Do not use vinegar or lemon-based cleaners on marble, limestone or travertine, since acids can etch the surface even when a sealer is present. A useful routine is straightforward:
- Wipe water and toiletries from the basin after use.
- Use a soft cloth and a suitable neutral cleaner.
- Rinse away cleaning residue and dry the rim.
- Check the sealant and waste area for darkening or movement.
This routine will not prevent every mark, but it makes changes easier to notice while they are still manageable. Gentle, regular care is usually safer than occasional aggressive cleaning.
Repairing chips, scratches and damaged sealant
Small chips or scratches may be repairable, but the result depends on the stone, finish, location and colour variation. A specialist can assess whether local filling and refinishing is appropriate or whether the damage is likely to remain visible. Failed sealant should be removed carefully, the joint allowed to dry and a compatible replacement applied; recurring movement usually indicates a support or alignment problem that needs attention first.
Get Your Basin Specified
If you are planning a made-to-order stone vanity basin, request a quotation with your dimensions, preferred material, finish, tap and waste details, access information and installation expectations. A clear brief allows the project team to develop a realistic drawing and quotation around the actual piece.
Conclusion
A well-designed stone vanity basin brings together proportion, material character and dependable plumbing rather than treating them as separate decisions. Measure the room carefully, approve every drilling and support detail, and choose a maintenance routine that suits the stone. With those foundations in place, a bespoke basin can feel both distinctive and thoroughly practical.
Frequently Asked Questions
Is a stone vanity basin suitable for a busy family bathroom?
Yes, provided the stone, finish, support and drainage are specified for the expected use. A suitable sealer and regular gentle cleaning will help, although porous natural stone still needs more care than a completely non-porous surface.
What is the best basin shape for a small bathroom?
A compact rectangular, oval or corner design can work well, depending on the available wall and worktop space. The key is to preserve comfortable tap clearance, usable landing space and access to the waste connection.
Does every stone basin need an overflow?
Not every design uses one, but the decision must be coordinated with the waste fitting. If an overflow is included, the basin, channel and slotted waste need to be compatible.
Can a stone basin be made to a custom size?
Many stone basins can be made to a bespoke width, depth, shape or drilling arrangement. The final dimensions should be based on verified site measurements and an approved production drawing.
How do I stop limescale forming on a stone basin?
Wipe away standing water regularly and use a neutral cleaner recommended for the stone. Avoid acidic descalers on marble, limestone and travertine because they can etch the surface.
Can a stone vanity basin be repaired if it chips?
Minor damage may be repairable by a stone specialist, depending on its size, location, colour and finish. The repair may remain subtly visible because natural stone varies in tone and mineral pattern.
Should a specialist install a heavy stone basin?
Specialist installation is advisable for large, integrated or unusually shaped pieces, and where wall support, difficult access or complex plumbing is involved. The installer should confirm the support, lifting method, jointing and final leak test before work begins.